

Current Date & Time
Use the current date and time to display information and trigger actions at the exact right moment.
You can work with a Date data type in the Datastore (often easier to edit) or with a timestamp (universal reference).

In this article, you will:
- understand what a timestamp is and where to find it in PandaSuite
- display the date/time in the interface (formatted)
- trigger an action automatically at a specific date/time
- apply best practices (units, time zones, “guard” variable)
Use cases
- Automatically unlock an “Event” section at its start time
- Display a pop-up on a specific day
- Hide an offer at its expiration date
- Launch an animation or change state at the desired moment
Two complementary approaches
Date type (Datastore)
- Readable and editable directly in the Datastore (e.g. 11/20/2020 10:21:05).
- Ideal for setting start/end dates without an external converter.
- Simplified comparisons and formatting.
When to use it:
- You want to enter/update dates in PandaSuite Studio.
- You don’t want to use an external converter.
Timestamp (universal reference)
The timestamp is the number of milliseconds elapsed since January 1, 1970 at 00:00:00 UTC. It is based on the device’s clock.
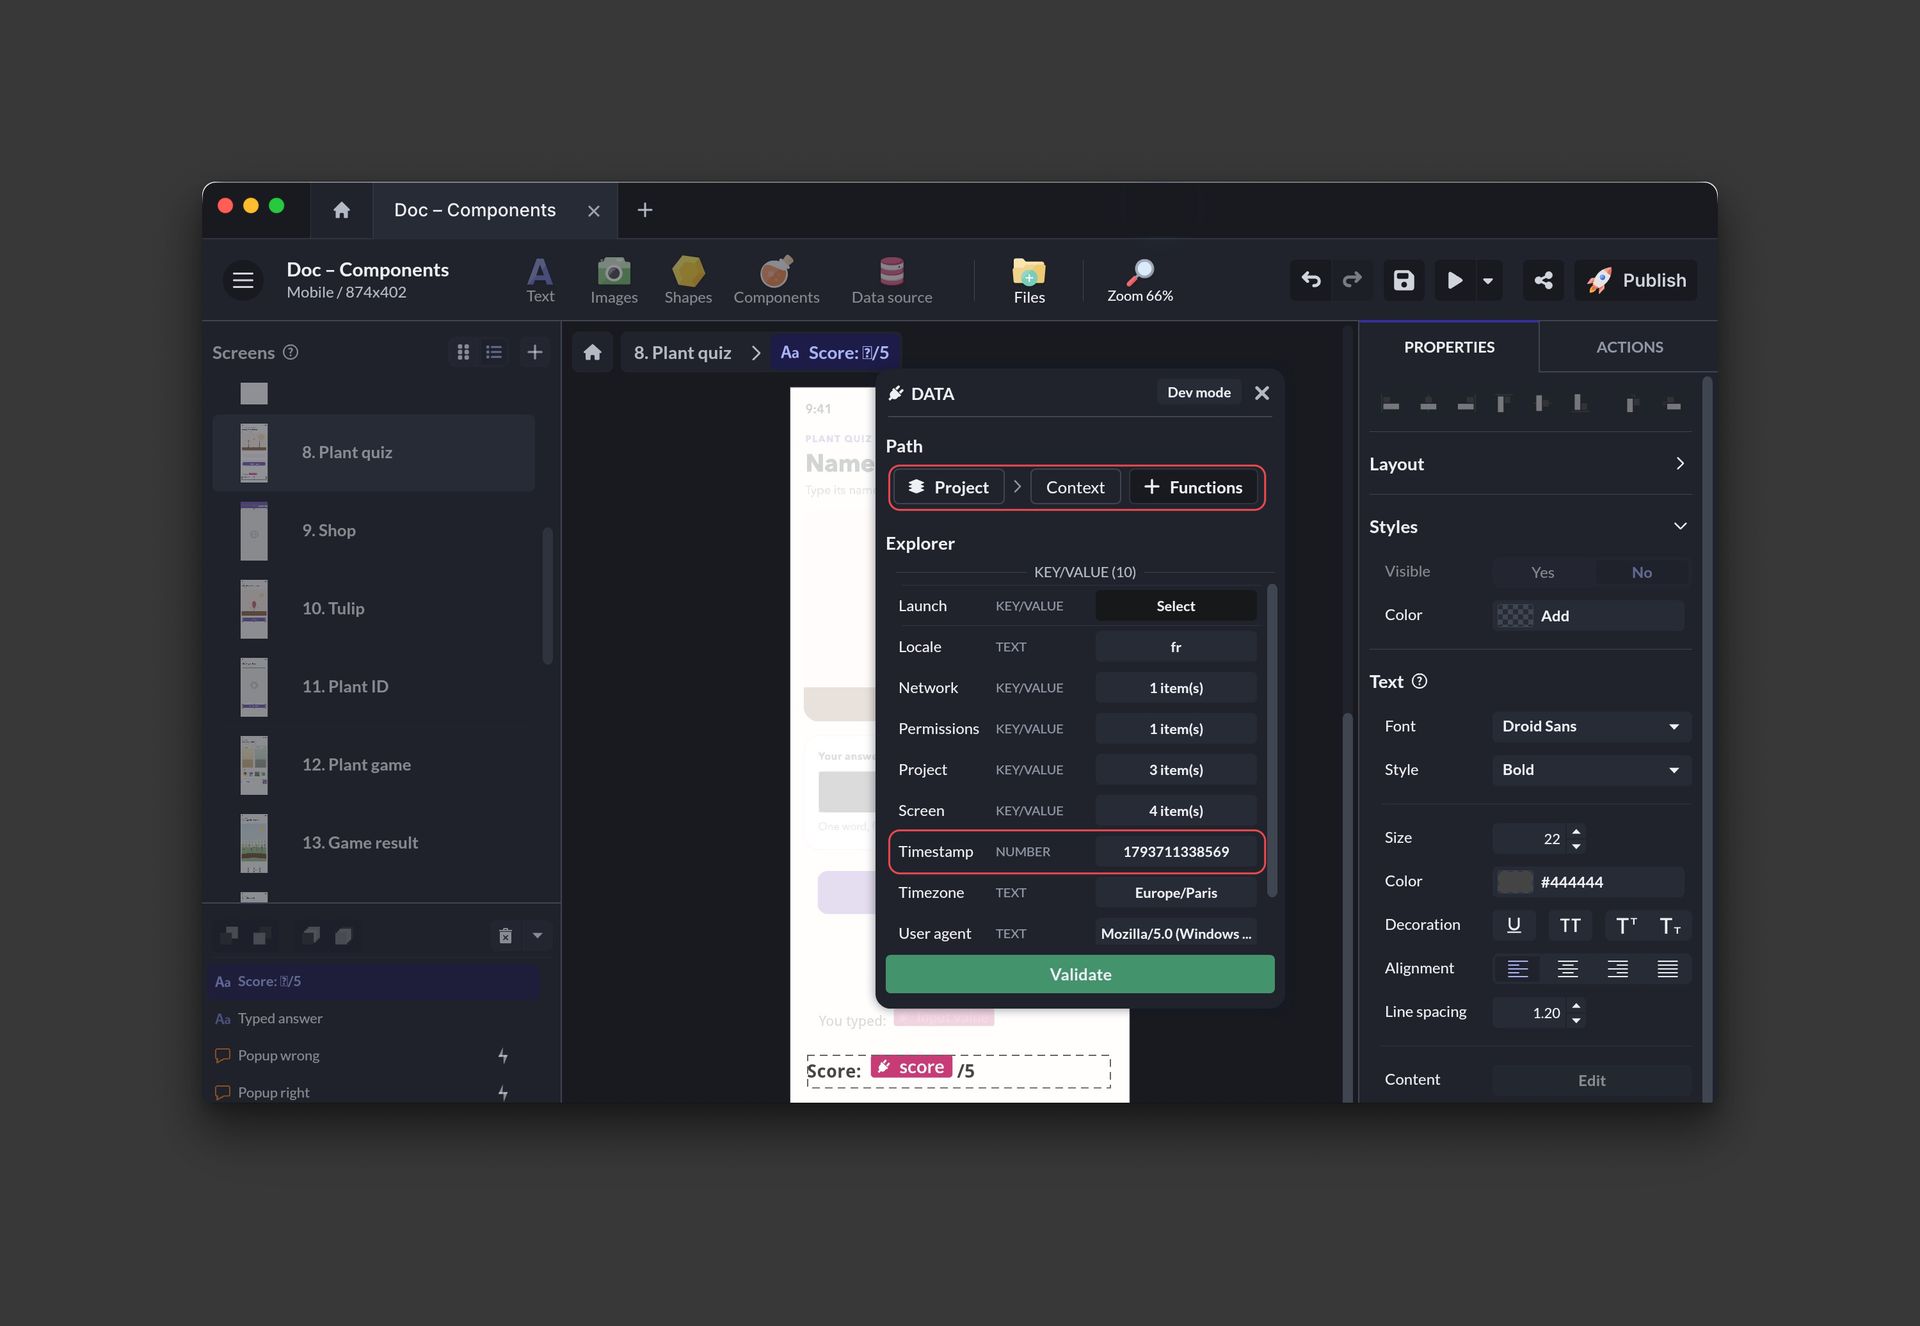
In your project, it is accessible via data binding: From project > Context > Timestamp
To define the timestamp of a date using an online converter, check the unit:
- In seconds: 1704067200
- In milliseconds: 1704067200000
In PandaSuite, we use the value in milliseconds.

Displaying time in an application
Goal: display the current date/time in the format of your choice.
- Insert a text block into your screen.
- Add a data binding to the Content property and choose Project > Context > Timestamp as the data source.
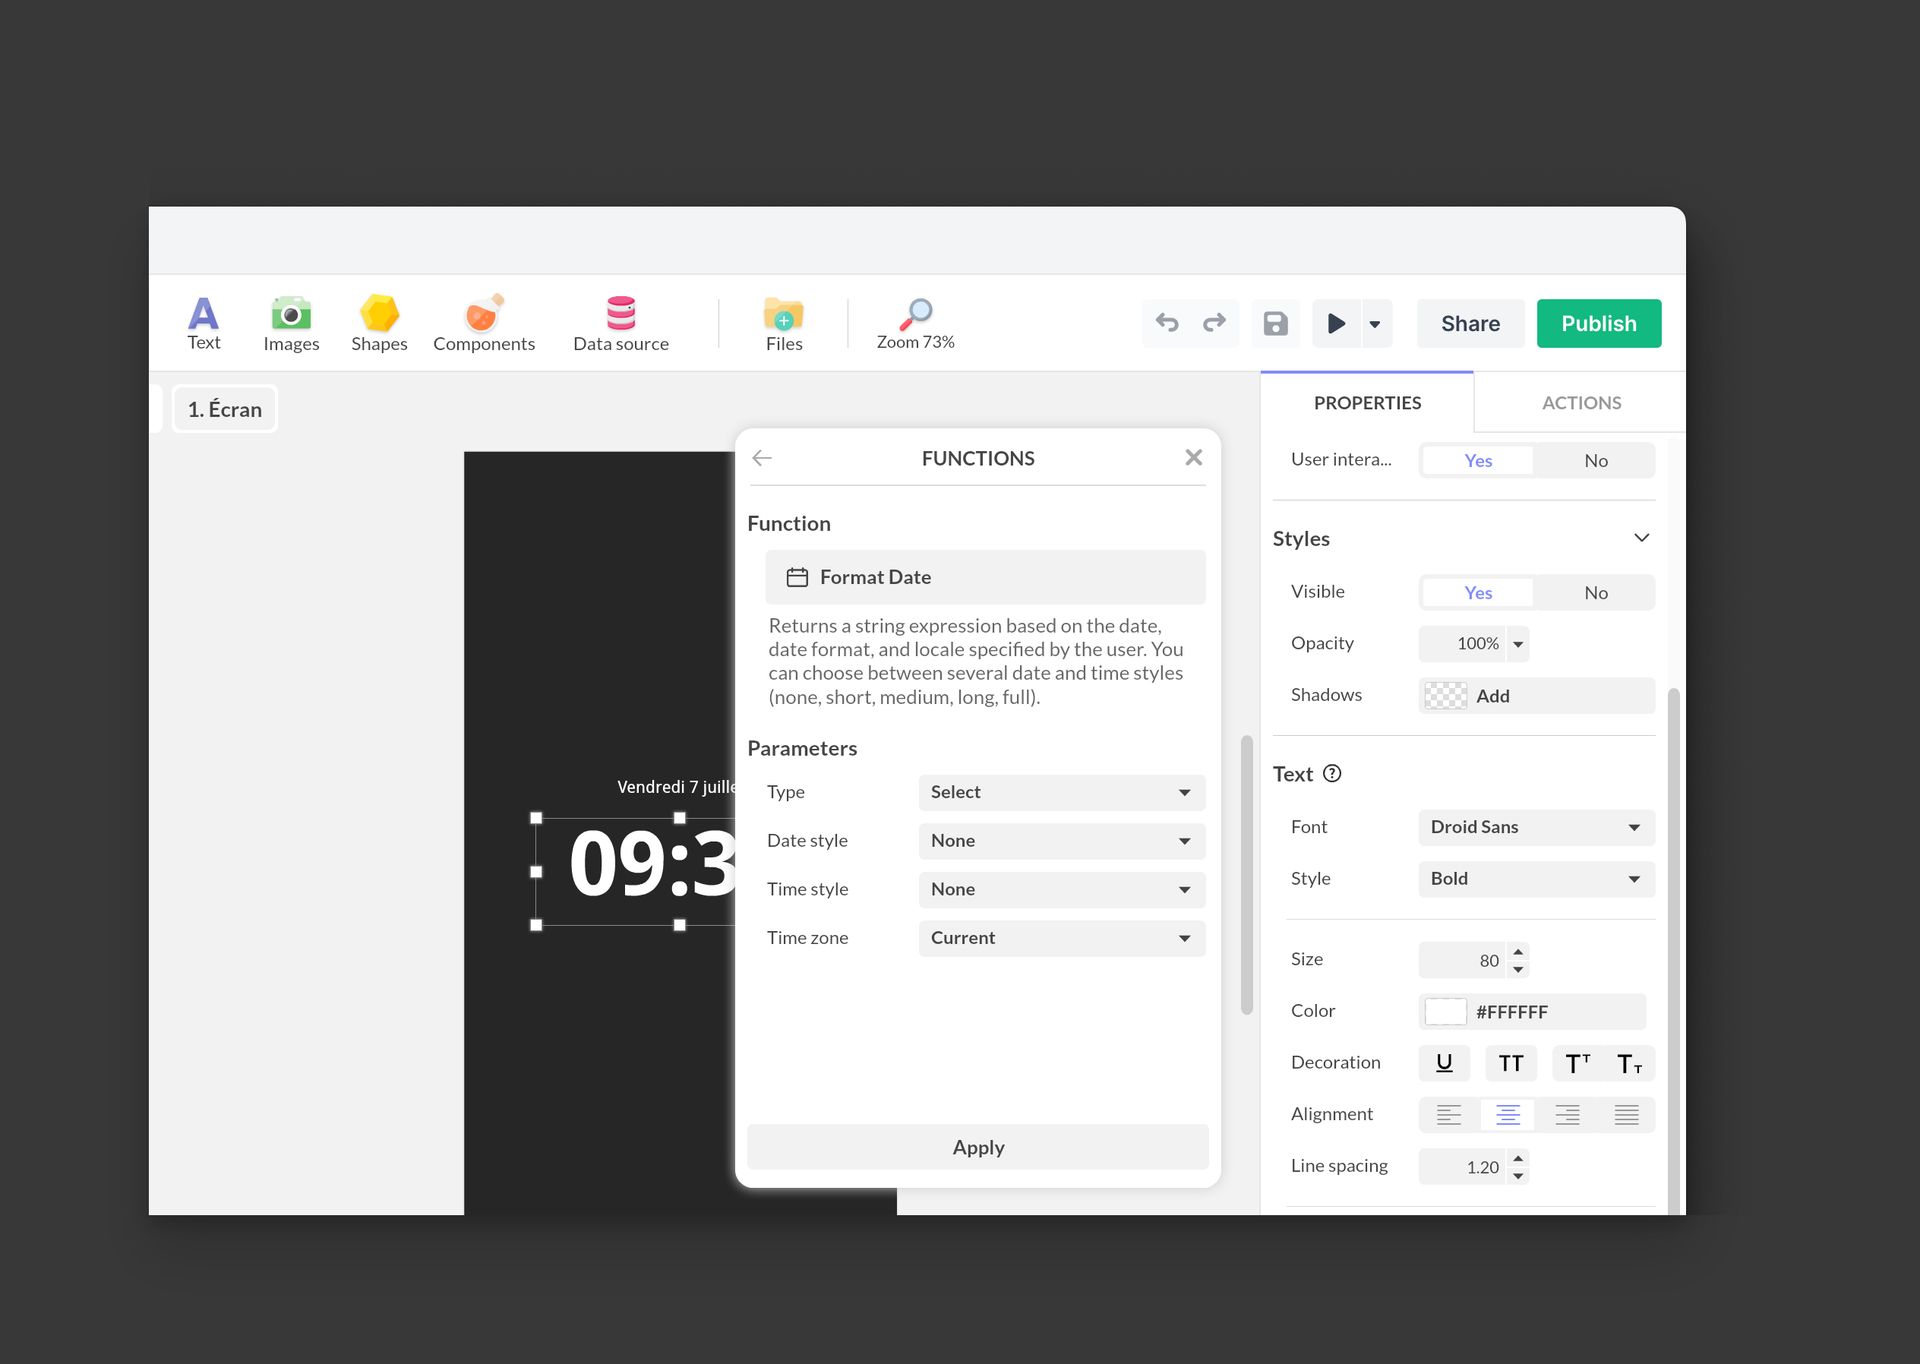
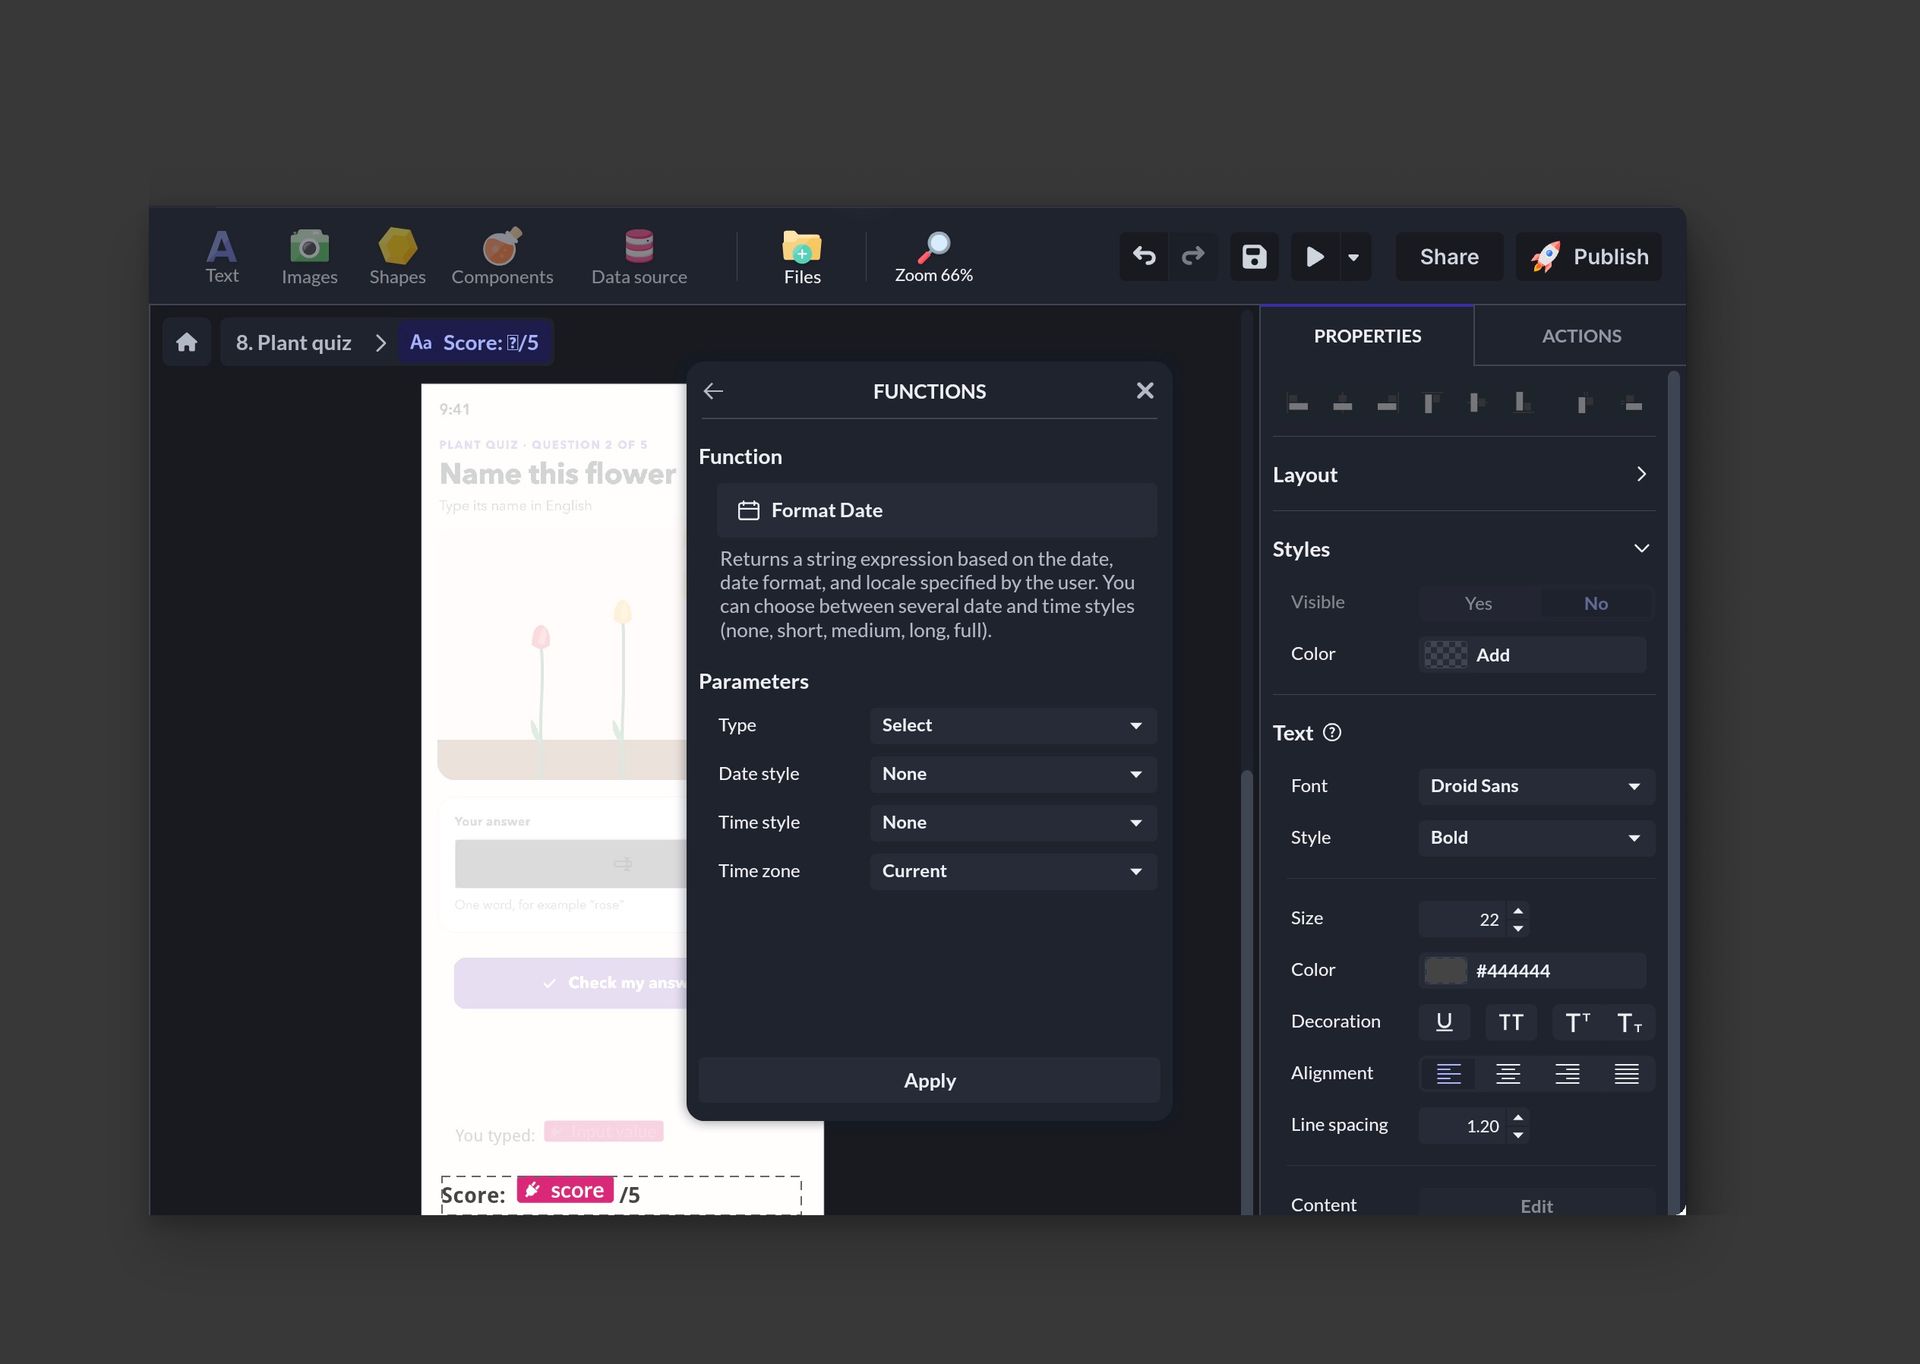
- Apply the Format Date function to define the display format (examples: HH:mm, dd/MM/yyyy)
Formatting tips:
- Format Date expects a value in milliseconds.
- Choose the time zone in the function (e.g. UTC, Europe/Paris).
- Format code examples: HH:mm (24h), dd/MM/yyyy, EEEE d MMMM yyyy.
Playing this video loads the YouTube player (Google Ireland Ltd), which stores data on your device to run the player and measure viewing, as described in Google's privacy policy. You can also watch it on YouTube.
Trigger an action at a specific date/time
Goal: automatically run an action when the current time reaches your target date.
Step 1: define the target date (in milliseconds)
Option A — External converter
Use a converter (e.g. https://www.epochconverter.com/).
Check the unit: retrieve the value in milliseconds (e.g. 1735689600000 for January 1, 2025 00:00:00 UTC).
For “midnight in a specific timezone”: calculate the timestamp corresponding to 00:00:00 in that timezone, then use the UTC value (the timestamp always represents an absolute instant).
Option B — 100% PandaSuite (recommended if you edit the date in Studio)
Create a Date property in your Datastore (e.g. target_date).
You can then retrieve its timestamp directly with the Get Timestamp function.
This value uses the same unit as Project > Context > Timestamp, so you can compare them directly in a condition.
Triggering relies on the local clock. A manual time change or an inaccurate clock may delay execution. For sensitive cases (compliance, contests), prefer a server-side time reference via an API (HTTP component).
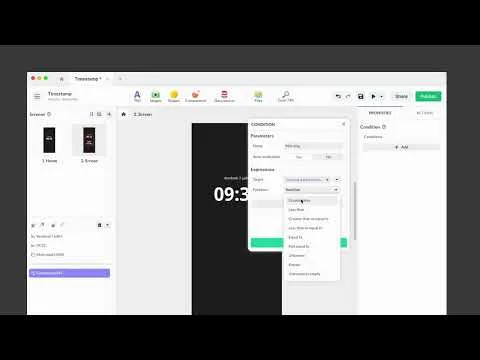
Step 2: configure a Condition component
Click Components > Condition. Place it at the Project level if the action can occur anywhere in the application. Rename it (e.g. “Date reached condition”).
In the Condition component properties, add a condition with an expression:
- Data: Project > Context > Timestamp
- Function: Greater than or equal to
- Value: your target timestamp (in milliseconds)
Enable Automatic evaluation.
Note: Automatic evaluation re-runs the condition when its attributes change, but the Timestamp does not update on its own. You need to schedule its evaluation (step 3).
Step 3: schedule the evaluation
Choose one of the following options depending on the precision required:
Option 1 — Periodic evaluation (precise, recommended)
- Add a Timer at the Project level.
- Duration: 1 s.
- Auto-play: enabled.
- Loop: enabled.
- In the Timer Actions:
- Trigger: End of playback
- Action: Interact with a component > Condition > Evaluate condition
- The cycle repeats every second; the condition fires as soon as Timestamp ≥ target.
Option 2 — Event-based evaluation (simple, less precise)
- Project > Triggers:
- Project launch > Interact with a component > Condition > Evaluate condition
- Focus gained > Interact with a component > Condition > Evaluate condition
- Useful if the application does not need second-level precision.
Step 4: add the action to run “when the condition is true”
Select your Condition component > Actions. Trigger: Condition evaluation. Add your action, for example:
- Interact with a component > Multi-state > Change state (unlock content)
- Interact with a component > Pop-up > Open a Pop-up
- Change screen
- …
Playing this video loads the YouTube player (Google Ireland Ltd), which stores data on your device to run the player and measure viewing, as described in Google's privacy policy. You can also watch it on YouTube.
Guided example: unlock a section on a specific day
Prepare the states:
- Create a “Before” state (section hidden) and an “After” state (section visible) using screen states or a Multi-state component.
Condition:
- Configure “Date reached” (Timestamp ≥ Target), automatic evaluation enabled.
Actions:
- On “Condition evaluation”: Multi-state > Change state to “After”.
Testing:
- Use a timestamp a few minutes away to validate.
Expected result:
- Before the target date: section hidden.
- After the target date: section visible and persistent.
Best practices and key points
- Units: use a timestamp in milliseconds in the condition. If you have seconds, multiply by 1000.
- Time zone: correctly calculate the target date for the desired zone, then use its UTC value in milliseconds.
- Local clock: the time is that of the device. For sensitive cases (e.g. legal compliance), prefer a validated server-side time source via API (HTTP).
- Single trigger: if needed, use a boolean “guard” variable and set it to true after execution.
- Scope: place the Condition at the Project level if the trigger should be global.
Related resources
Timestamp
Add this template to your account in just a few clicks. Edit and customize it freely.
→ Add this template to your account