
App-to-app
The App-to-App component allows you to connect multiple PandaSuite applications to share data in real time. This opens up innovative possibilities for interactive experiences and multi-device projects.
In the example below, an Android smartphone controls an iPad Pro to display video thumbnails:
There are several ways to connect devices (including Bluetooth Low Energy or the PandaSuite webhook). However, the most responsive and powerful method is through the App-to-App component to send and receive information between devices.
How the Shared Server Works
By default, PandaSuite hosts a remote server that facilitates schema sharing between devices. This solution, ideal for simple scenarios, ensures quick setup without additional installation.
However, for specific needs, it is possible to retrieve and install this server locally. This provides greater flexibility, especially for offline use or advanced functionalities.
Install and Configure the Local Server
Use Cases of the Local Server
This option is particularly useful in the following cases:
- Offline use: The local server allows the use of App-to-App without an internet connection. This is especially useful for isolated environments, such as museums or events.
- Serial port support: Connect devices like Arduino or Raspberry Pi via serial ports by enabling inspection (—serial-inspect).
- Raw UDP input: Receive messages sent by devices on your local network, such as RFID readers, sensors, or show controllers, by enabling inspection (—udp-inspect).
- TUIO integration: The TUIO protocol, supported in the local version, is perfect for tangible or multitouch interfaces.
Step 1: Download the Local Server
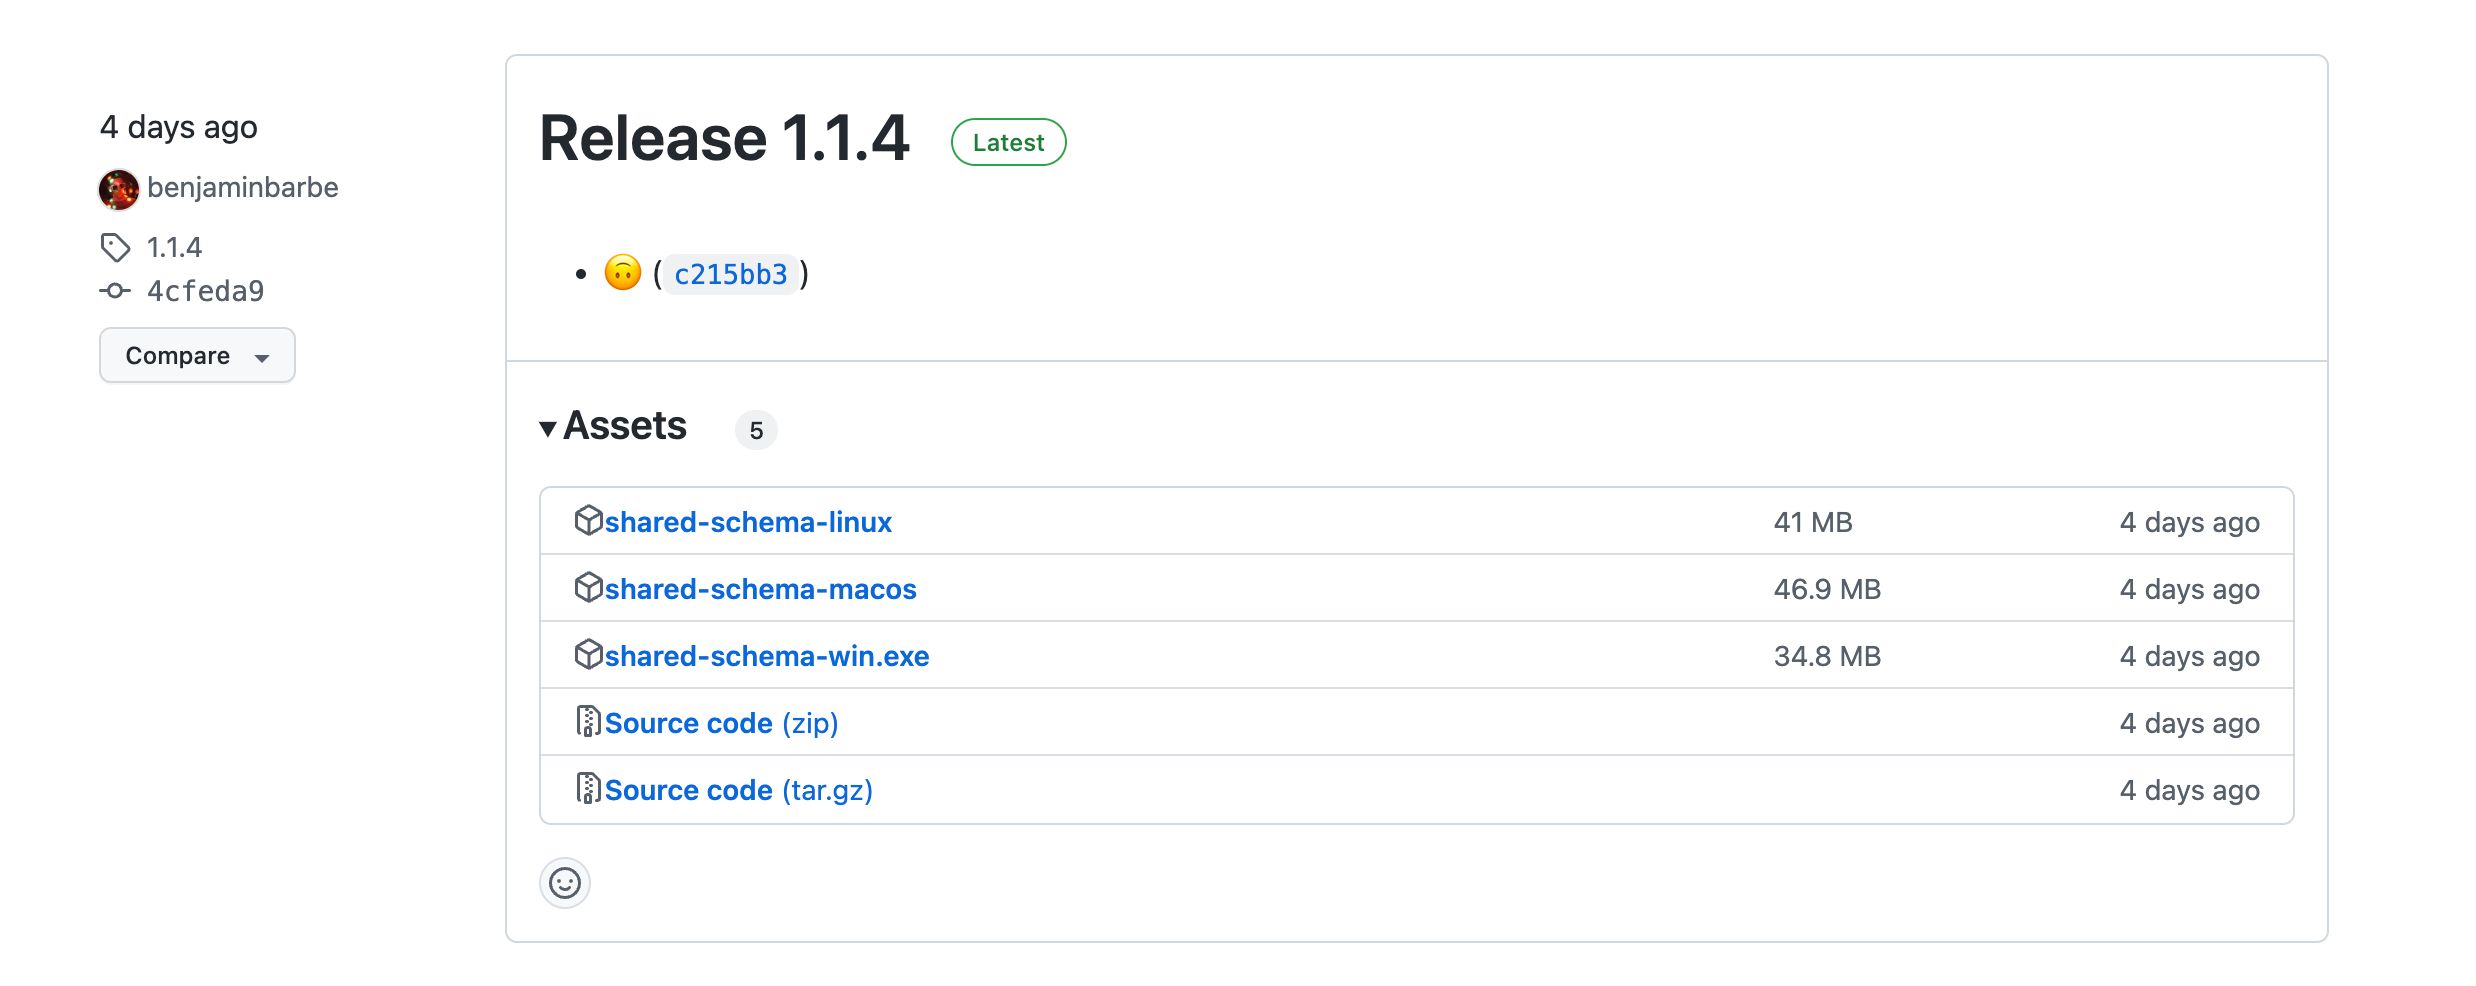
Retrieve the version suited to your operating system from our GitHub Releases:
- Linux:
shared-schema-linux - macOS:
shared-schema-macos - Windows:
shared-schema-win.exe
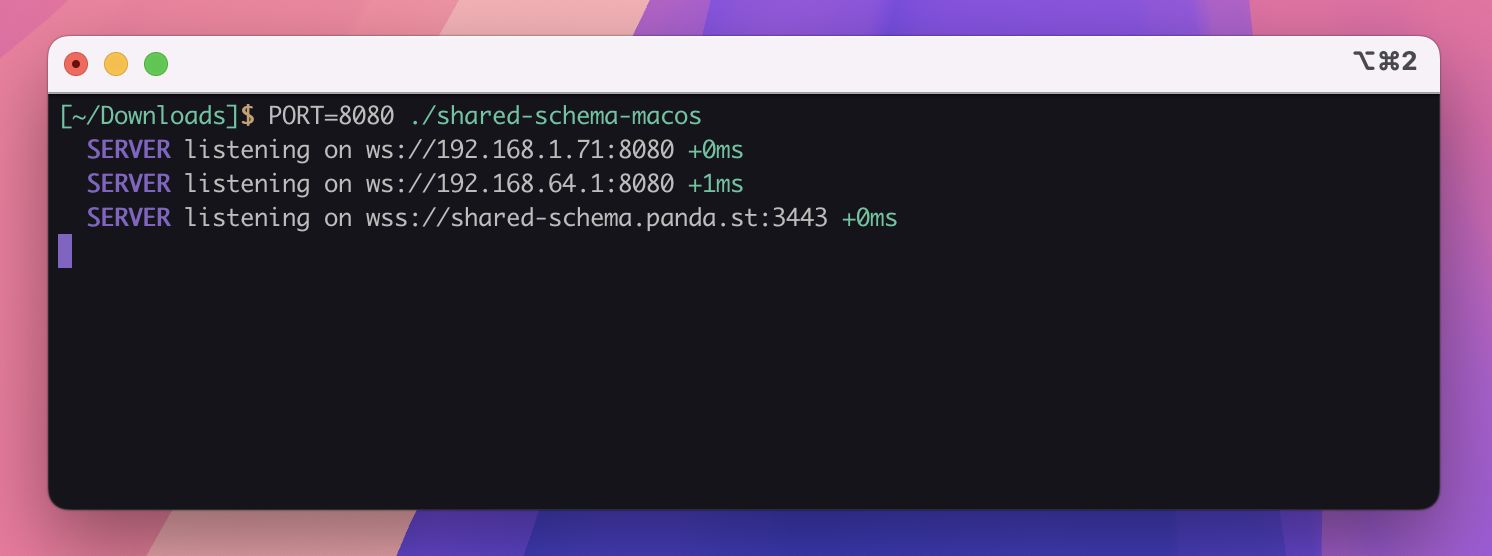
Simply launch the downloaded file to start the local server.
Step 2: Available Options
Here are the options to configure the server based on your needs:
-k, --key <file>: Path to the SSL key file.-c, --cert <file>: Path to the SSL certificate.-s, --serial-inspect [ports]: Enables serial port inspection (optional list).-d, --delimiter <delimiter>: Delimiter for serial port data (default:\n).-u, --udp-inspect <ports>: Enables raw UDP input on a list of ports (comma-separated).-t, --tuio [port]: Enables a TUIO UDP server (default: port3333).
Usage Examples
Launch a server on port 8080 with serial port inspection:
PORT=8080 ./shared-schema-macos -s /dev/ttys063Listen for UDP messages sent by a device on port 8001:
./shared-schema-macos --udp-inspect 8001Set up TUIO on a custom port:
./shared-schema-linux -t 5000Use specific certificates:
./shared-schema-win.exe -k mykey.pem -c mycert.pemThese options allow you to customize the server according to your needs, whether for simple or advanced uses.
Using SSL Certificates (Optional)
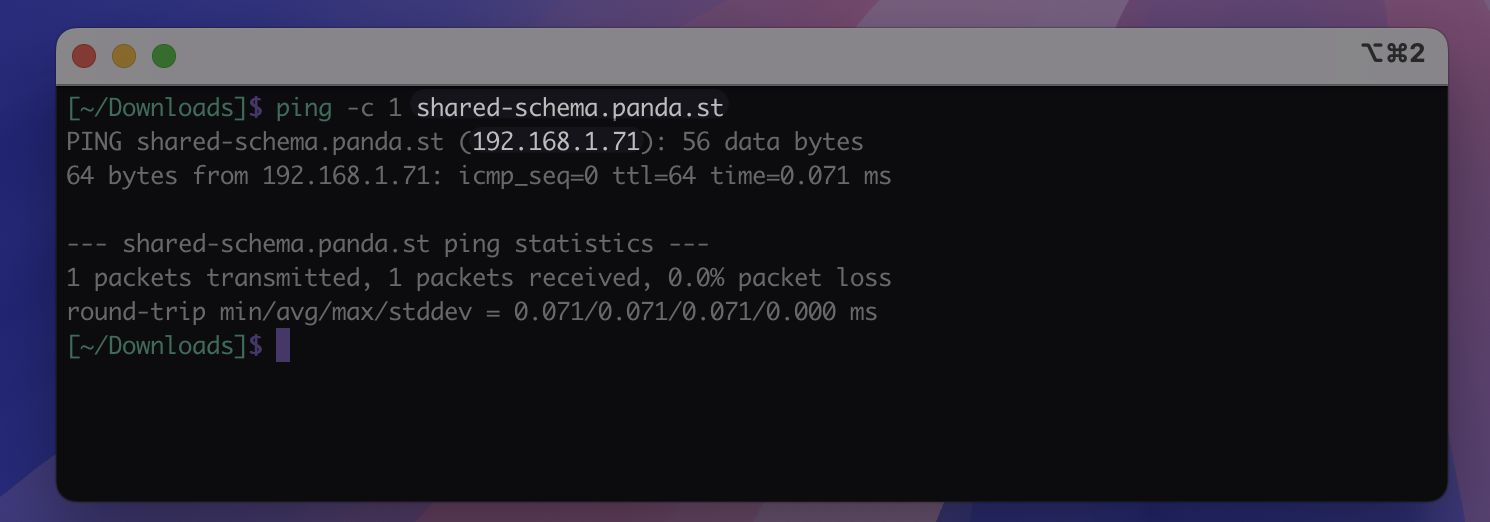
To simplify local configuration, we include a valid SSL certificate for the host shared-schema.panda.st. Here’s how to use it:
- Modify your DNS or the
/etc/hostsfile: Redirectshared-schema.panda.stto your local server’s IP address. - Download the necessary certificates:
These certificates have a limited validity (a few months). Make sure to update them regularly.
Alternatively, you can use non-SSL addresses. However, if your project is used in a web app on an SSL-protected domain, some browsers will require the secure WSS protocol to function properly.
Configure the App-to-App Component
For different displays between the controlling and displaying devices, we recommend creating two separate projects. The App-to-App component will be used in both projects.
From the Controller App
Insert the App-to-App component.
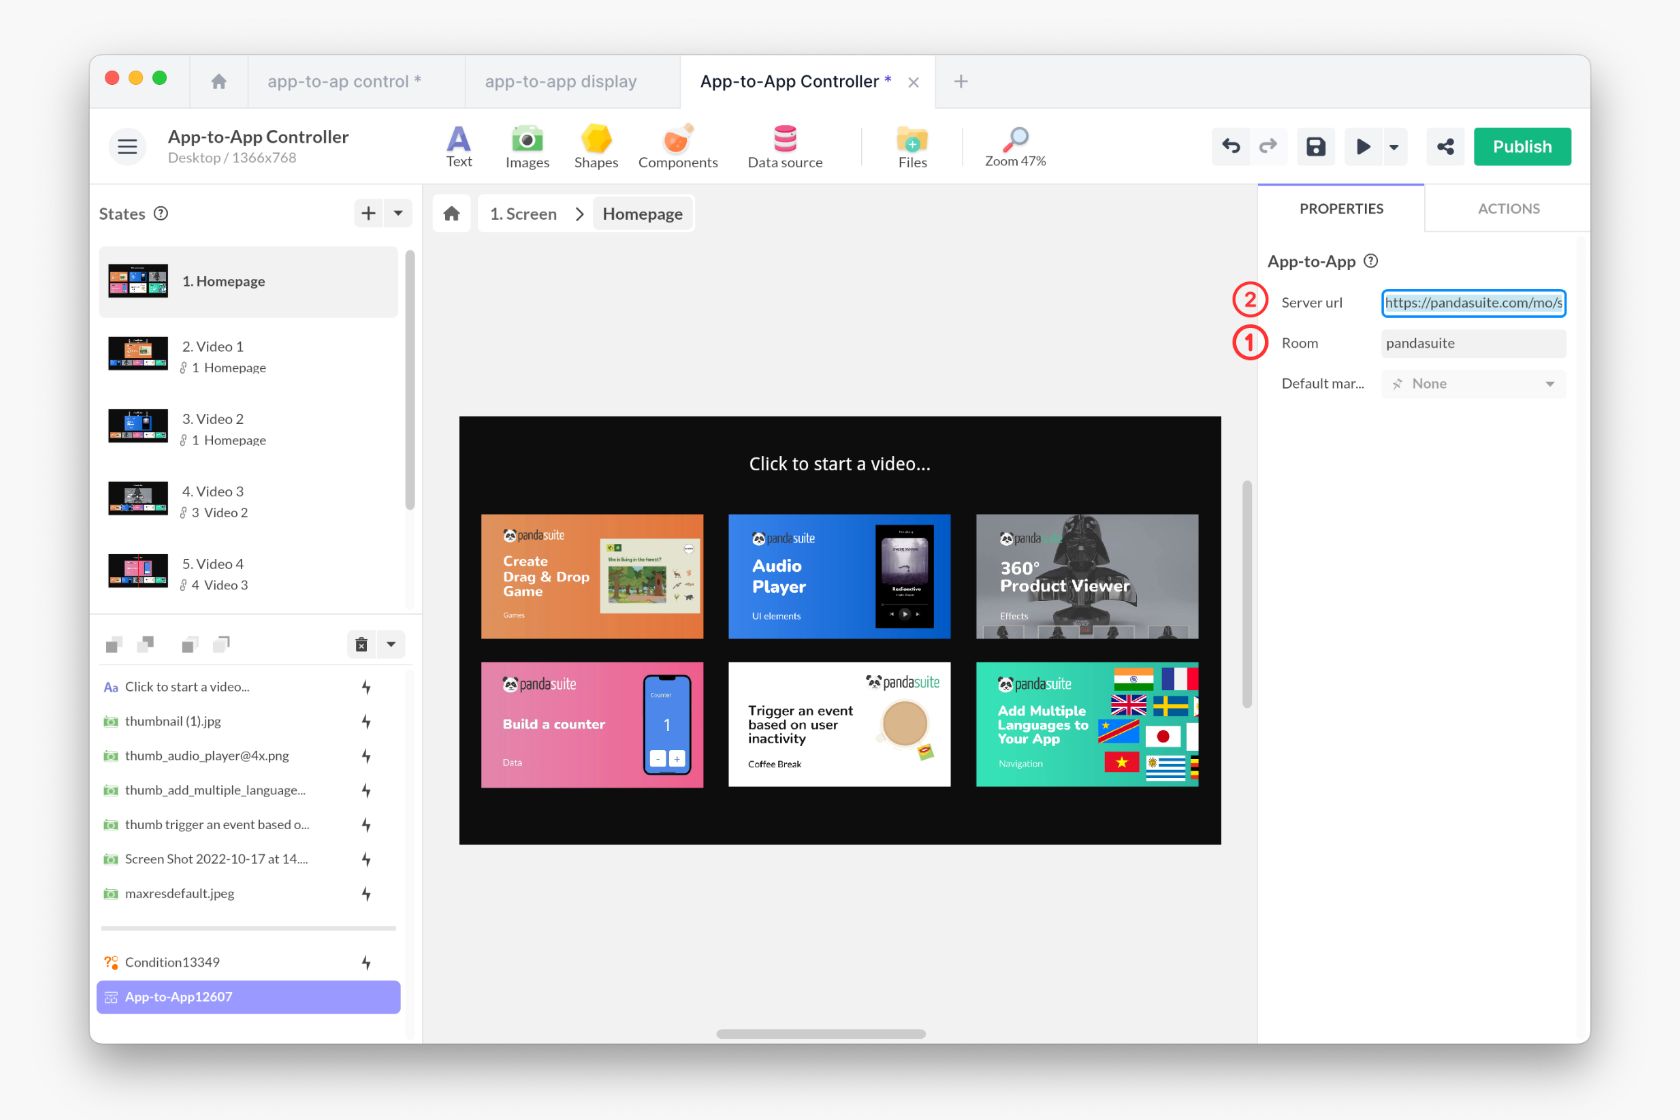
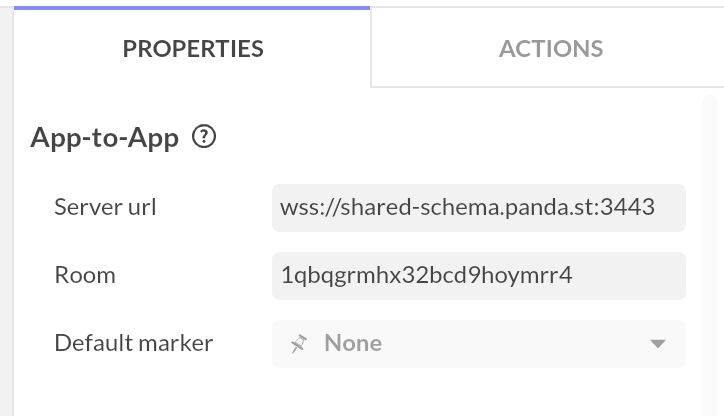
In the properties, a URL is automatically displayed. To configure the component:
- Option 1: Use PandaSuite servers, leave the URL unchanged, and choose a unique identifier for the Room.
- Option 2: Use a local server, enter the server URL.
Then, choose the event that will trigger the action.
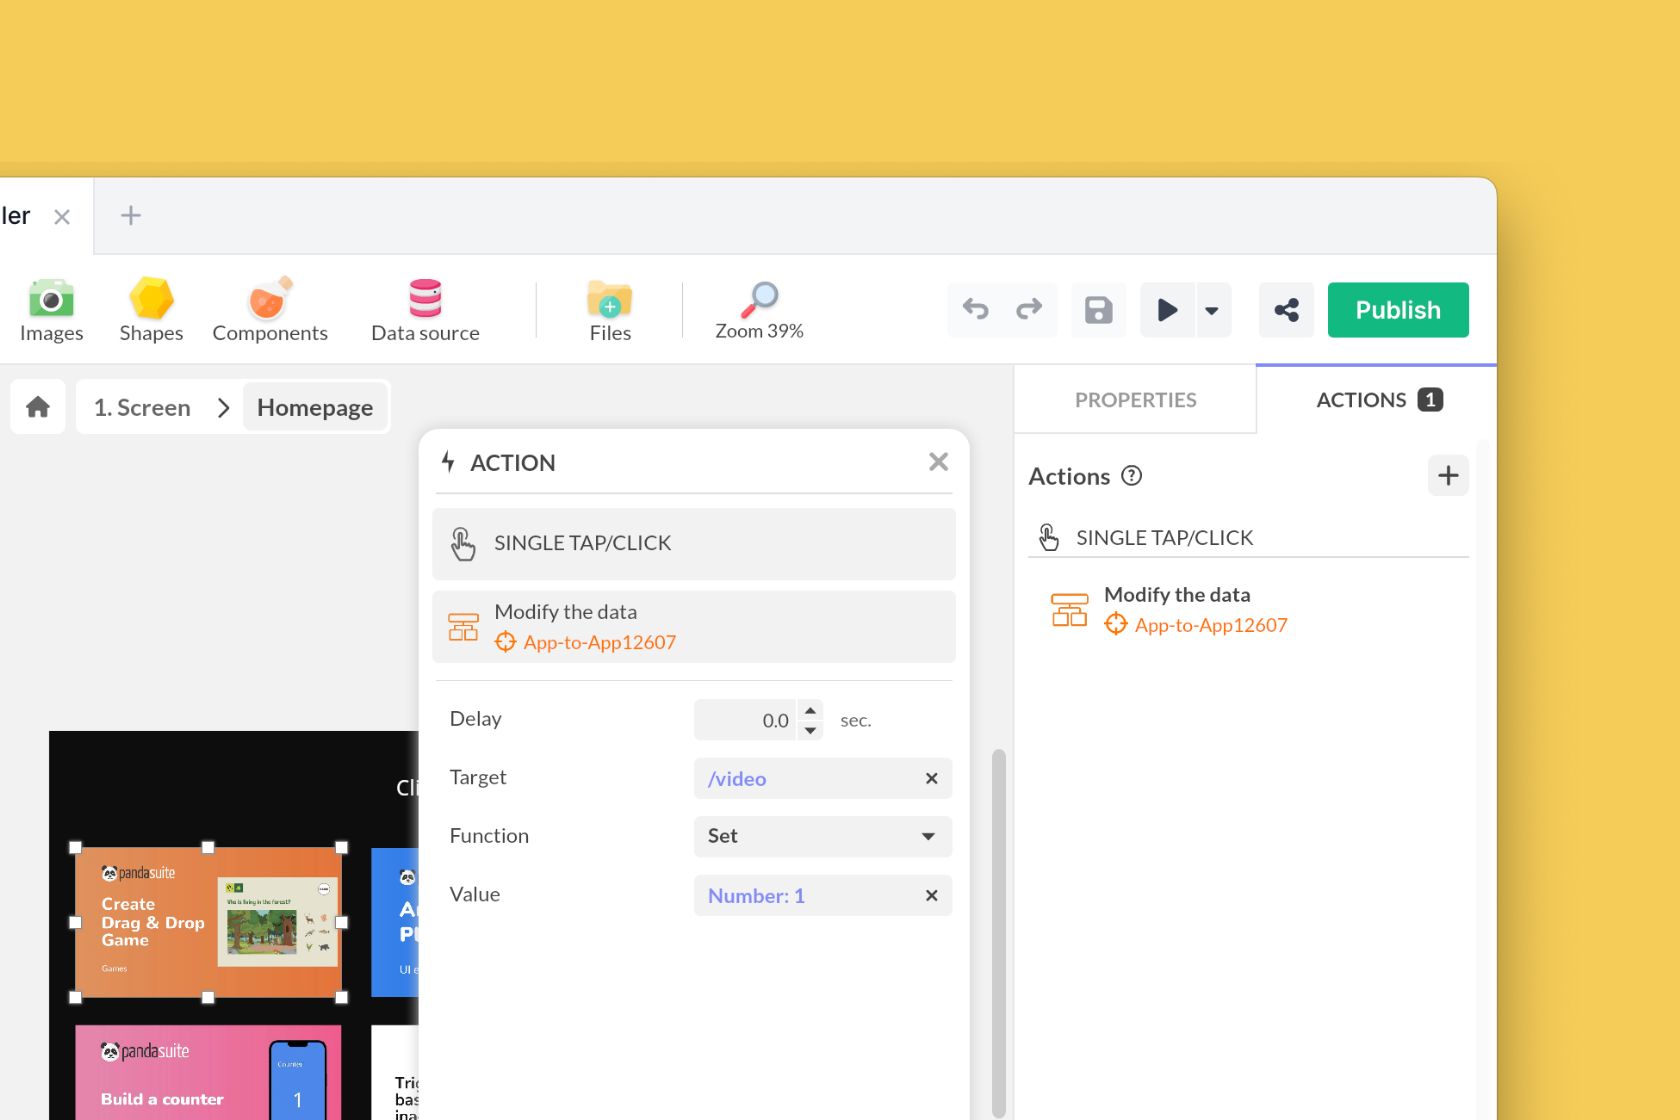
In our example, we associate a data value (1 to 6) to identify the video clicked by the user. On each thumbnail click, the video number is associated with the data video. This data will be reused in the other app to display the correct video.
Choose the action Interact with a Component, target the App-to-App component, and select the action Modify Data.
In the Target field, define your data name using the By Key function, e.g., video. Choose the Set function and, as the Value, enter the number 1. This is a free schema, so the data is created as you define it.
From the Display App
Add a new App-to-App component to the project.
To configure the component:
- Option 1: Use PandaSuite servers, leave the URL unchanged, and for Room, use the same identifier as the other project.
- Option 2: Use a local server, enter the server URL used in the other project.
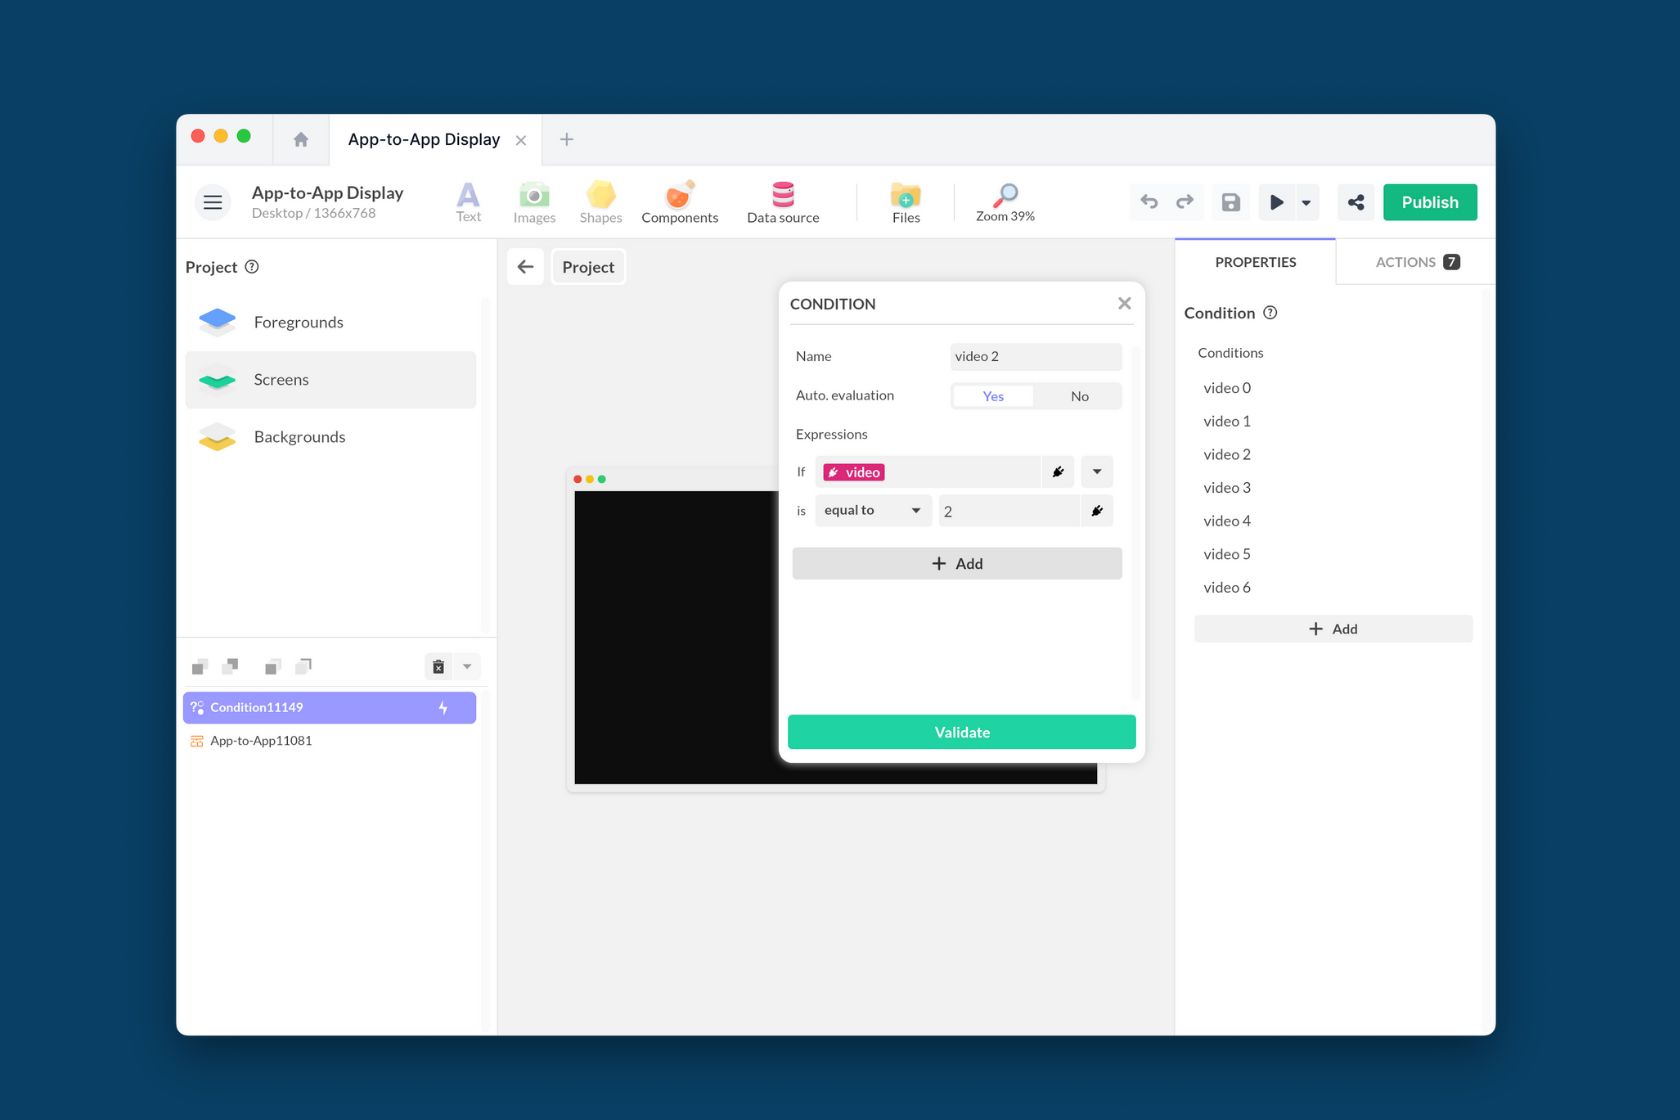
Add a Conditions component and define the associated conditions.
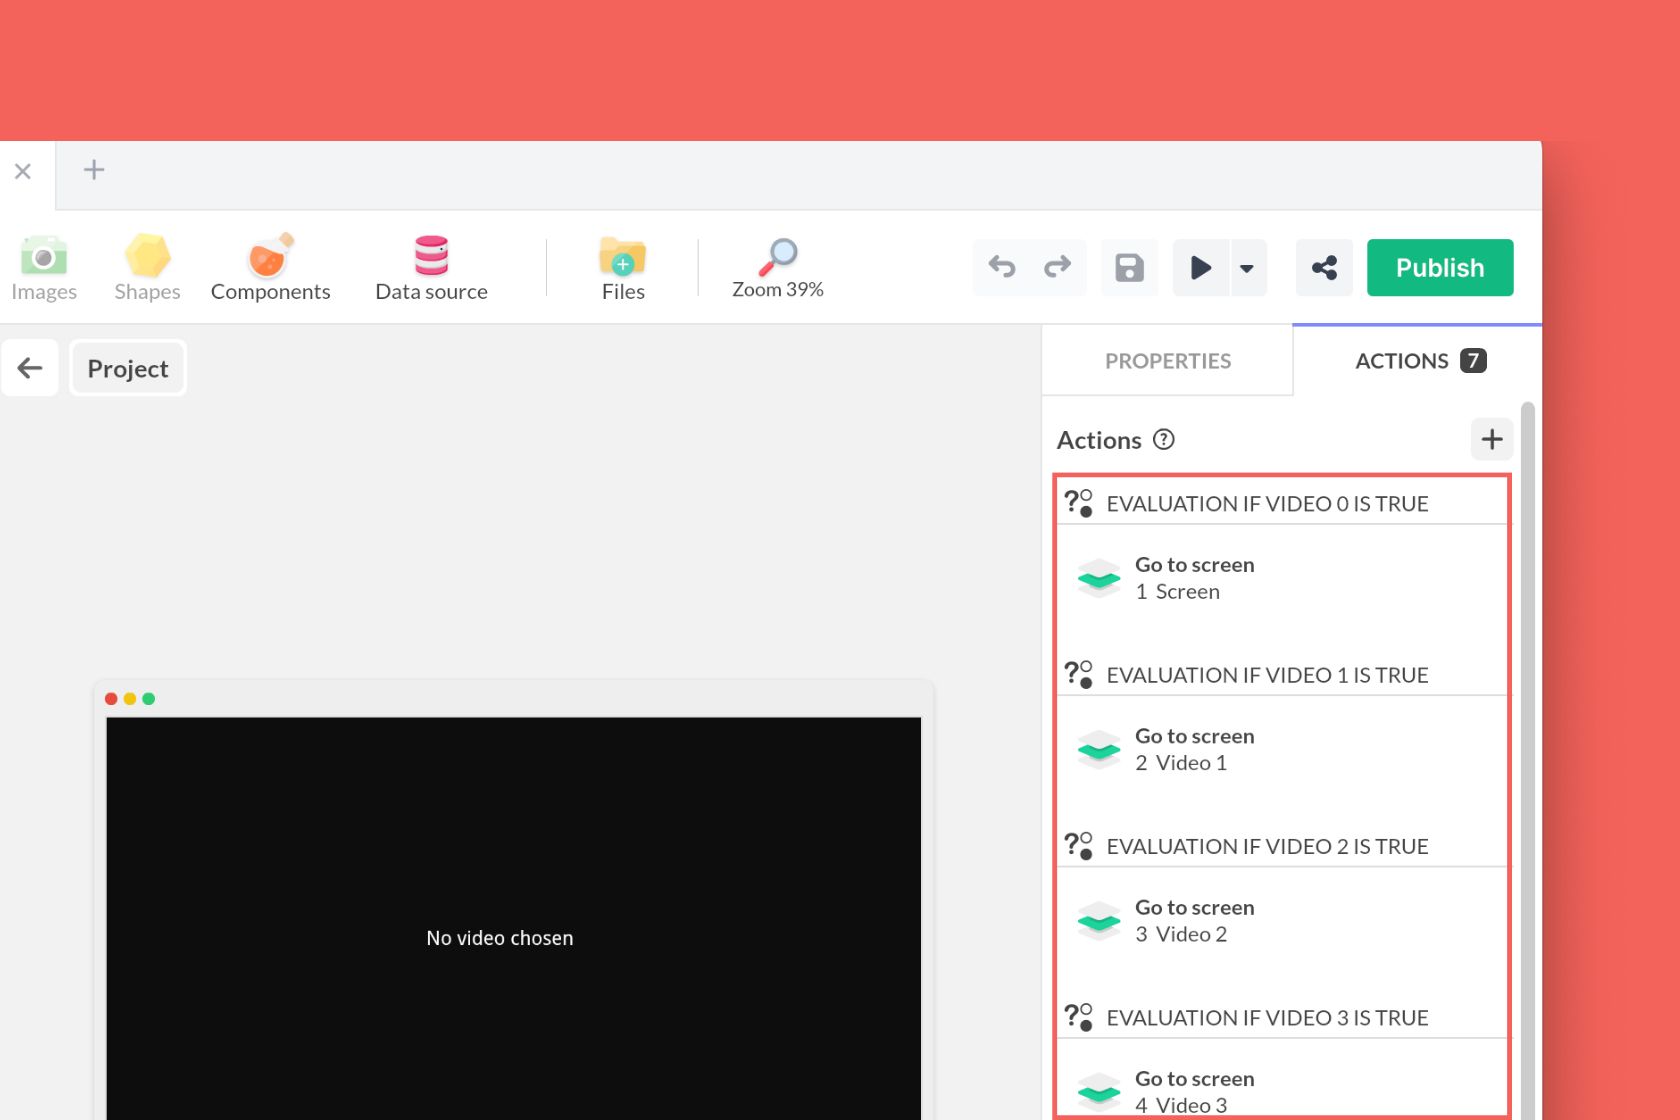
Add the corresponding actions.
App-to-App Controller
Add this template to your account in just a few clicks. Edit and customize it freely.
→ Add this template to your accountApp-to-App Display
Add this template to your account in just a few clicks. Edit and customize it freely.
→ Add this template to your accountReceiving UDP Messages in PandaSuite
Many devices on a local network simply send a short text message to a fixed IP address and port: RFID or barcode readers, sensors, lighting desks, show controllers. The local server can listen for these raw UDP messages and place them in the shared data, so your project reacts to a physical device without any other software on the machine.
Step 1: Start the Server on the Listening Port
Launch the local server with the --udp-inspect option and the port your device sends to:
./shared-schema-macos --udp-inspect 8001To listen on several ports, pass them as a single comma-separated list:
./shared-schema-macos --udp-inspect 8001,8002The server listens on every IPv4 interface of the machine, so configure your device to send to the IP address of that machine. Port 3333 is reserved for the TUIO listener, which is always active.
Step 2: Read the Messages in Your Project
Add the App-to-App component, connect it to your local server and set the Room, as described above. Each message received on a port is then available in the component data under udpData[port]:
{ "message": "1,ON", "from": "192.168.1.100", "seq": 12}message: the text sent by the device, read as UTF-8 (trailing line breaks are removed).from: the IP address of the device that sent the message.seq: the number of messages received on this port since the server started.
Enter the component context in PandaSuite Studio to watch these values update in real time, then bind them to the elements of your project.
Bind the whole udpData["8001"] object, or its seq value, rather than
message alone. A binding refreshes when the value it points to changes: if
the device sends the same text twice in a row, only seq changes, so a
binding on message would ignore the second message.
The last message received stays in the shared data: a device that reconnects to an existing room receives it right away. A room created after the message arrives stays empty until the next one.
Example: an RFID reader sends 1,ON when a tag is placed on it and 1,OFF when it is removed. Bind udpData["8001"], extract the tag number and the state from message with the Split function, then use a Conditions component to display the matching content.
Integrating TUIO in PandaSuite
The TUIO protocol is an open standard designed to transmit multitouch or tangible interaction data in real time, making it an ideal solution for innovative interactive interfaces or connected physical installations.
Here’s how to integrate it using the App-to-App component:
- Add the App-to-App component to your project in PandaSuite Studio.
- Configure it to connect to your server’s local address.
- Ensure the host
shared-schema.panda.stcorrectly points to your machine.
The server, launched with the option -t, captures TUIO data on the defined port and transmits it to the App-to-App component.
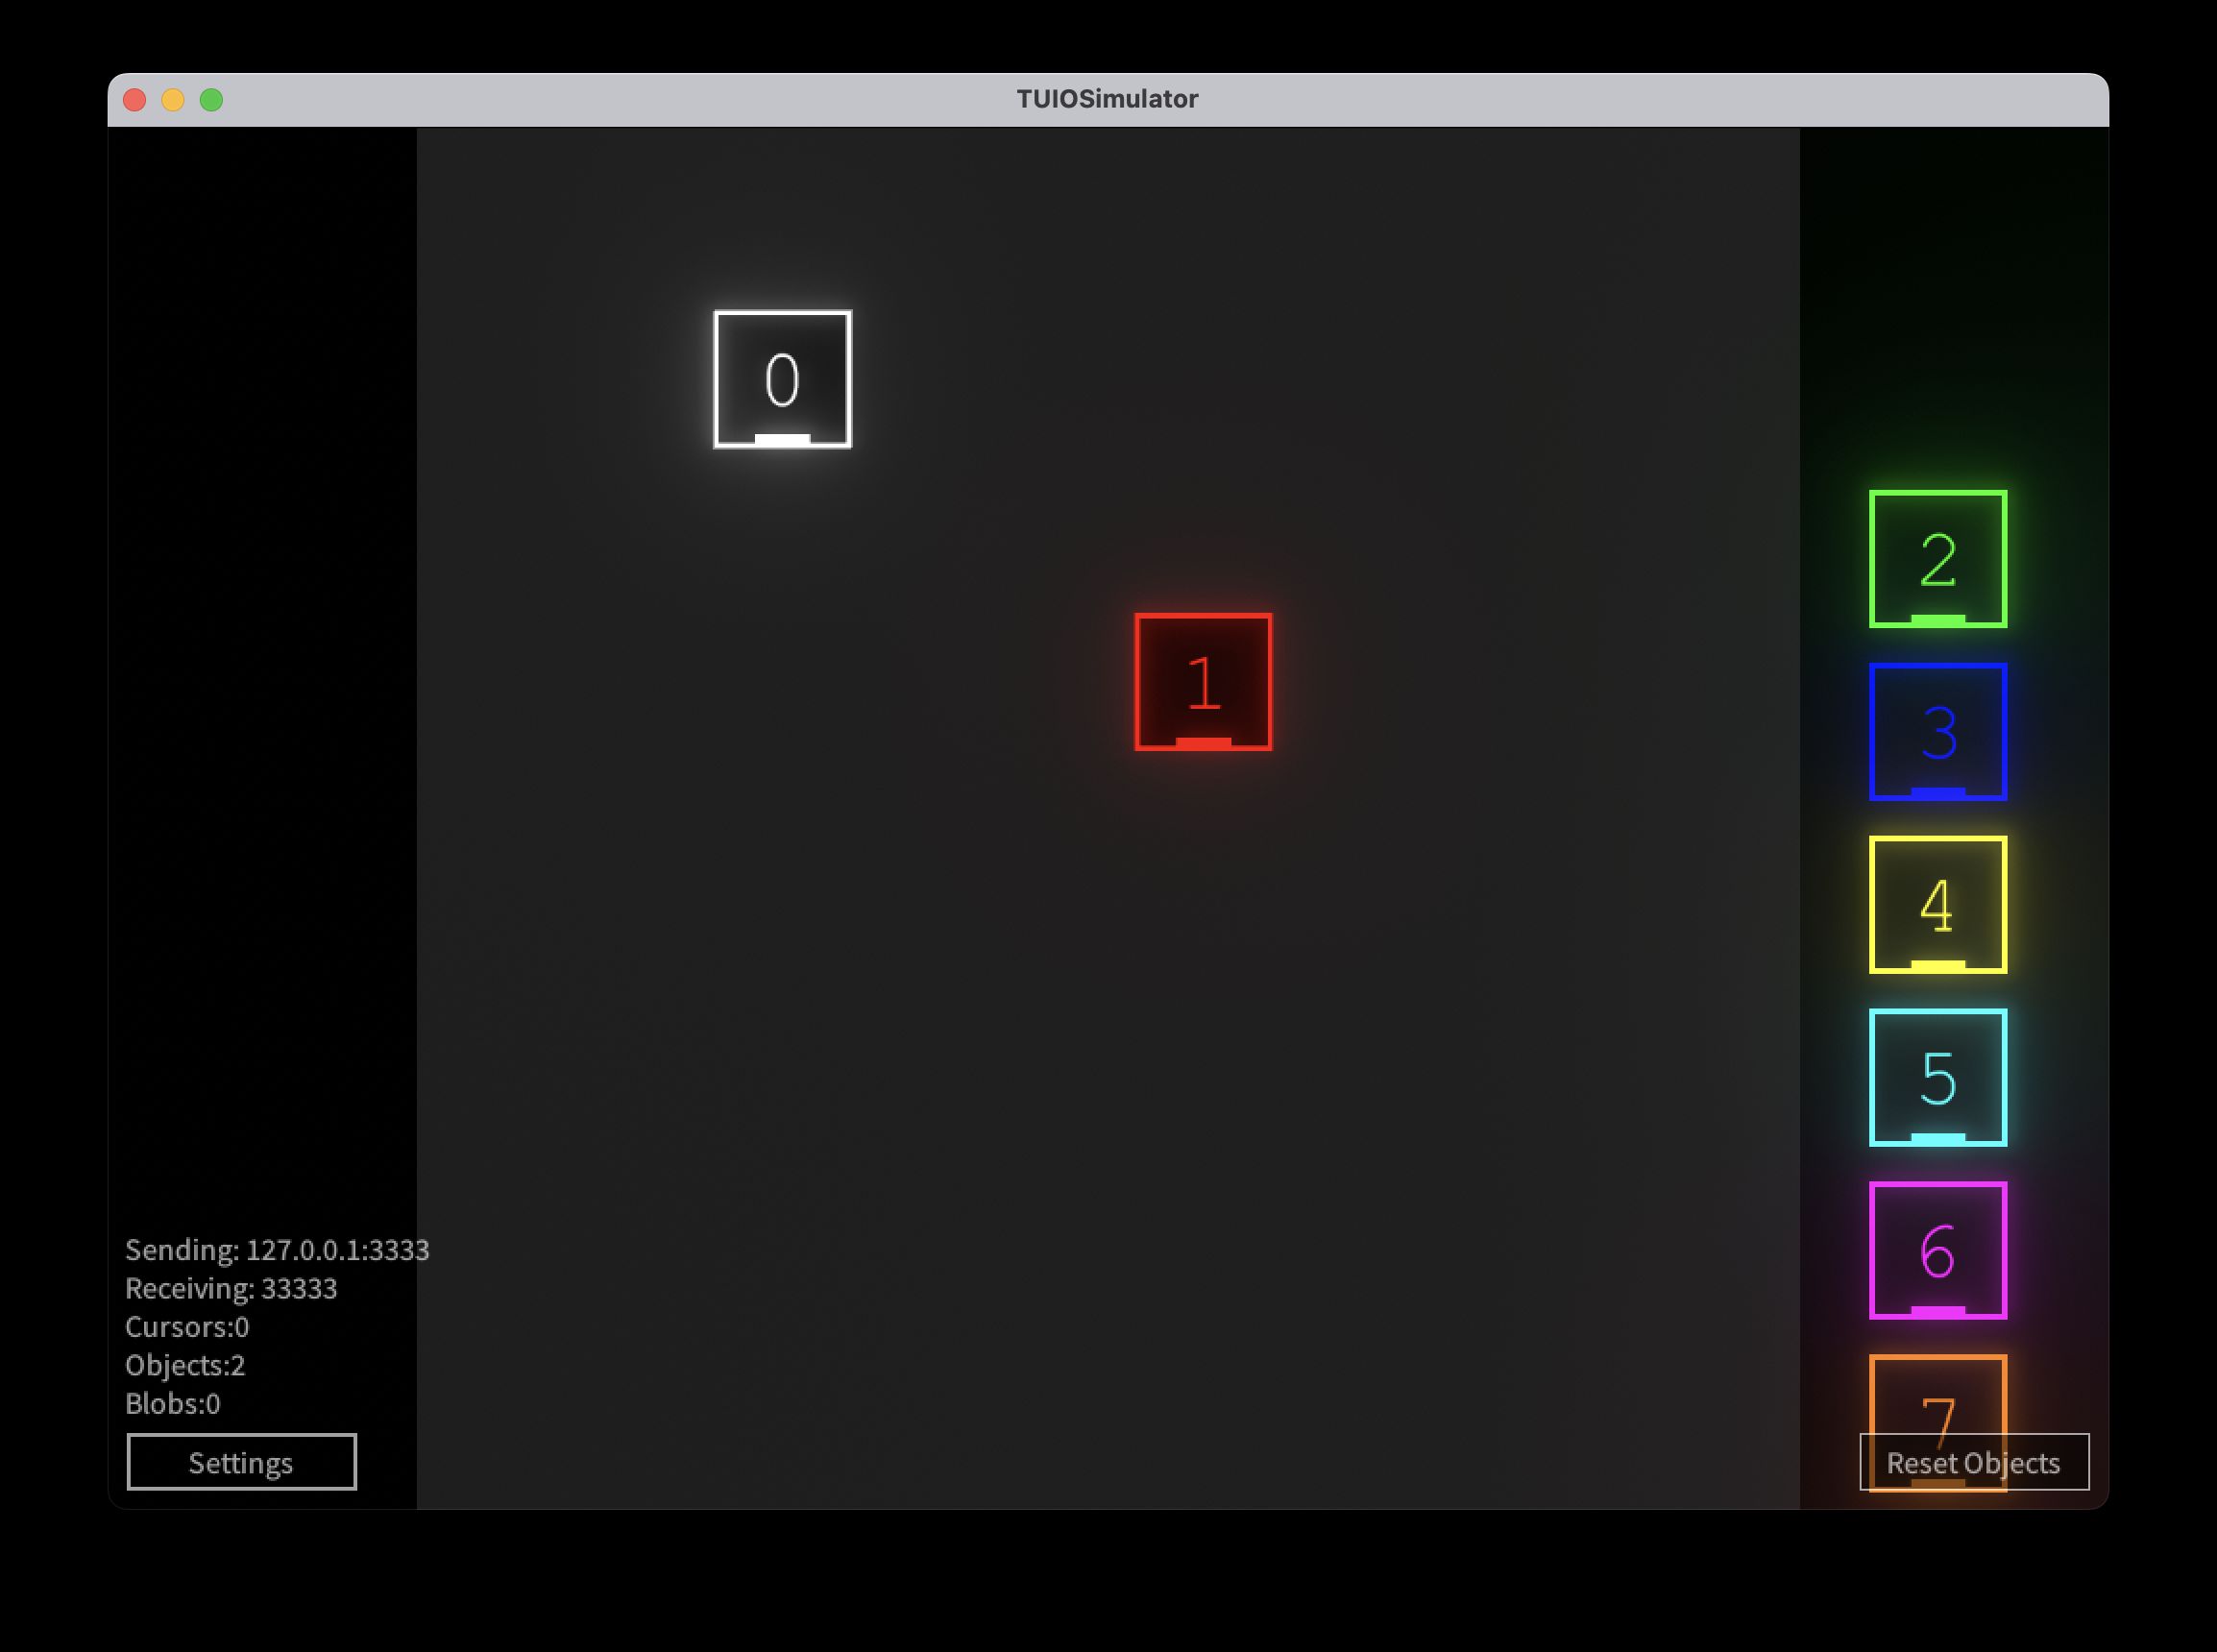
You can use a simulator like TUIOSimulator to test interactions:
- Place objects on the simulator scene.
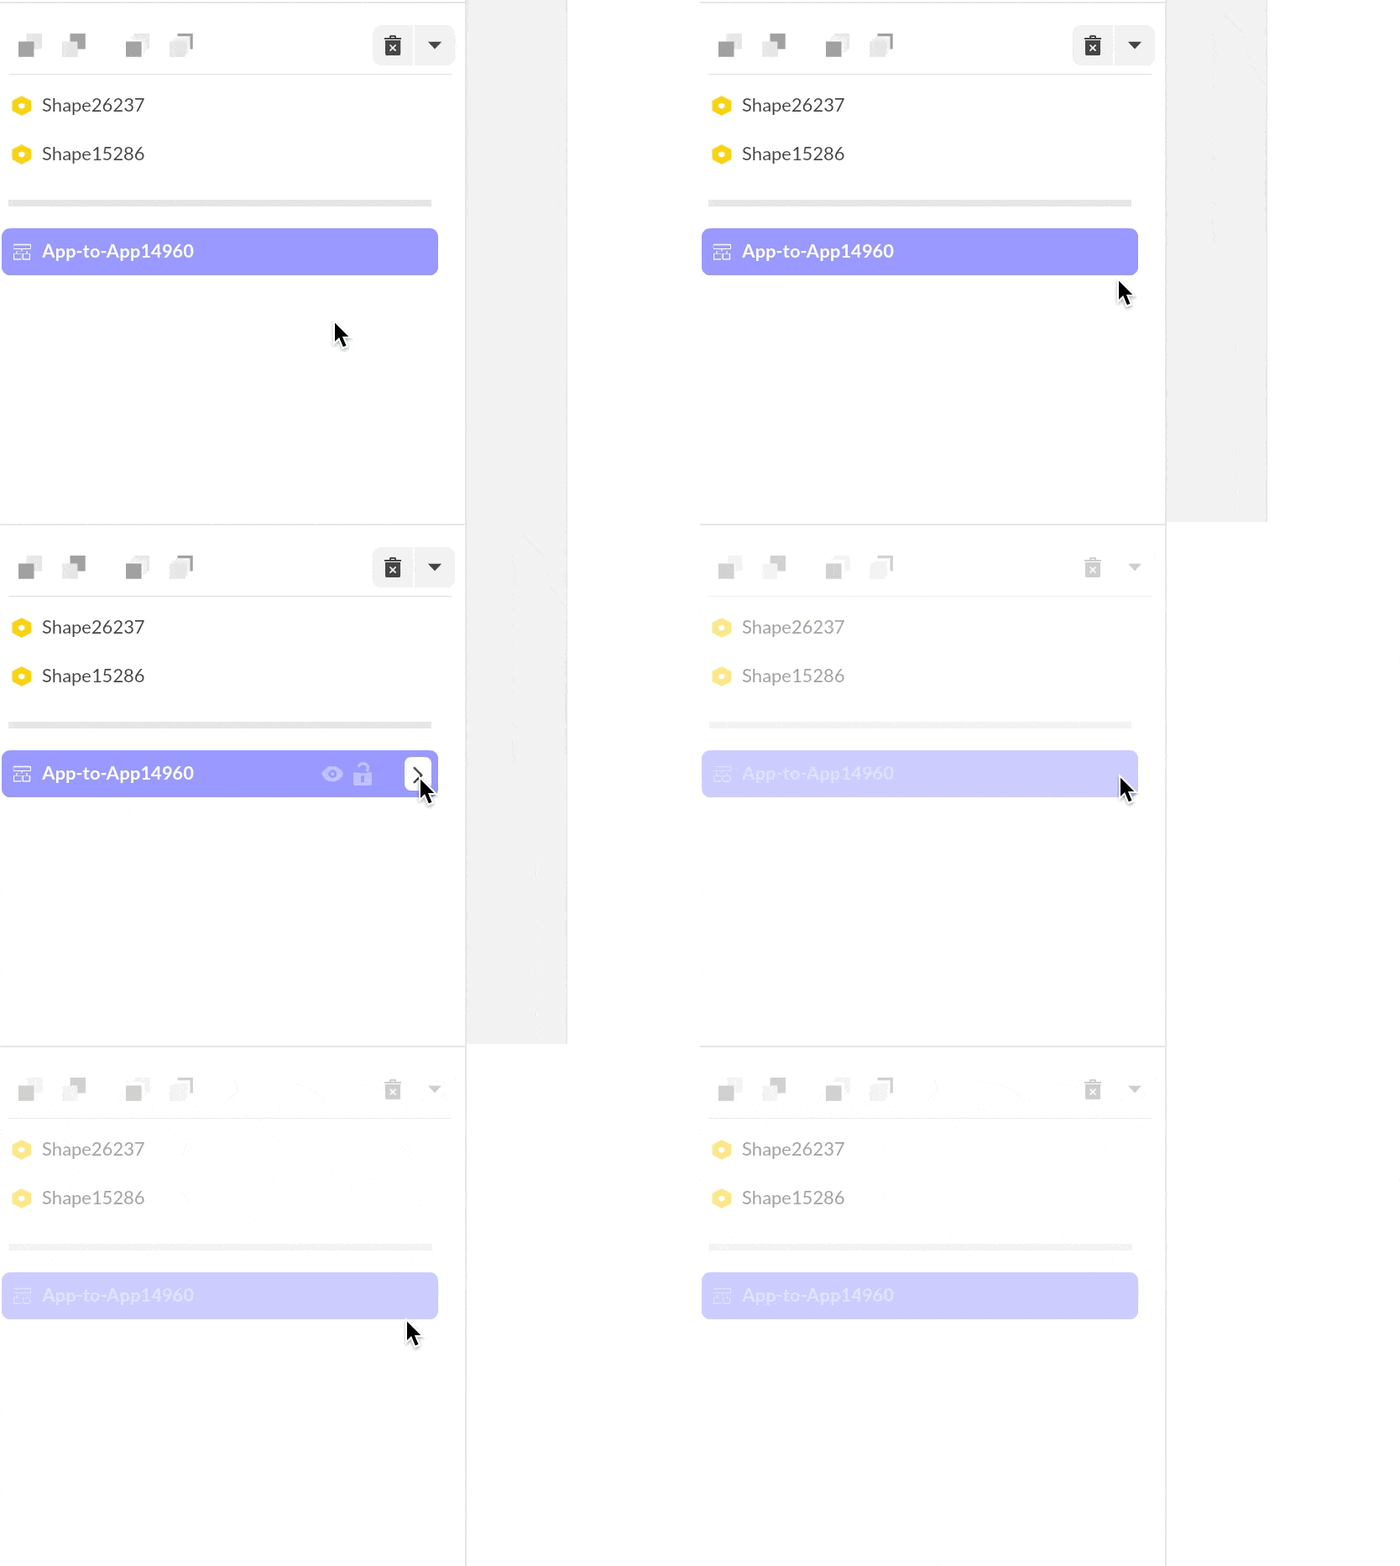
- In PandaSuite Studio, enter the component context to view TUIO data in real time.
- Link the physical objects’ positions to elements in your application.
And here is the final result:
TUIO
Add this template to your account in just a few clicks. Edit and customize it freely.
→ Add this template to your account