
Motion / Blow / Compass / Shake
Why keep things classic when you can tap into the full range of tablet features: imagine users turning, shaking or blowing on their tablet to interact with your app! Sensors can make that happen! :)
To add a sensor, click on the Components icon and select your sensor. It will then become accessible from the List of Objects, at the bottom left of your screen - as otherwise your component is not visible on your state.
There are two main ways to use sensors:
- by synchronizing them with other objects (see Use synchronization)
- by defining some markers that will serve as triggers for actions (see Learn about markers)
Motion Sensor
Motion Sensor takes into consideration tablet moves in terms of tilt or orientation.
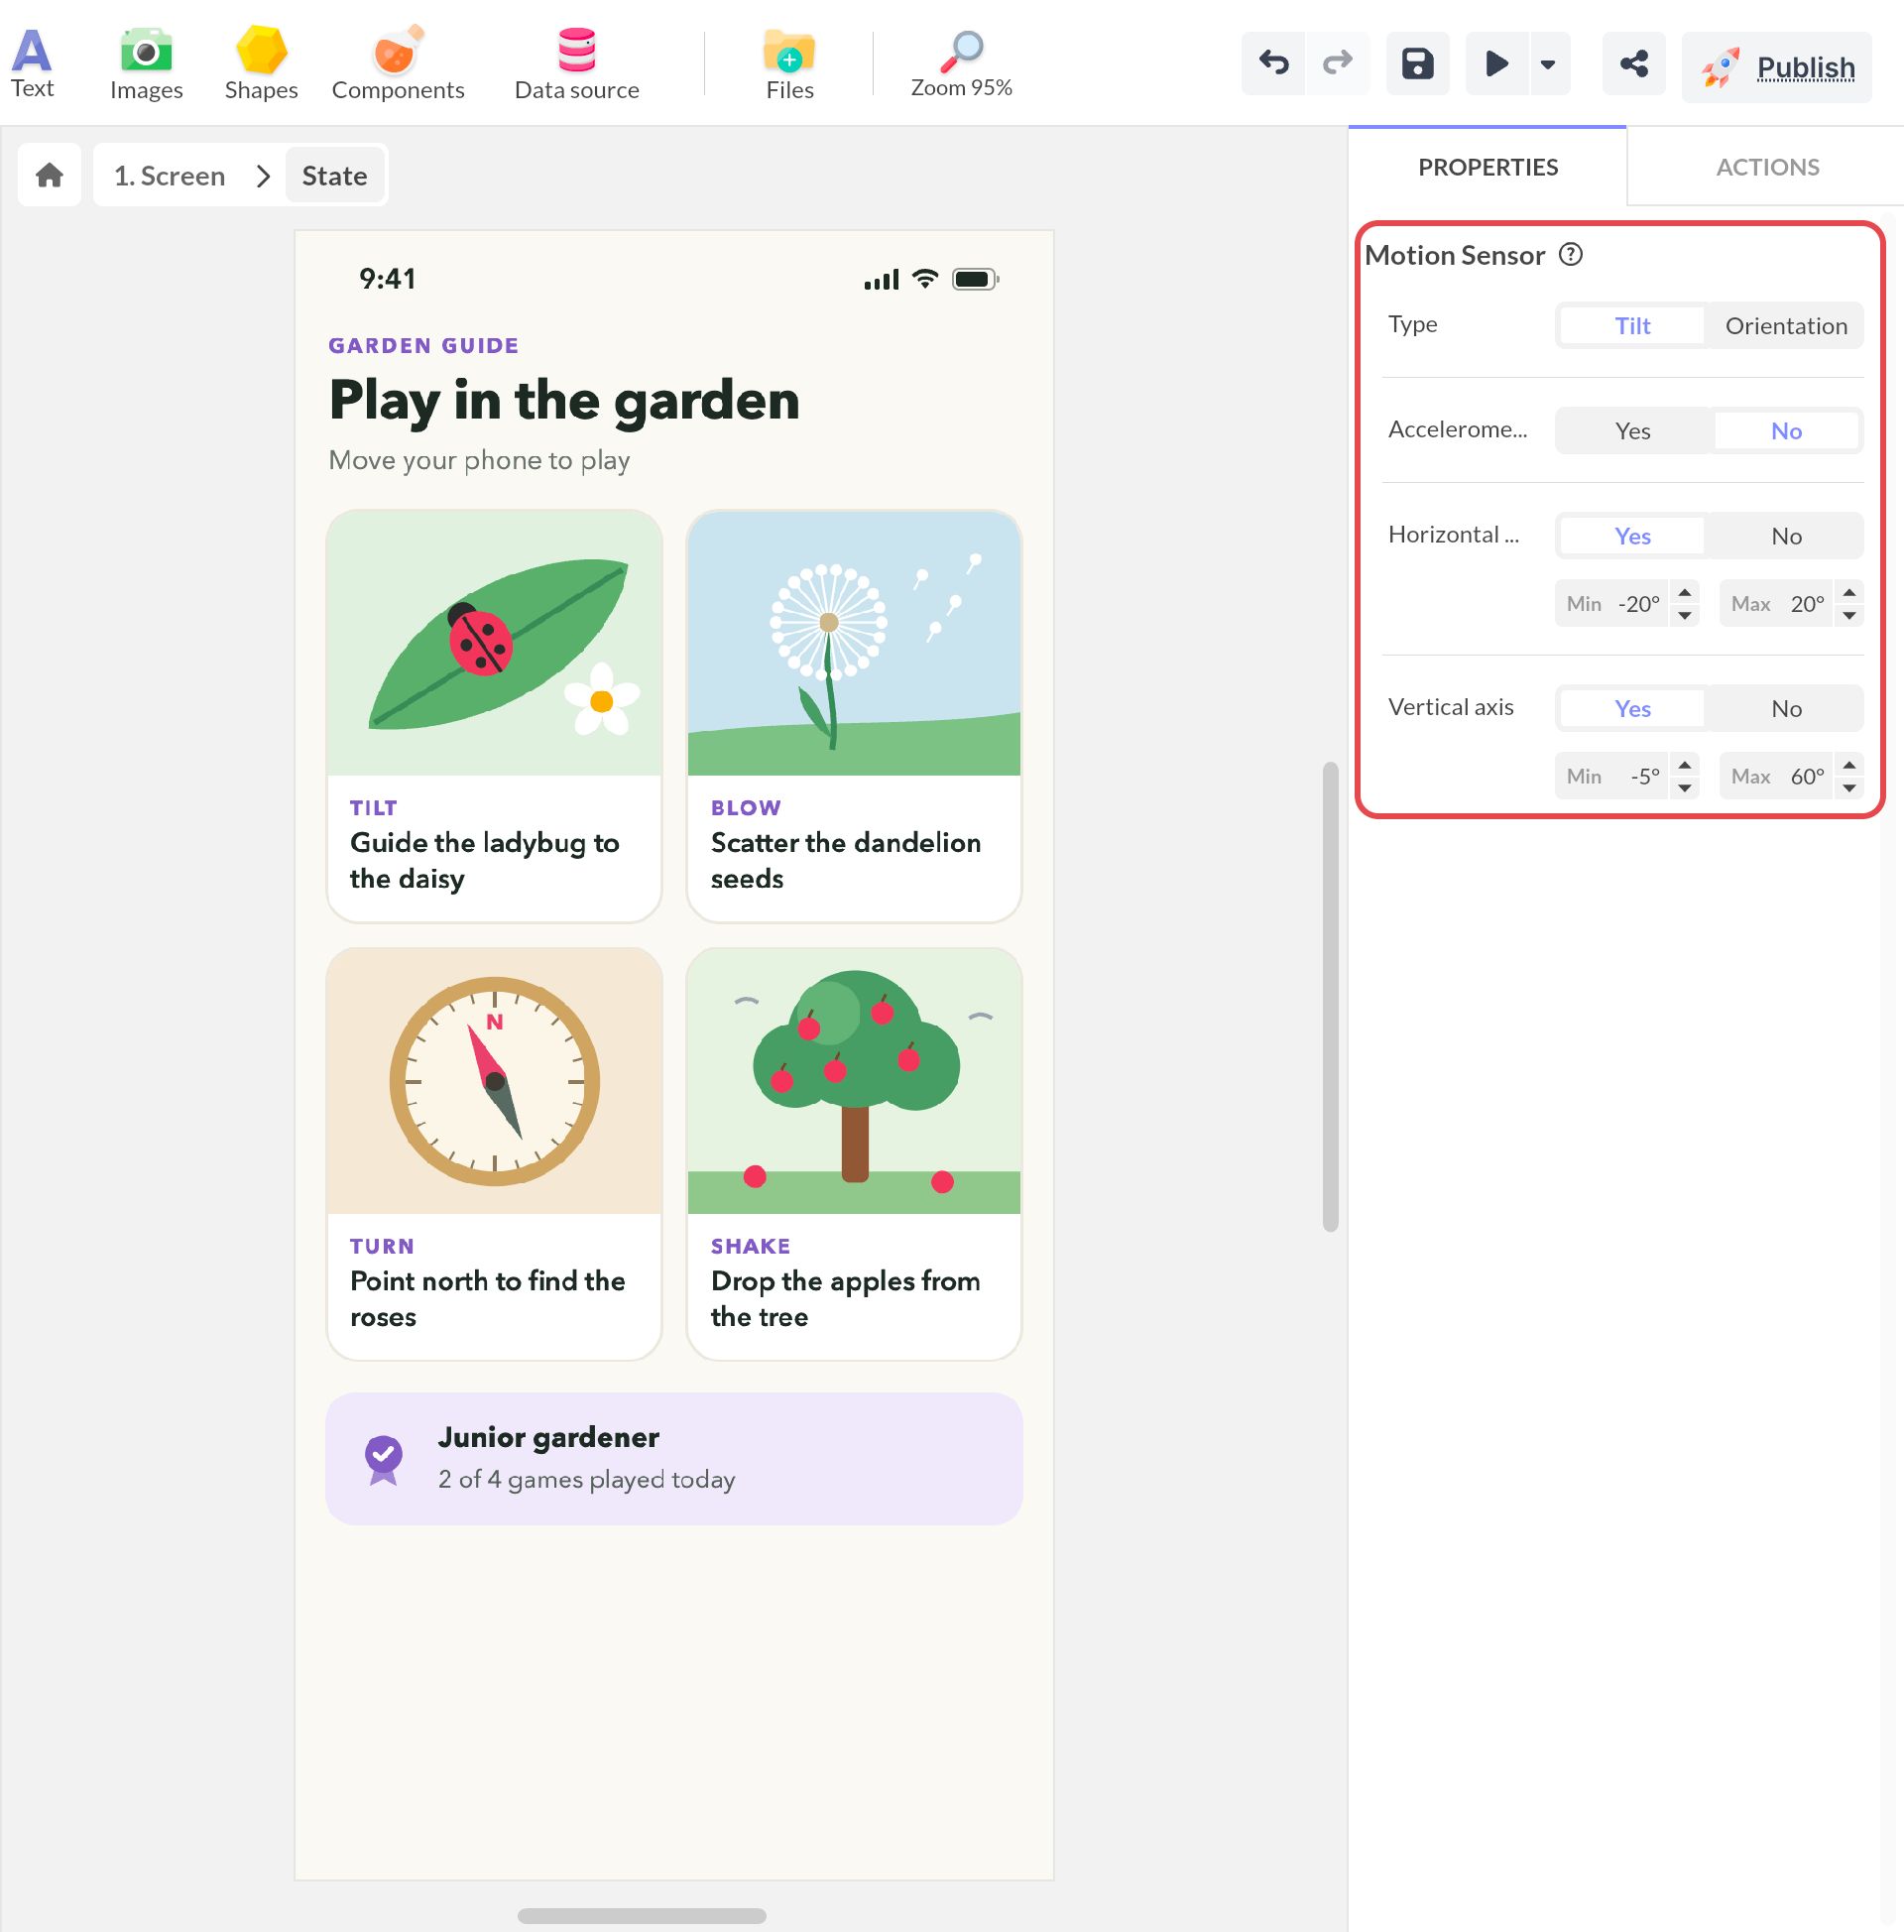
The Properties panel gives you access to the following settings:
- Markers: click on the arrow of the sensor in the Objects List to enter its edit mode and define the tilts to which you can link specific actions (see Learn about markers).
- Accelerometer: to choose if you want to use the accelerometer, i.e. base an action’s sensivity on the strength of the user’s movement.
- Type: to define whether the tablet will detect a movement based on its tilt or on its orientation, and also what type of axis (horizontal and/or vertical).
- Horizontal axis Min/Max (degree): lets you define the horizontal amplitude required to fully execute the requested action.
- Vertical axis Min/Max (degree): lets you define the vertical amplitude required to fully execute the requested action.
Example: Manage a sequence using my tablet’s horizontal tilt
- Add the Sequence, configure it and add a Motion sensor component.
- In the Properties panel of the sensor, keep only the horizontal axis and its default properties.
- Insert a Synchronization component and in the Properties panel, click on + ADD COMPONENTS. Select the Sequence and the Motion Sensor.
- Define the synchronizable properties: frames for the sequence and horizontal axis for the motion sensor.
Blow Sensor
The Blow Sensor detects when your user blows on the tablet.
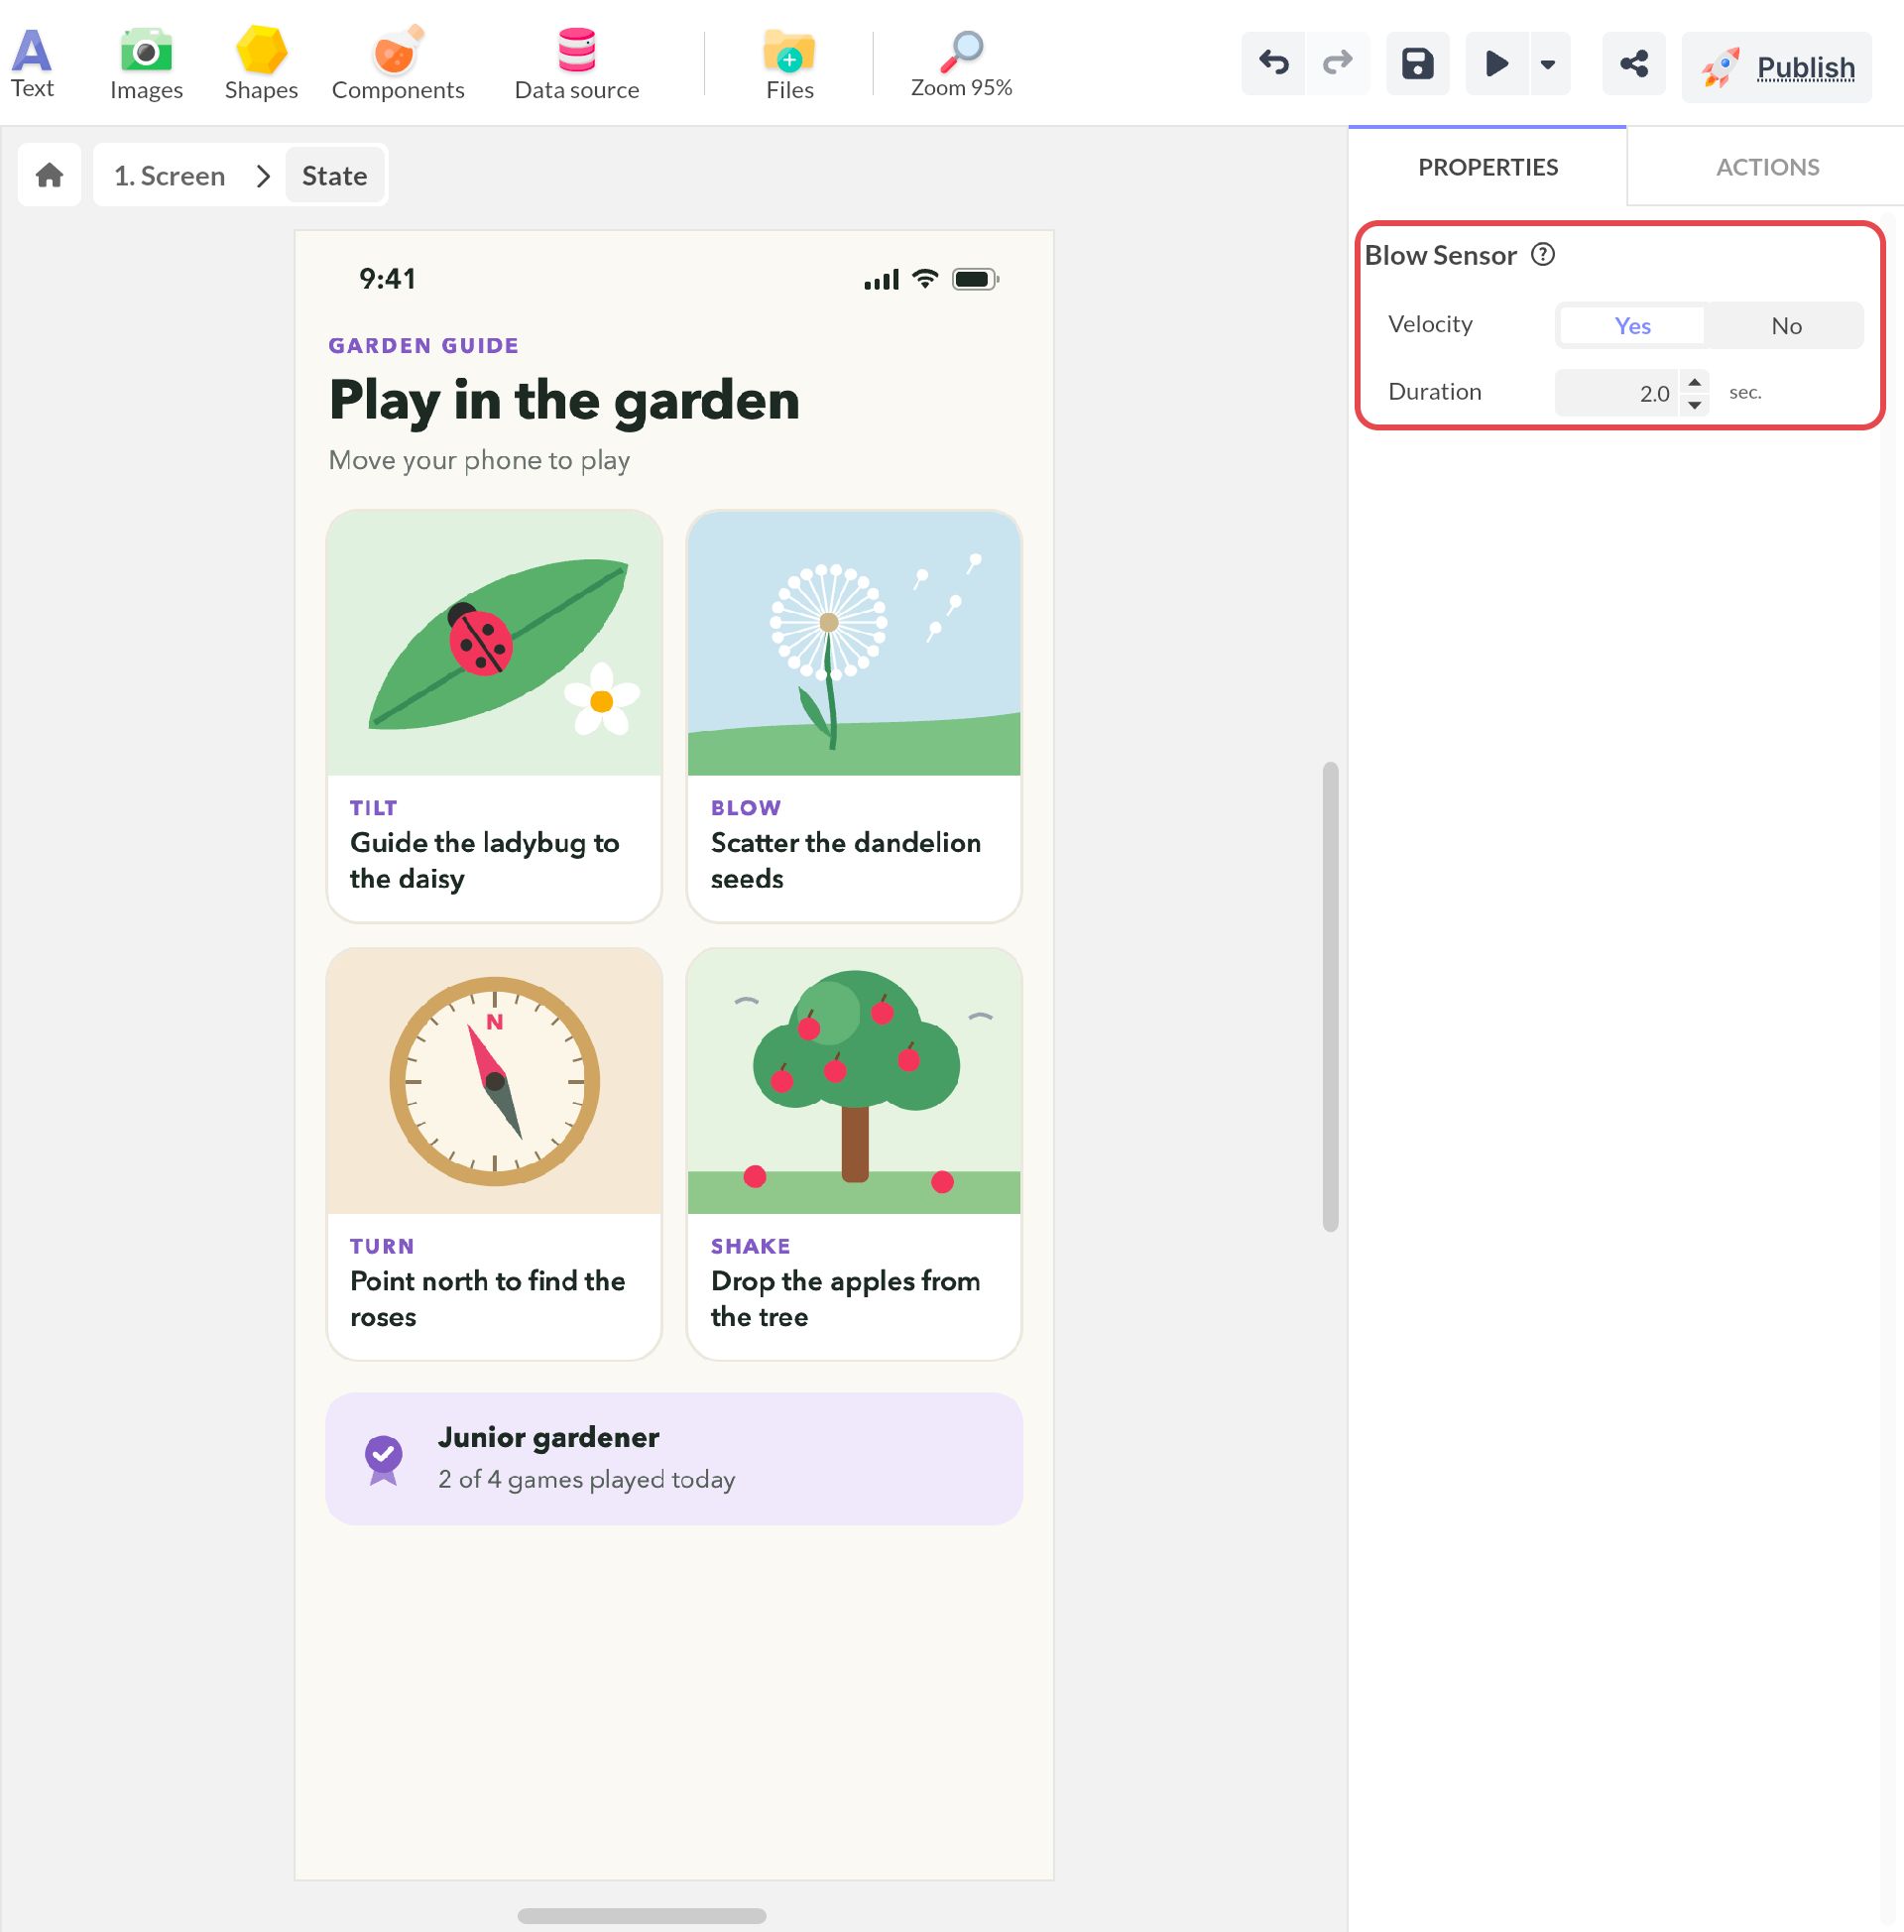
The Properties panel gives you access to the following settings:
- Markers: click on the arrow of the sensor in the Objects List to enter its edit mode and define the stages of the blow to which you can match specific actions (see Learn about markers).
- Velocity: you can choose to apply velocity, i.e. match the speed of execution of an action to the intensity of the user’s blow
- Duration: to define the duration required to fully execute the requested action.
Please note: your user has to blow in front of your tablet micro for his/her action to be recognized. Where the micro is located depends on the version of the tablet: on the iPad Air, you’ll find it next to the volume control buttons, on the edge, but on the older iPads it’s located on the front, next to the camera.
Example: Get a shape to move from one side of the screen to the other, when the user blows on the tablet.
- Create a first state containing a shape located on the left of the screen and a second state (based on this first state) in which you move this shape to the right of the screen.
- In the first state, insert the Blow Sensor, which then shows up in the List of Objects. In the Properties panel, set Velocity to Yes so that the shape will move according to the intensity of the blow and define how long your users need to keep blowing (for example 4 seconds).
- Click on the arrow of the Blow Sensor in the Objects List to enter its edit mode: go to 2.0 seconds and create a marker with the + button.
- To create interactivity: select the Blow Sensor and open the Actions panel. Add an action and select your marker as the trigger. As an action, select Change screen state for state 2.
- Blow on your project: after 2 seconds, you’ll see the shape going from the left to the right.
Compass Sensor
The Compass Sensor detects the tablet’s direction in terms of pivot angle. It can’t yet indicate you North or South, but it does rely on the magnetic field to assess the tablet’s position.
Only for iOS & Android apps: These features are only available for native apps.
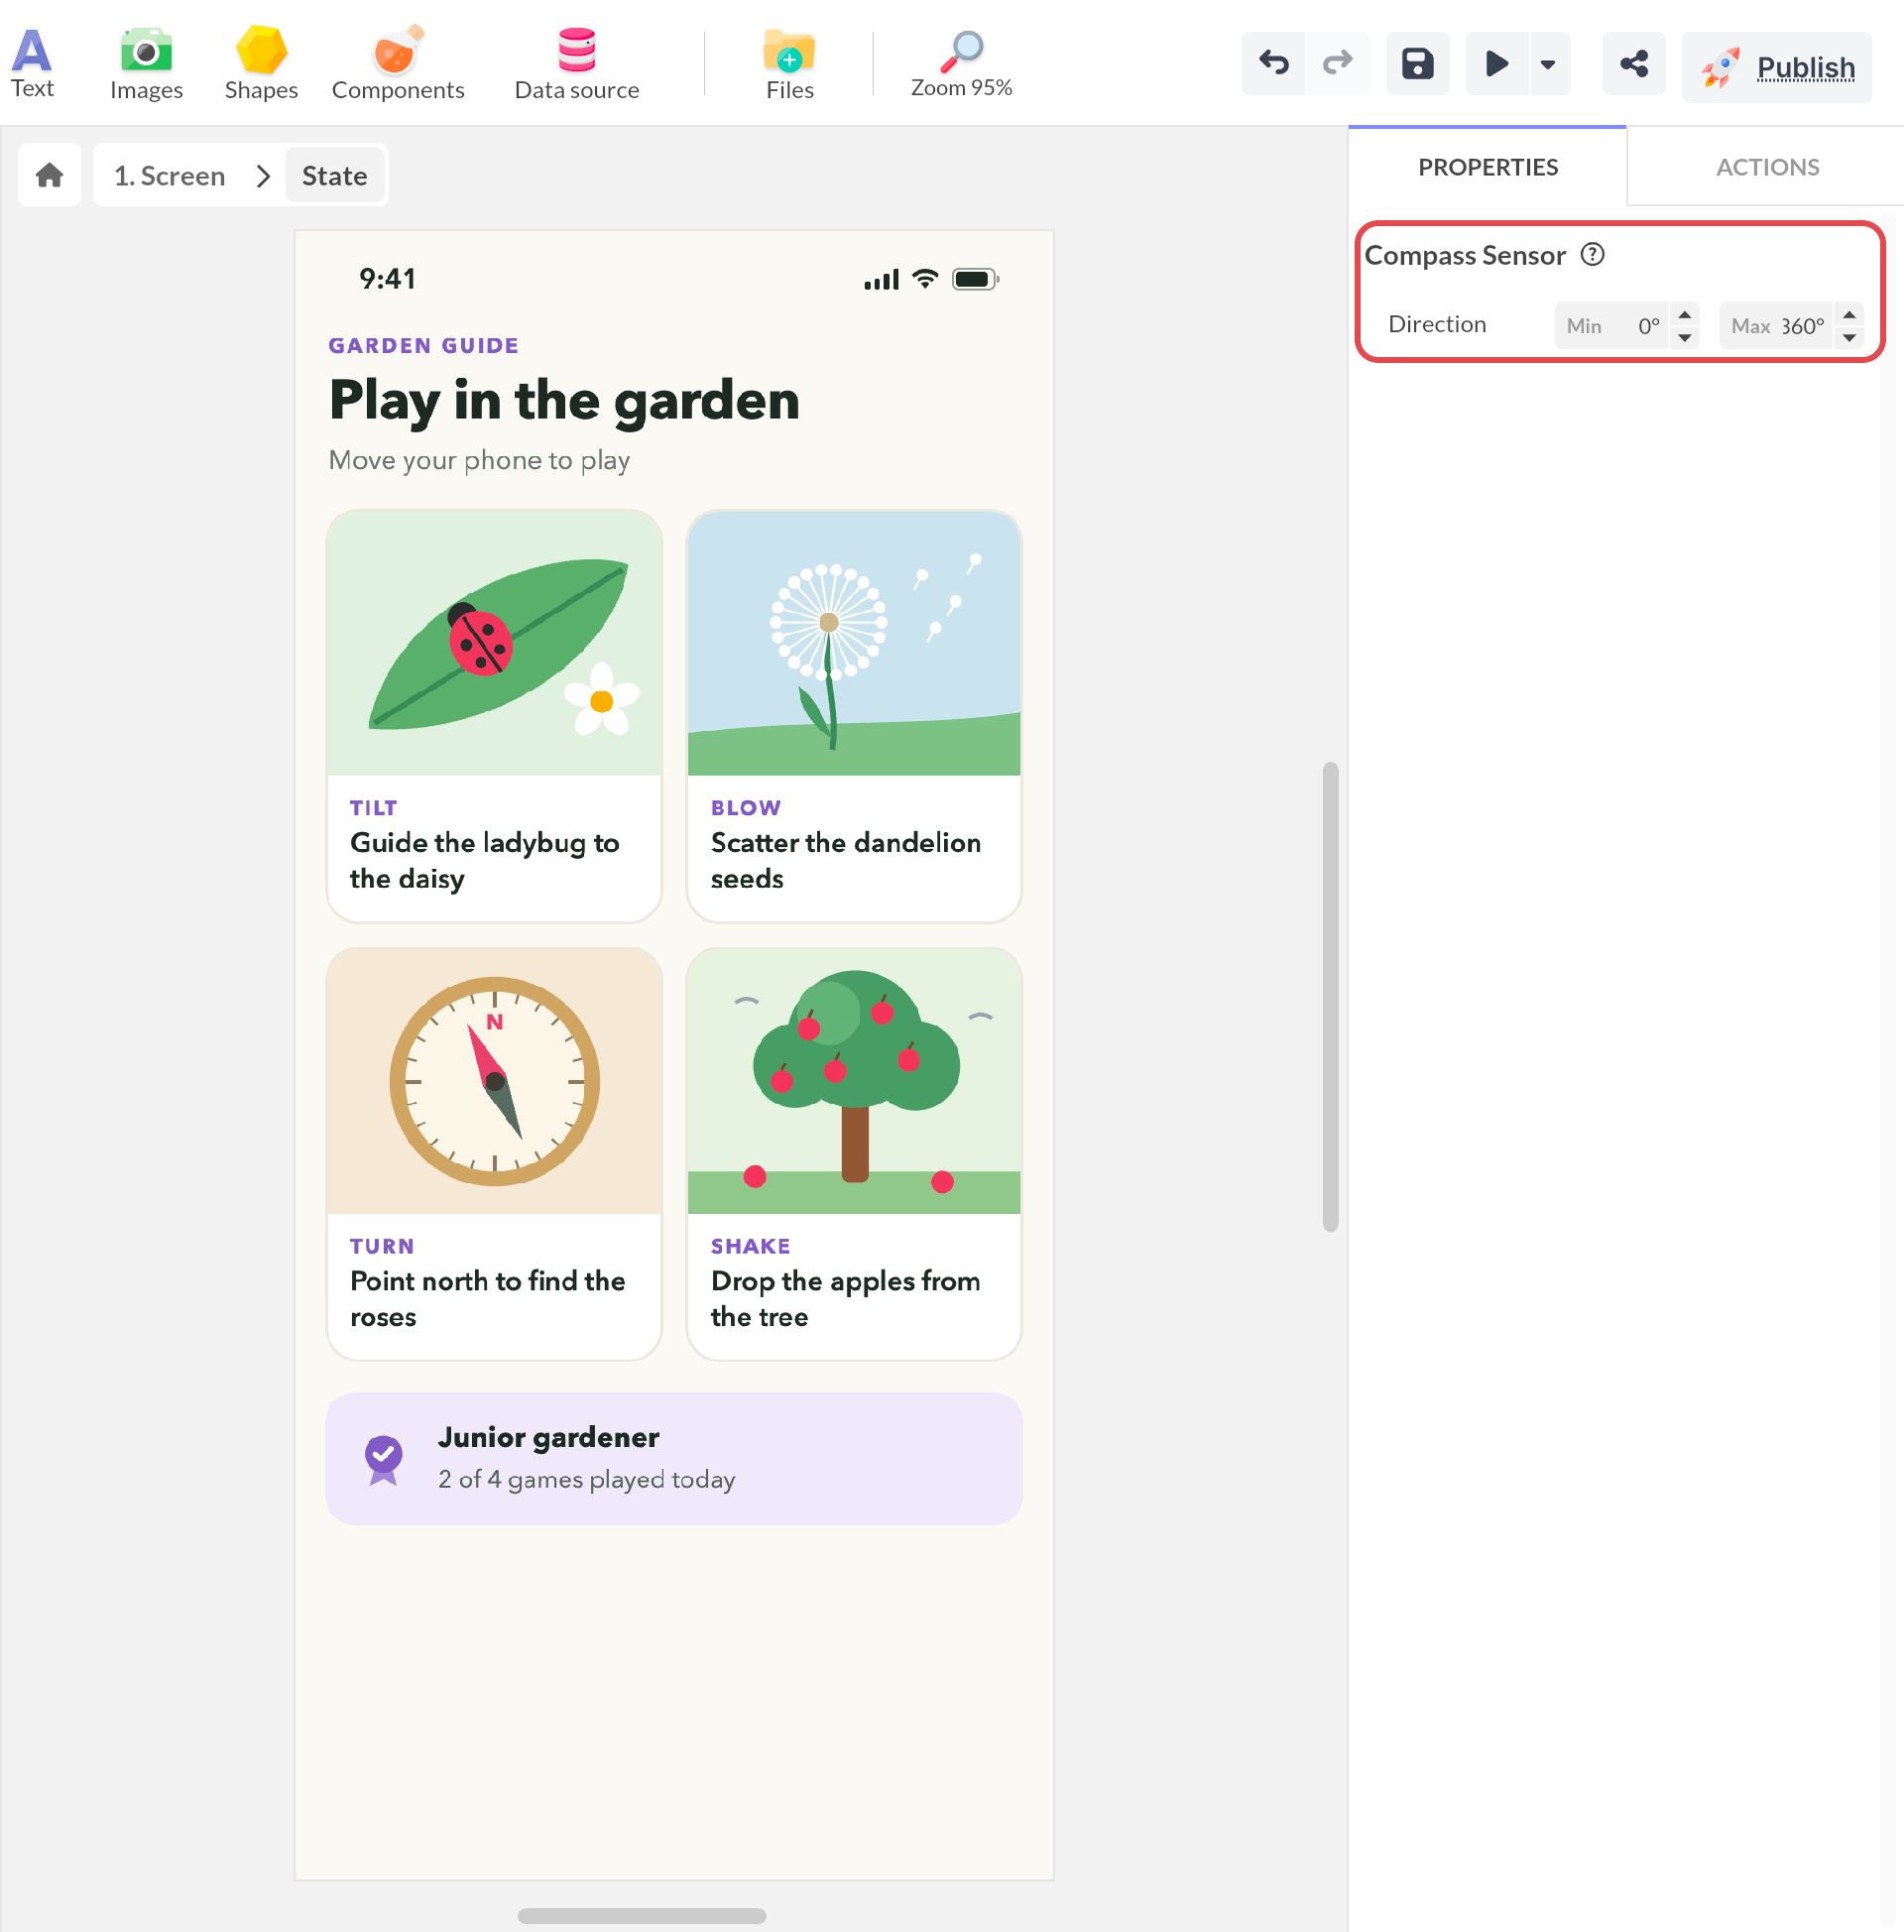
Compass Sensor properties:
-
Markers: click on the arrow of the sensor in the Objects List to enter its edit mode and add directions, i.e. mark specific angles in the pivoting movement to which you can match particular actions (see Learn about markers).
-
Direction Min/Max (degree): use this to define the amplitude requested to fully perform the requested action (360° maximum)
Example: Unveil more images when moving the tablet.
- Create an horizontal Scrolling Area component in which I add an landscapte image. Insert a Compass Sensor component.
- Add a Synchronization component: in its Properties panel, select the Scrolling Area and Compass Sensor components.
- Define the synchronizable properties: directions for the Compass Sensor, x positions for the Scrolling Area (horizontal scrolling).
Shake Sensor
The Shake Sensor detects when the user shakes the tablet.
Best for mobile apps: These features are adapted for mobile applications (web and native). Desktop users can shake the mouse to trigger shake events.
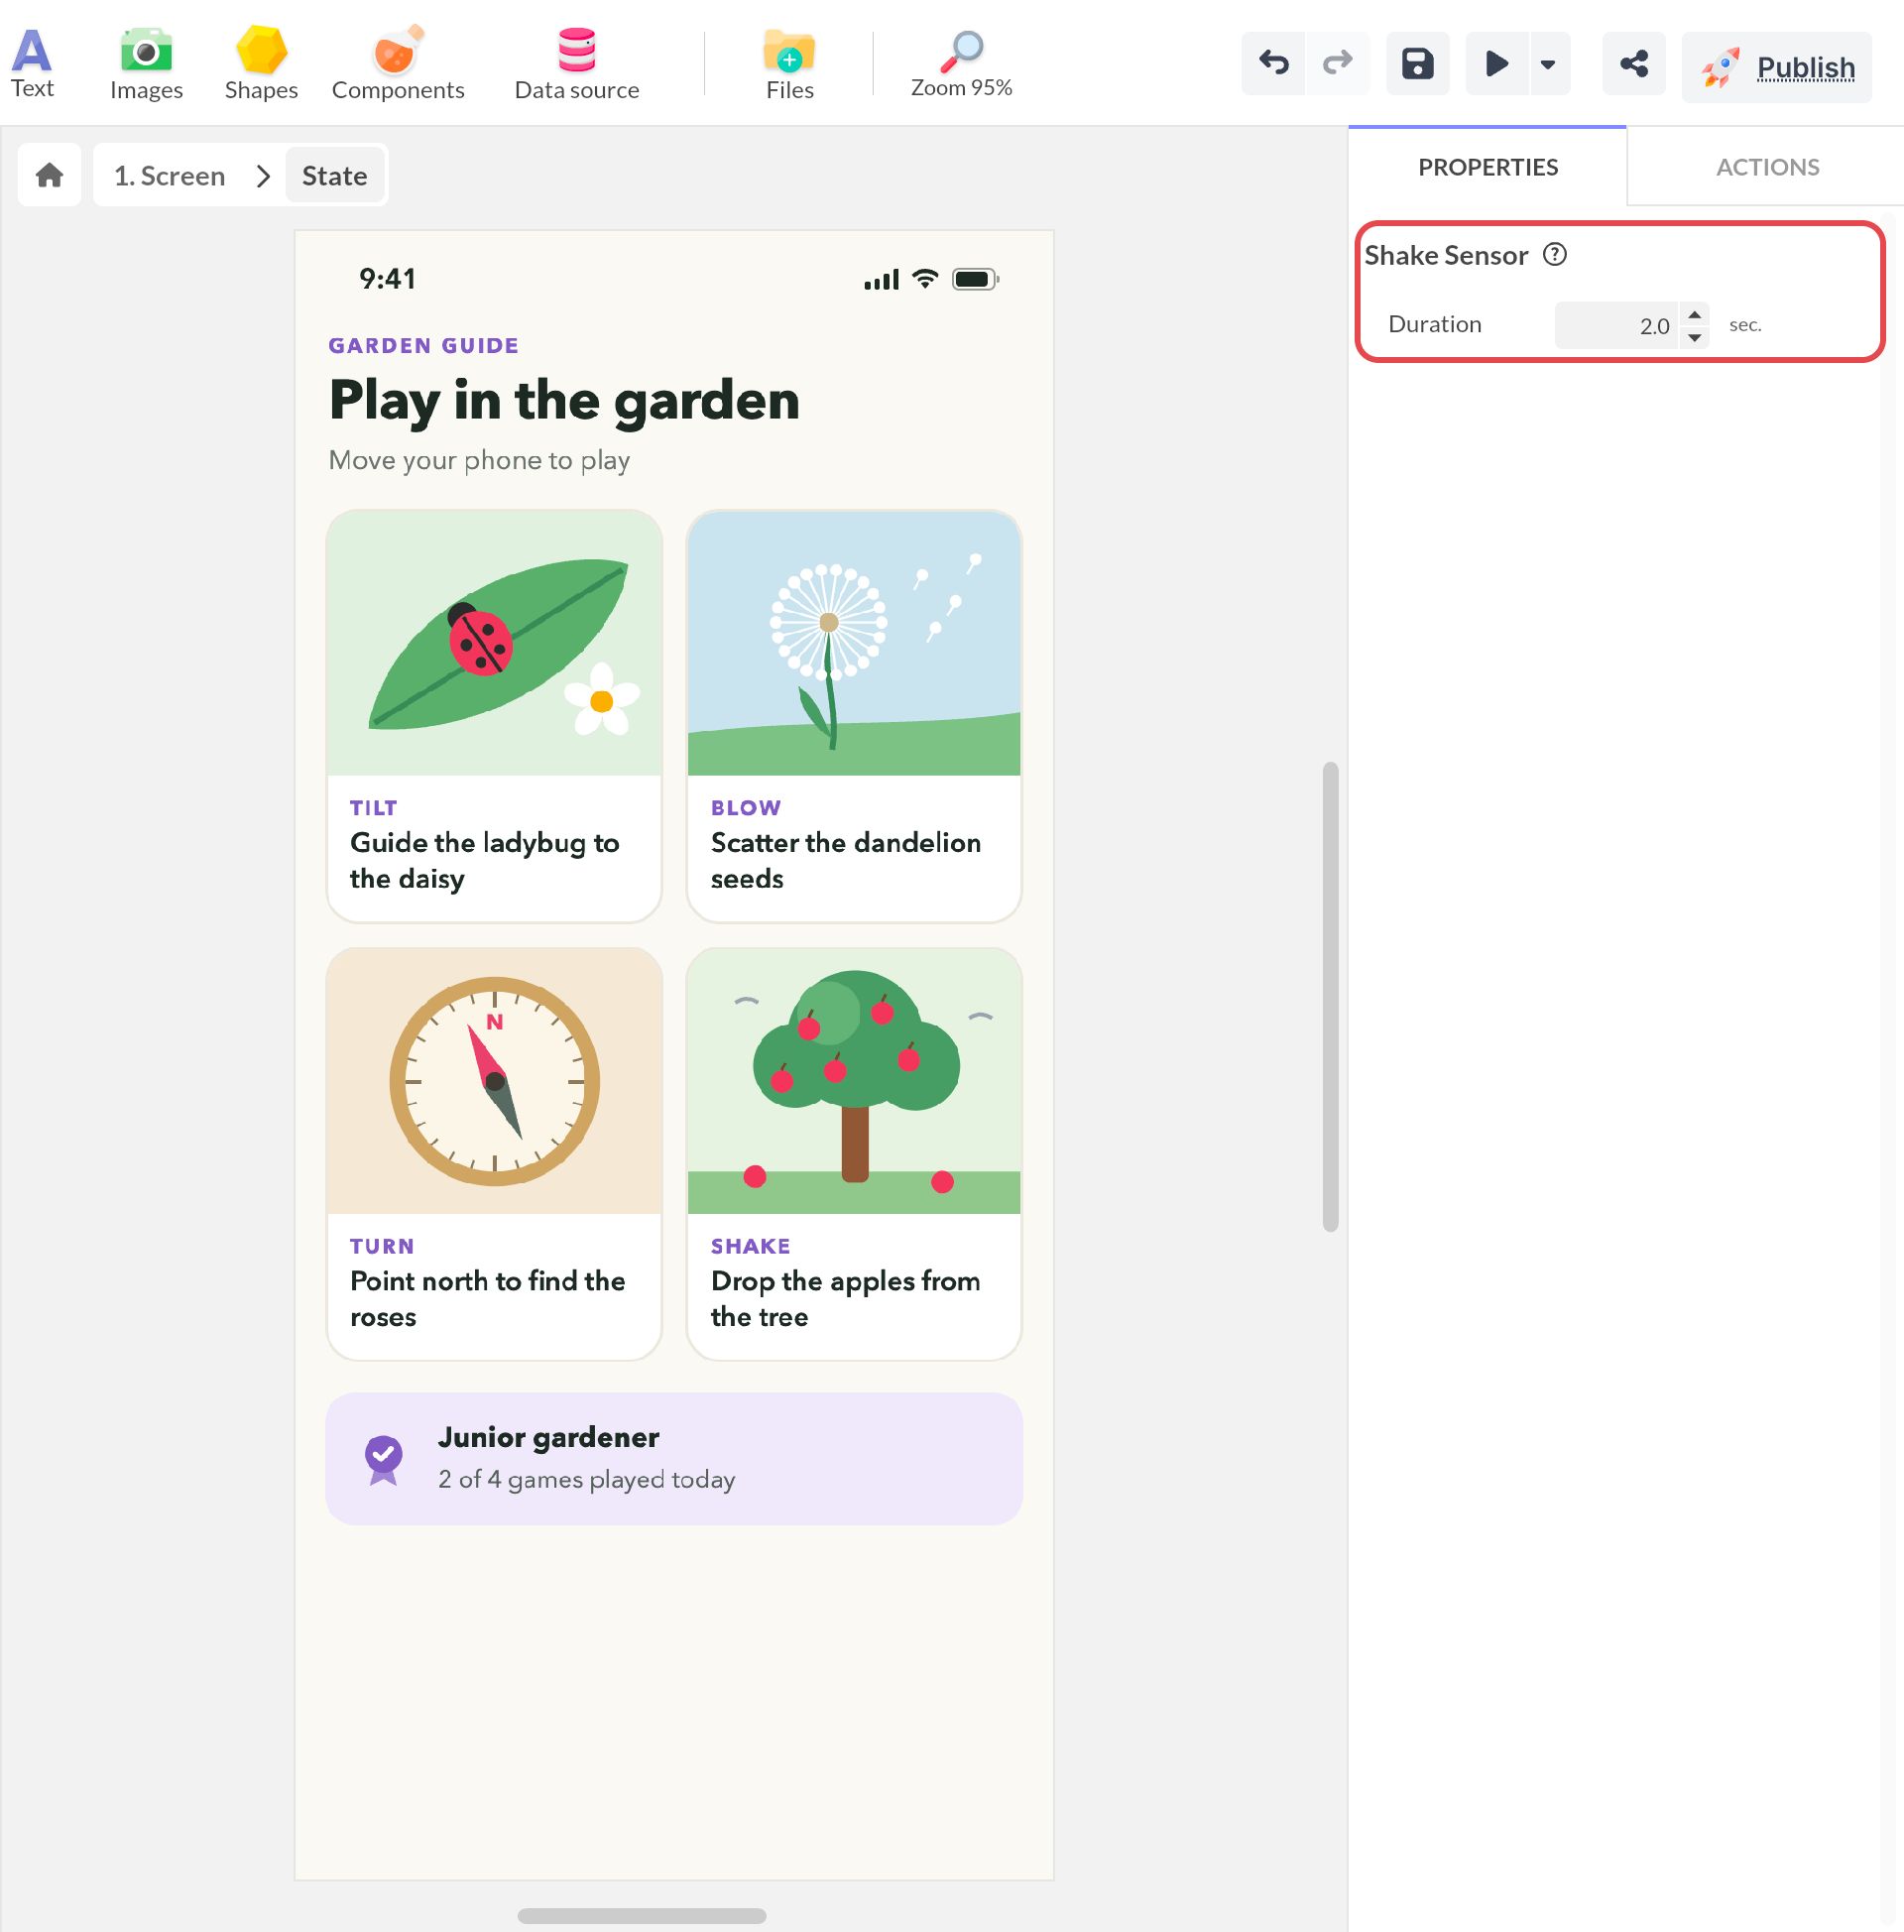
The Properties panel gives you access to the following settings:
- Markers: click on the arrow of the sensor in the Objects List to enter its edit mode and mark some moments in the shaking motion to which you can match specific actions (see Learn about markers).
- Duration: to define the duration required to fully execute the requested action.
Example: Get the user to “smash” a square shape by shaking the tablet
- Create a first state including four square shapes piled on each other and located at the center of the screen. Create a second state (based on this first state) in which you scatter those four squares proportionally in each diagonal (as the shape would look once smashed).
- In the first state, insert the Shake Sensor, which then shows up in the List of Objects. In the Properties panel, define how long the user needs to shake to trigger the action (for example, 2 seconds).
- Click on the arrow of the Shake Sensor in the Objects List to enter its edit mode: go to 1.0 second and create a marker with the + button.
- To create interactivity: select the Shake Sensor and open the Actions panel. Add an action and select your marker as the trigger. As an action, select Change screen state for state 2.
- Shake the tablet: after 1 second, you’ll see the smashing square.