Inactivity mode for touch screen kiosk
Learn how to create a screensaver for your touchscreen kiosk using the Timer component in Inactivity mode, along with redirection to a dynamic home screen.
Designing the Screensaver
The screensaver should be both attractive and informative. Here are a few elements you can include:
- Call-to-Action (CTA): encourage users to interact with the kiosk with a clear and engaging message like “Touch to start” or “Explore our collection”.
- Animations: engaging animations can catch the eye and spark curiosity. Use subtle animations to avoid overwhelming the screen.
- Information or promotions: use this screen to highlight important messages or ongoing promotions.
We recommend creating this screensaver in a new screen.
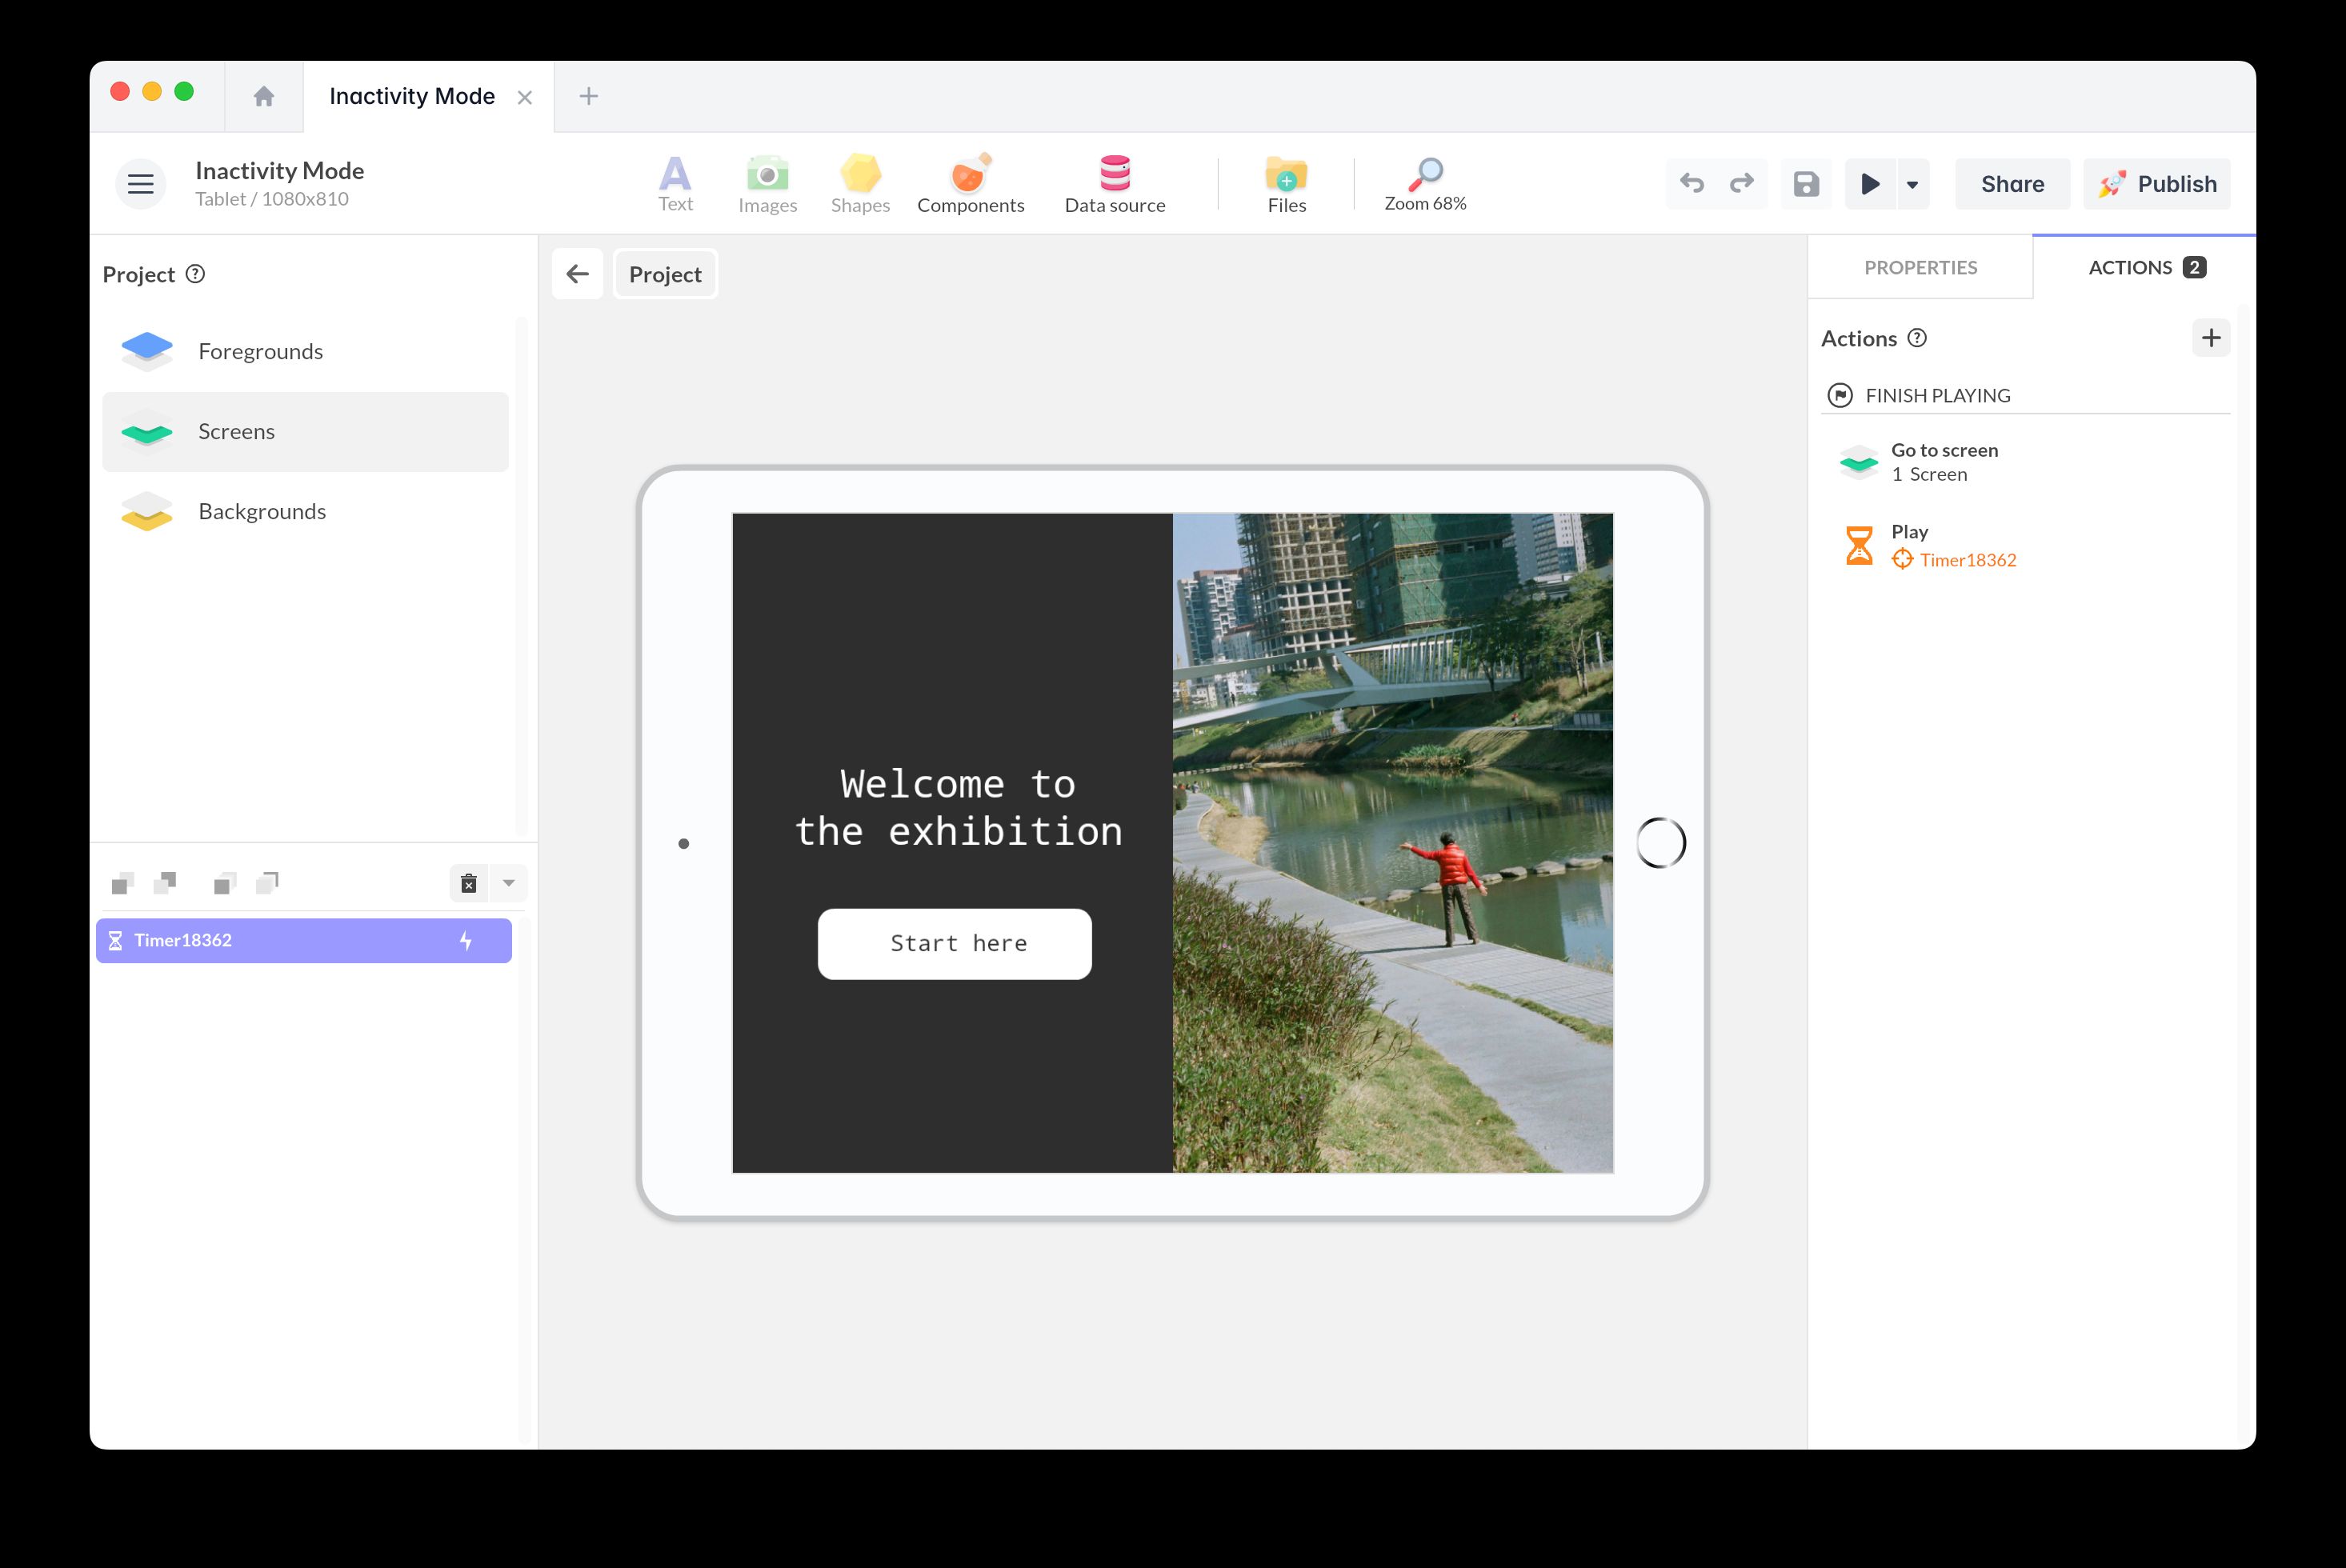
Using the Timer Component in Inactivity Mode
Now that your screensaver screen is ready, add the Timer component and configure it to measure inactivity.
Use events and actions to define what happens after the inactivity delay: redirect to the screensaver screen.
- Add the Timer component at the Project level.
- Select Inactivity mode.
- Set the Duration—the time after which the screensaver will be triggered—and enable Autoplay so it starts automatically.
- Add an action: select the Timer and use the Finish playing trigger.
- Choose the action to redirect the user to the screensaver screen after the inactivity delay.
- Add another action to restart the timer.
💡 Be careful not to enable Loop mode: if it’s enabled, the Finish playing trigger will never be activated.
Inactivity mode
Add this template to your account in just a few clicks. Edit and customize it freely.
→ Add this template to your account