

Publish to the Web
Publishing in web format is the fastest way to make your PandaSuite project accessible from any browser and any device.
Prerequisites
| Step | Why? | Resources |
|---|---|---|
| Have an active subscription plan (Web, Single, etc.) | Without an active plan, the web app cannot be activated. | Compare Plans |
| Link one or more projects to the application | An empty application has no content to publish. | Move Your Project to Production |
Generate the URL of the Web App
- Open your PandaSuite Dashboard.
- Select the relevant application.
- In Platforms, on the Web card, click Activate next to Web app.
- Wait a few seconds: a URL like
https://app.pandasuite.com/AbCdEfGhis generated.
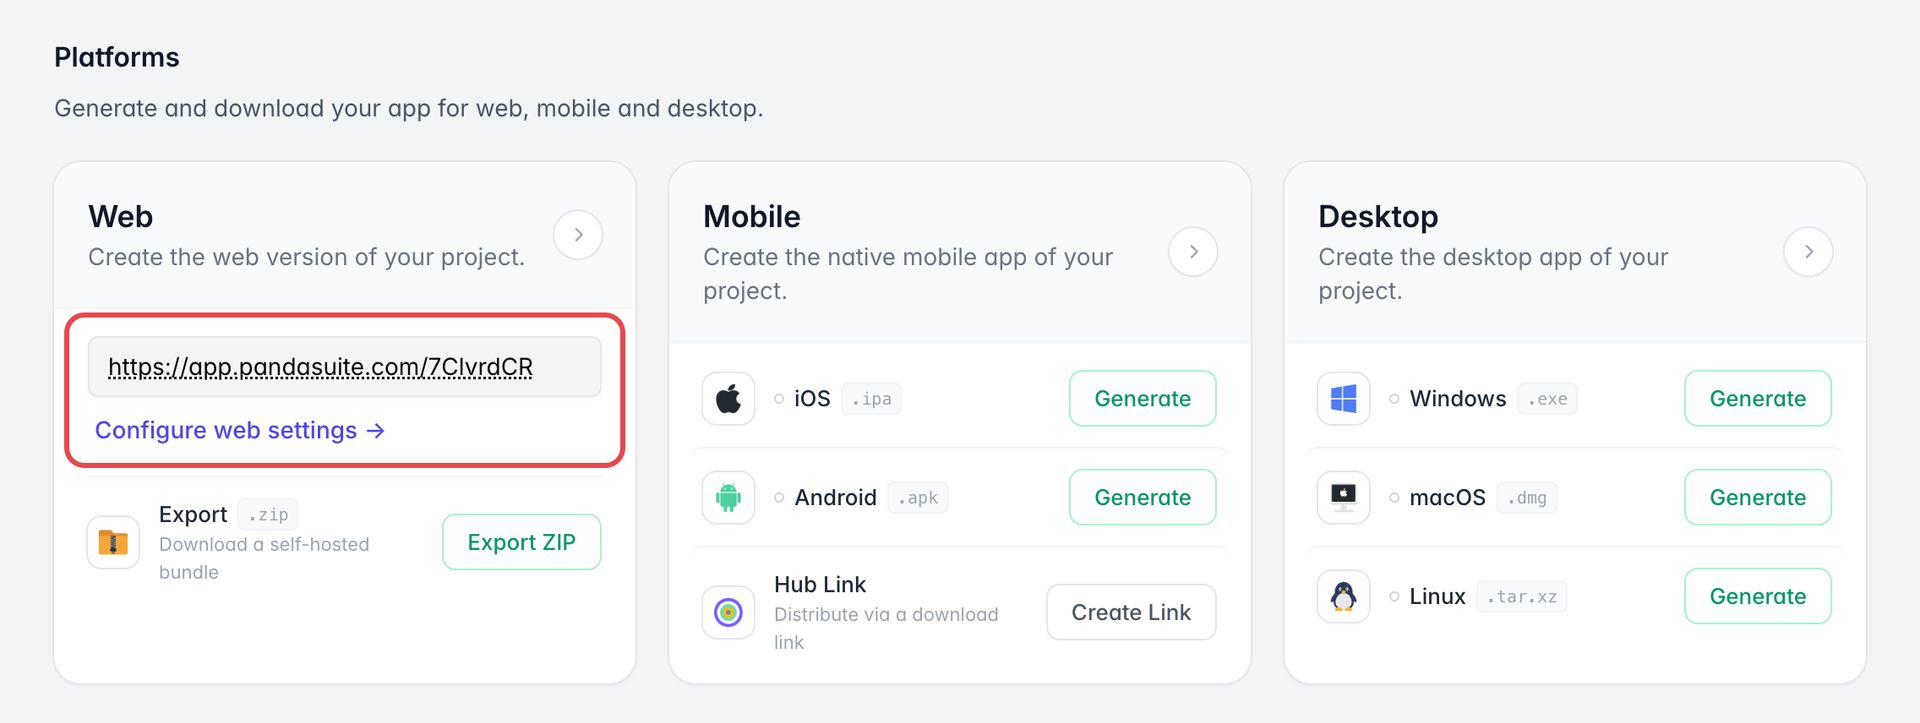
This URL works immediately on desktop, mobile, and tablet without installation.
Customize the Loading Screen
By default, a PandaSuite logo appears during loading.
You can customize the loading screen with several elements:
- The icon in the center of the screen
- The loader indicating loading progress
- The background color
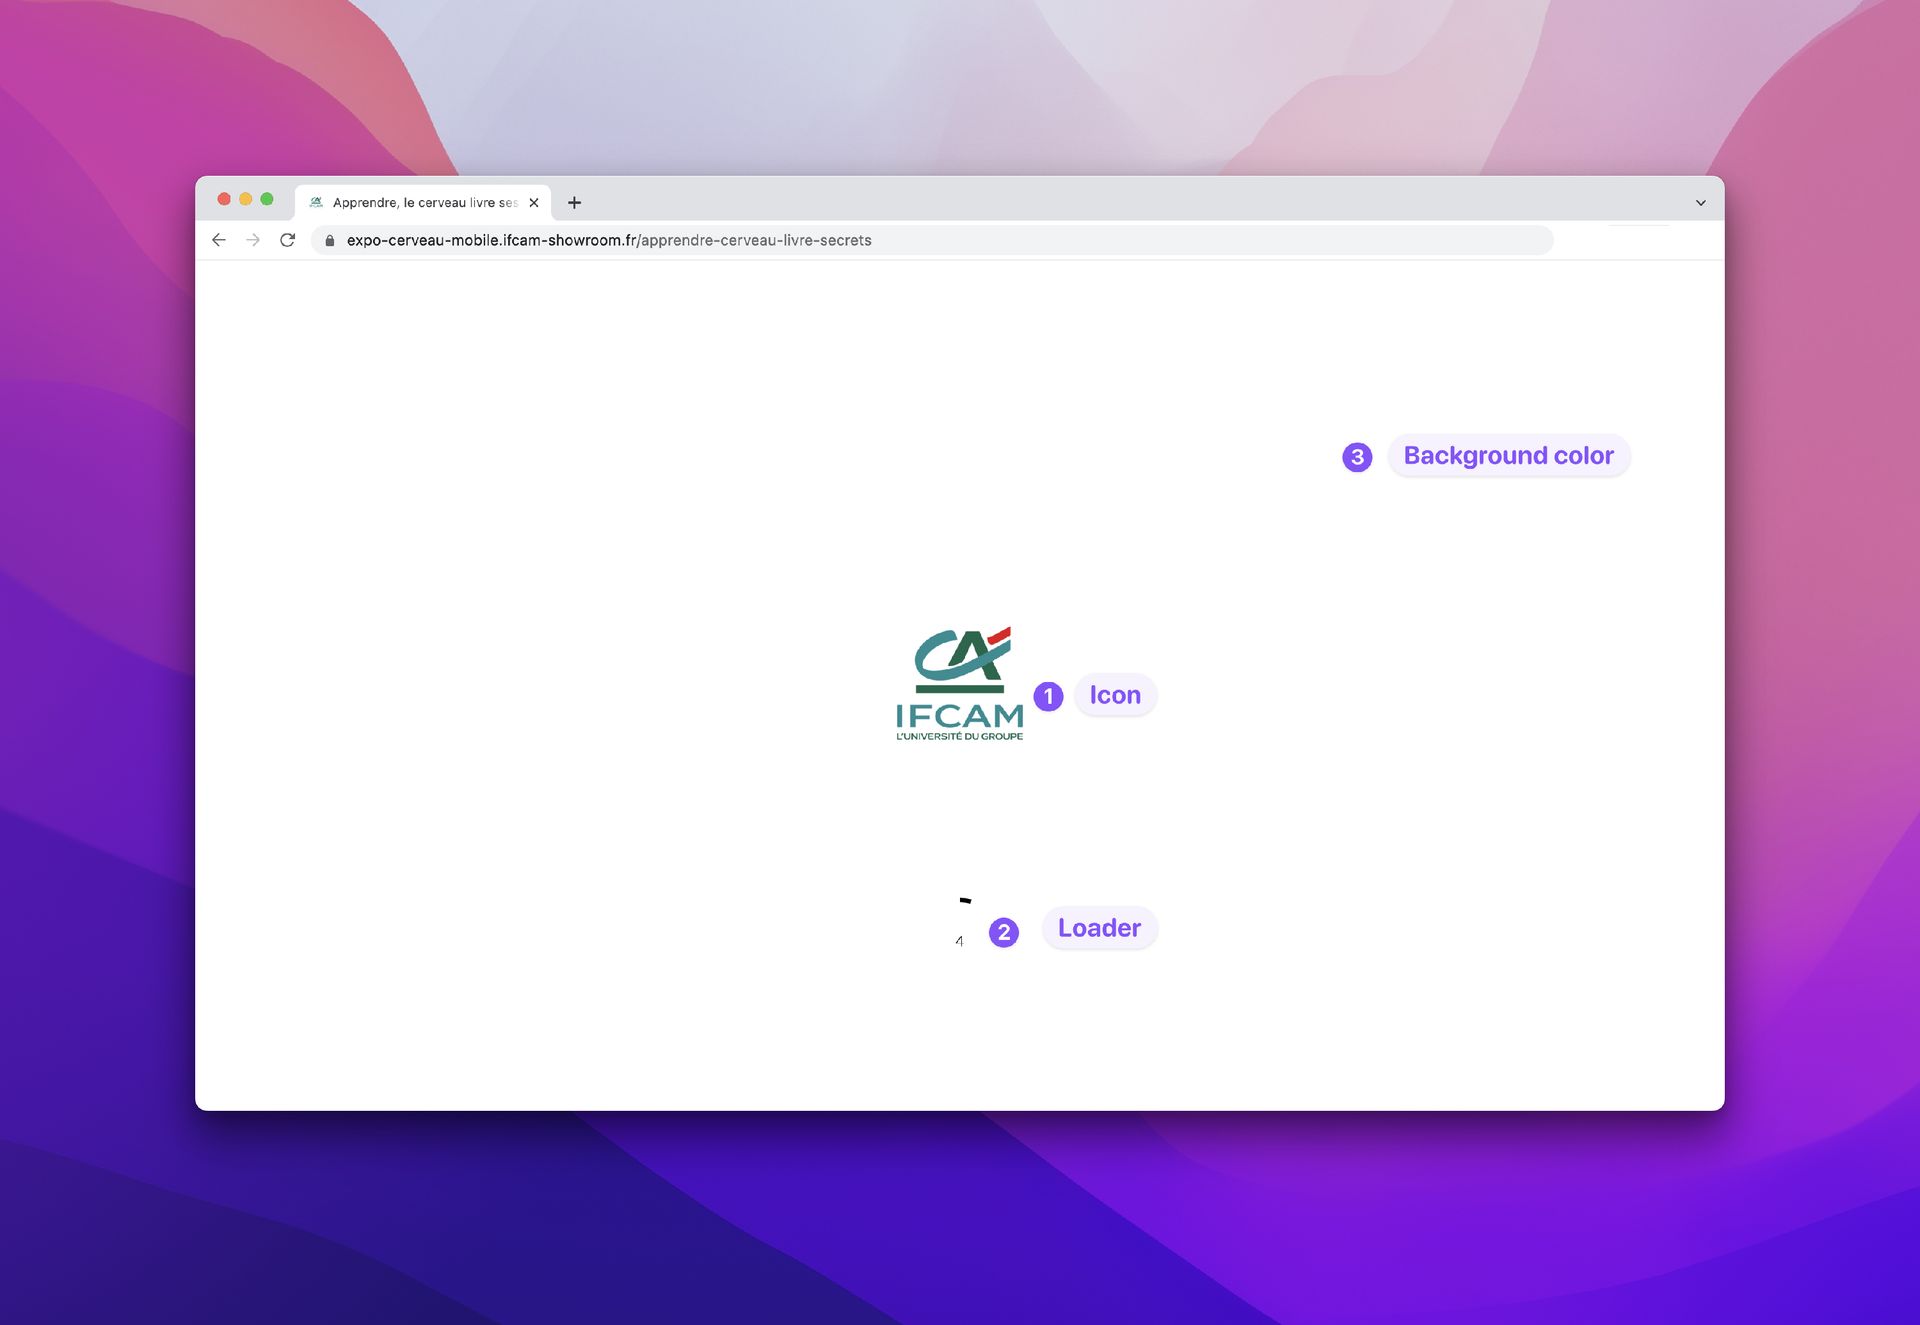
To replace the icon, add a logo to your application.
You can also do this from:
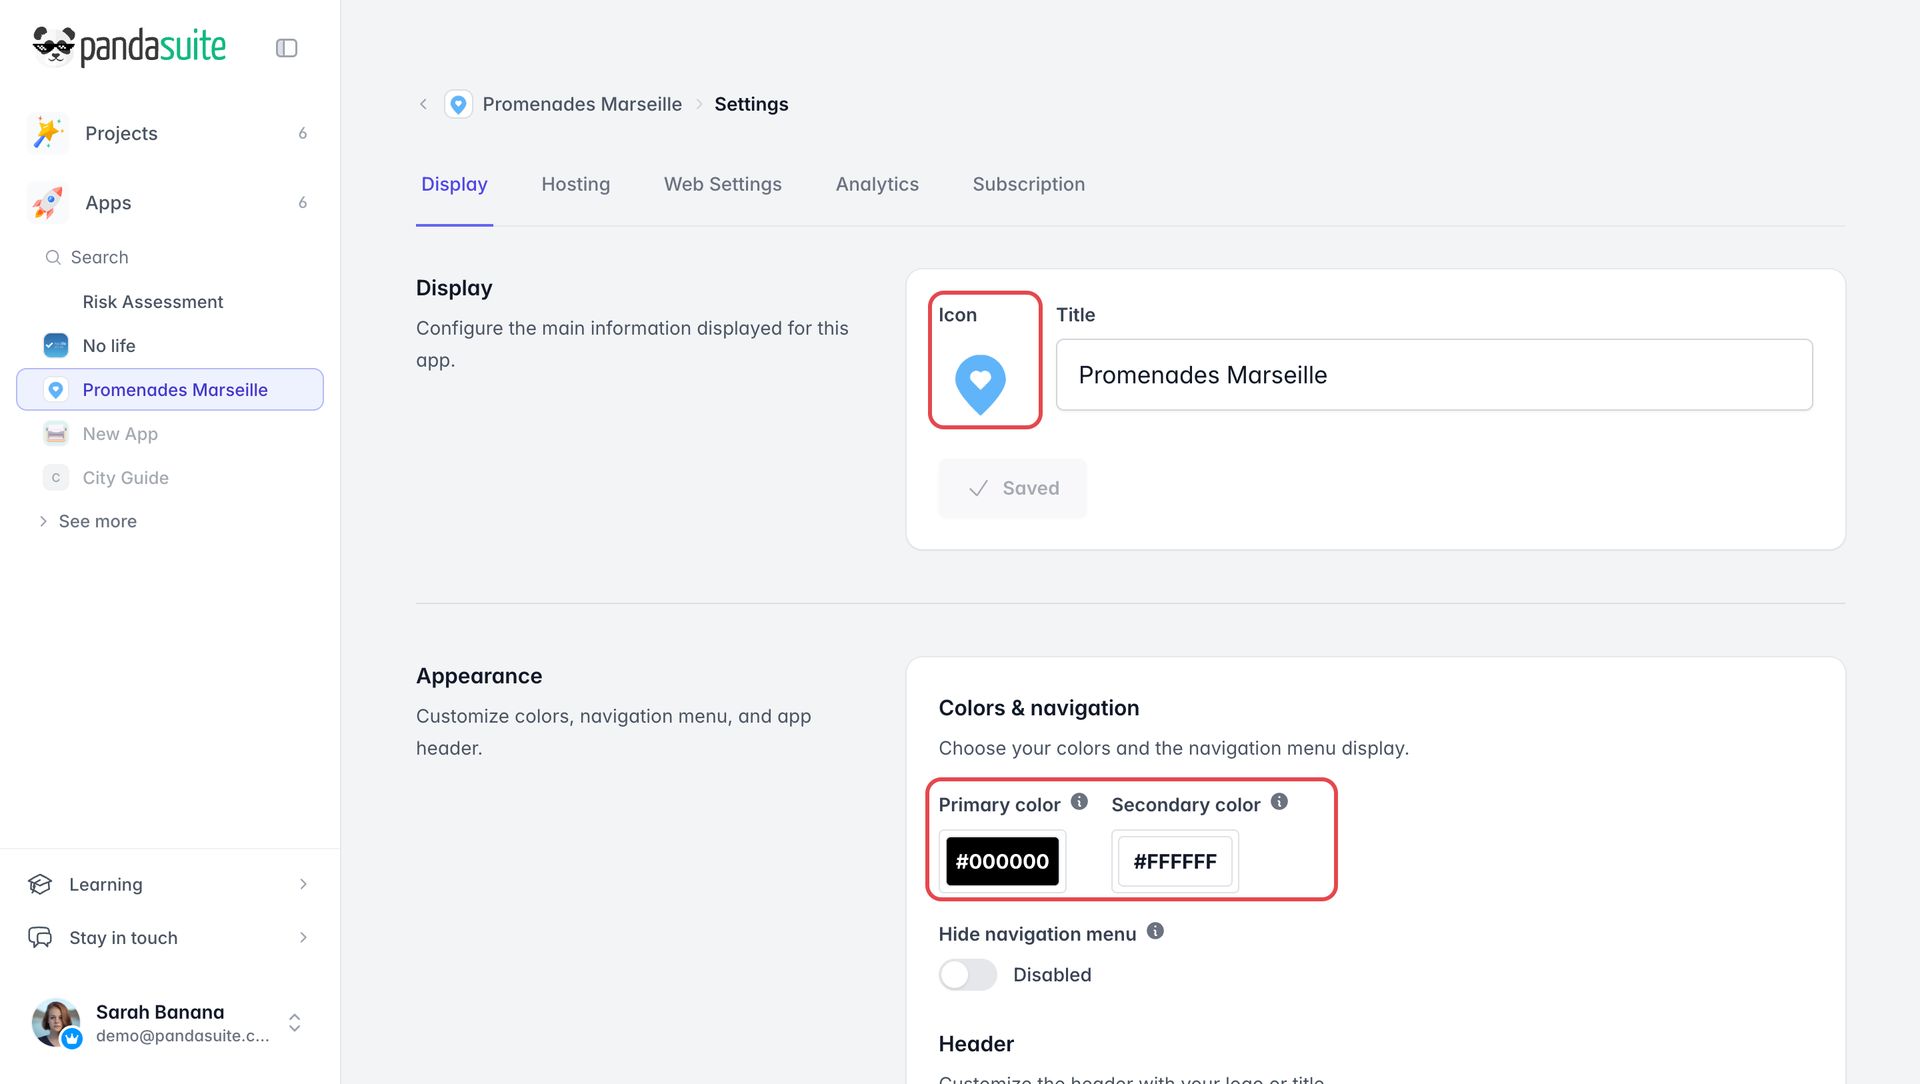
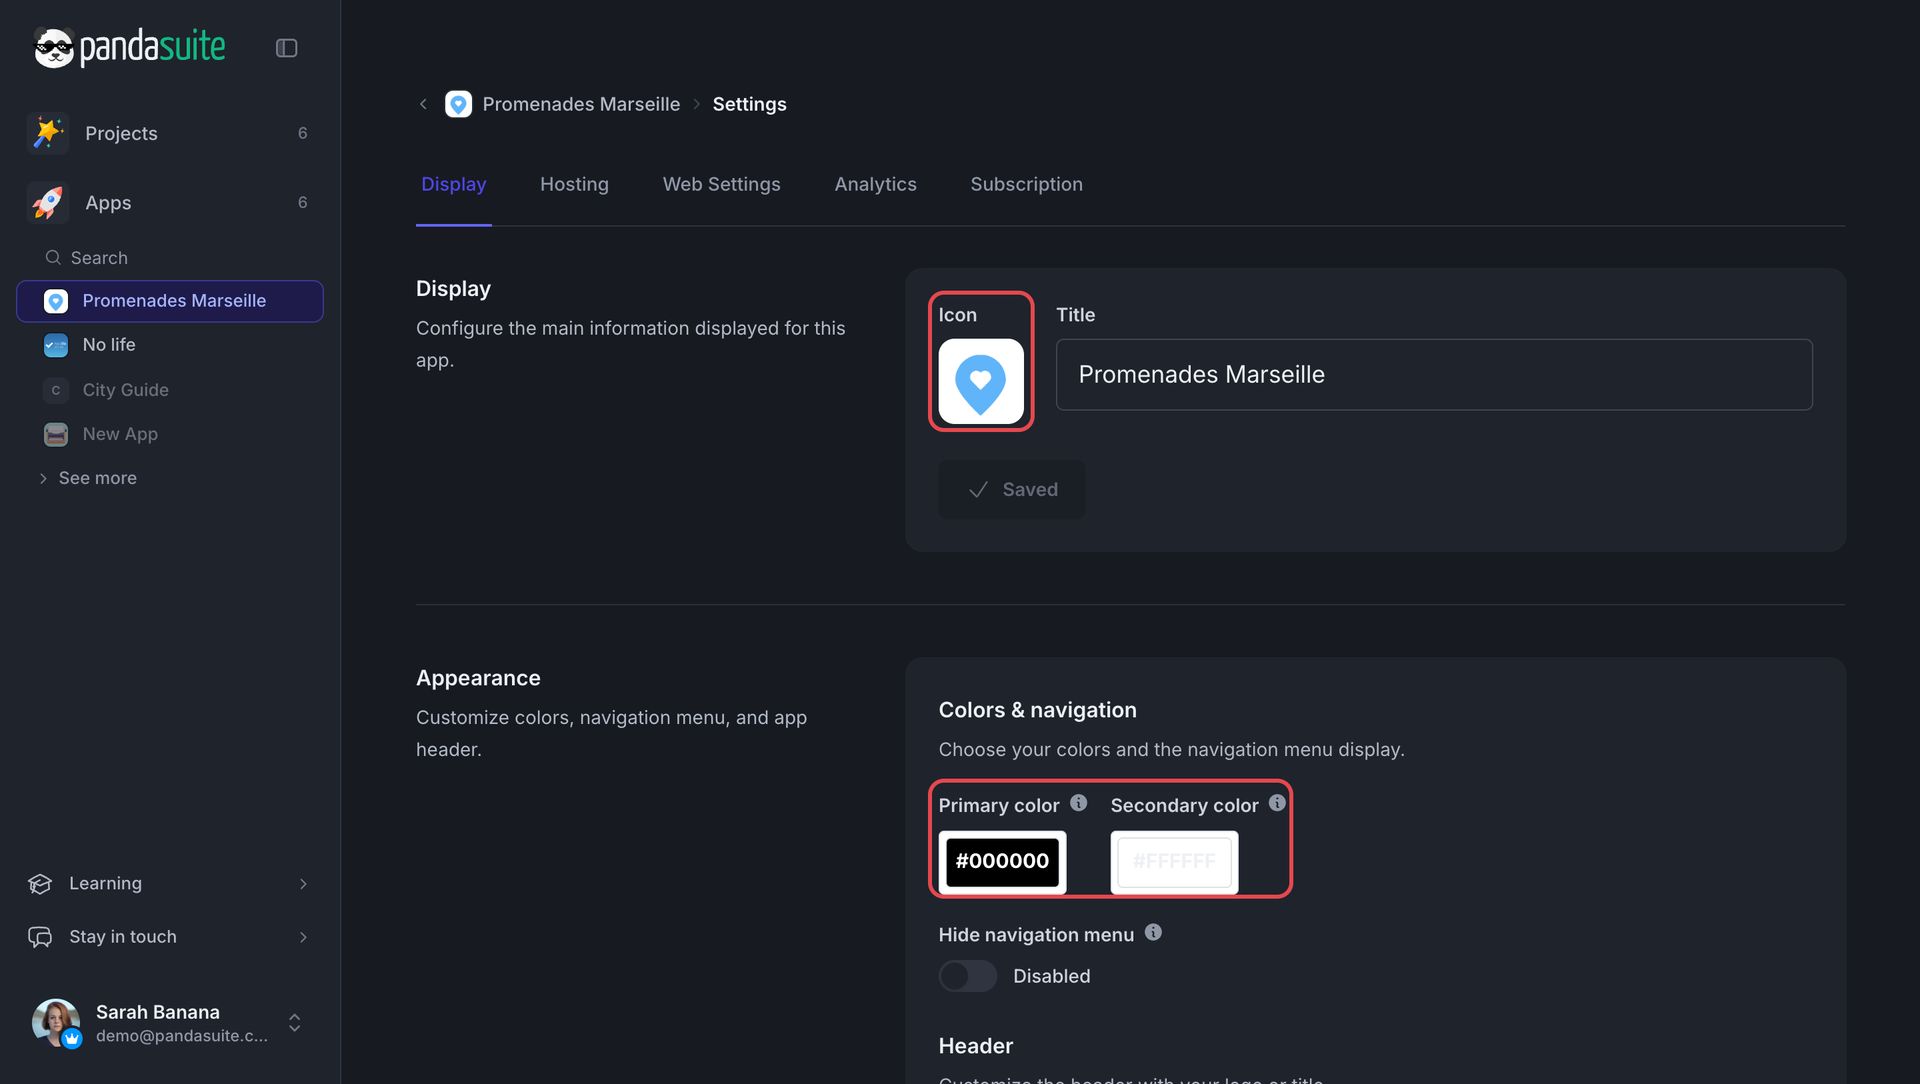
- Click Settings on your app page, then open the Display tab.
- Upload your Icon (1024 × 1024 px recommended).
- In Appearance, customize the Primary color (background) and/or the Secondary color (loader).
Configure Web Settings
All settings can be found under Settings ▸ Web Settings.
- Service workers: turn your web app into a Progressive Web App with offline functionality, and add to home screen option.
Service workers are not supported by all browsers (e.g., Internet Explorer). Check the compatibility table before activating it.
- Full Loading: waits for all resources to load before opening the app.
- Security Headers / CSP: adds Content-Security-Policy, X-Frame-Options, etc.
- Device Skin: frames the interface within a fictitious smartphone/tablet.
- PandaSuite Branding: shows or hides the PandaSuite logo.
- SEO (title, description, image): optimizes search engine indexing.
- Cookies consent: displays a ready-to-use GDPR banner.
- Custom code (
<head>/<body>): inject scripts, pixels, or stylesheets.
Connect a Custom Domain
A dedicated domain name reinforces your identity and reassures your visitors.
Here’s how to do it:
- In Settings ▸ Hosting, go to Custom Domain.
- With your DNS host, create the CNAME entry → custom.pandasuite.com for your domain or subdomain (
app.your-domain.com), then wait for it to propagate. - Enter the domain or subdomain, then click Validate Domain. PandaSuite first checks the CNAME record: if it is not visible yet, wait and try again.
- PandaSuite automatically provisions a Let’s Encrypt HTTPS certificate.
For EV or wildcard certificates, follow the “Custom Certificates” section of the documentation.
👉 Full documentation: Customize the Domain Name
Control access with the hosting status
By default, the web app is open to anyone who has its link. To change this, go to Settings ▸ Hosting. In Status, click the button that shows the current status, then choose another one:
- Enabled: available to everyone with the links.
- Disabled: access is blocked and your links no longer work. Confirm in the Disable Hosting window.
- Redirection: visitors are sent to another address. Enter it in Url, then click Save Changes.
- Protected: access is restricted to dedicated access links. When you switch from Enabled, confirm in the Change Hosting Status window. Then click Create links, in the Protected access box, to create the links that give access to the web app.
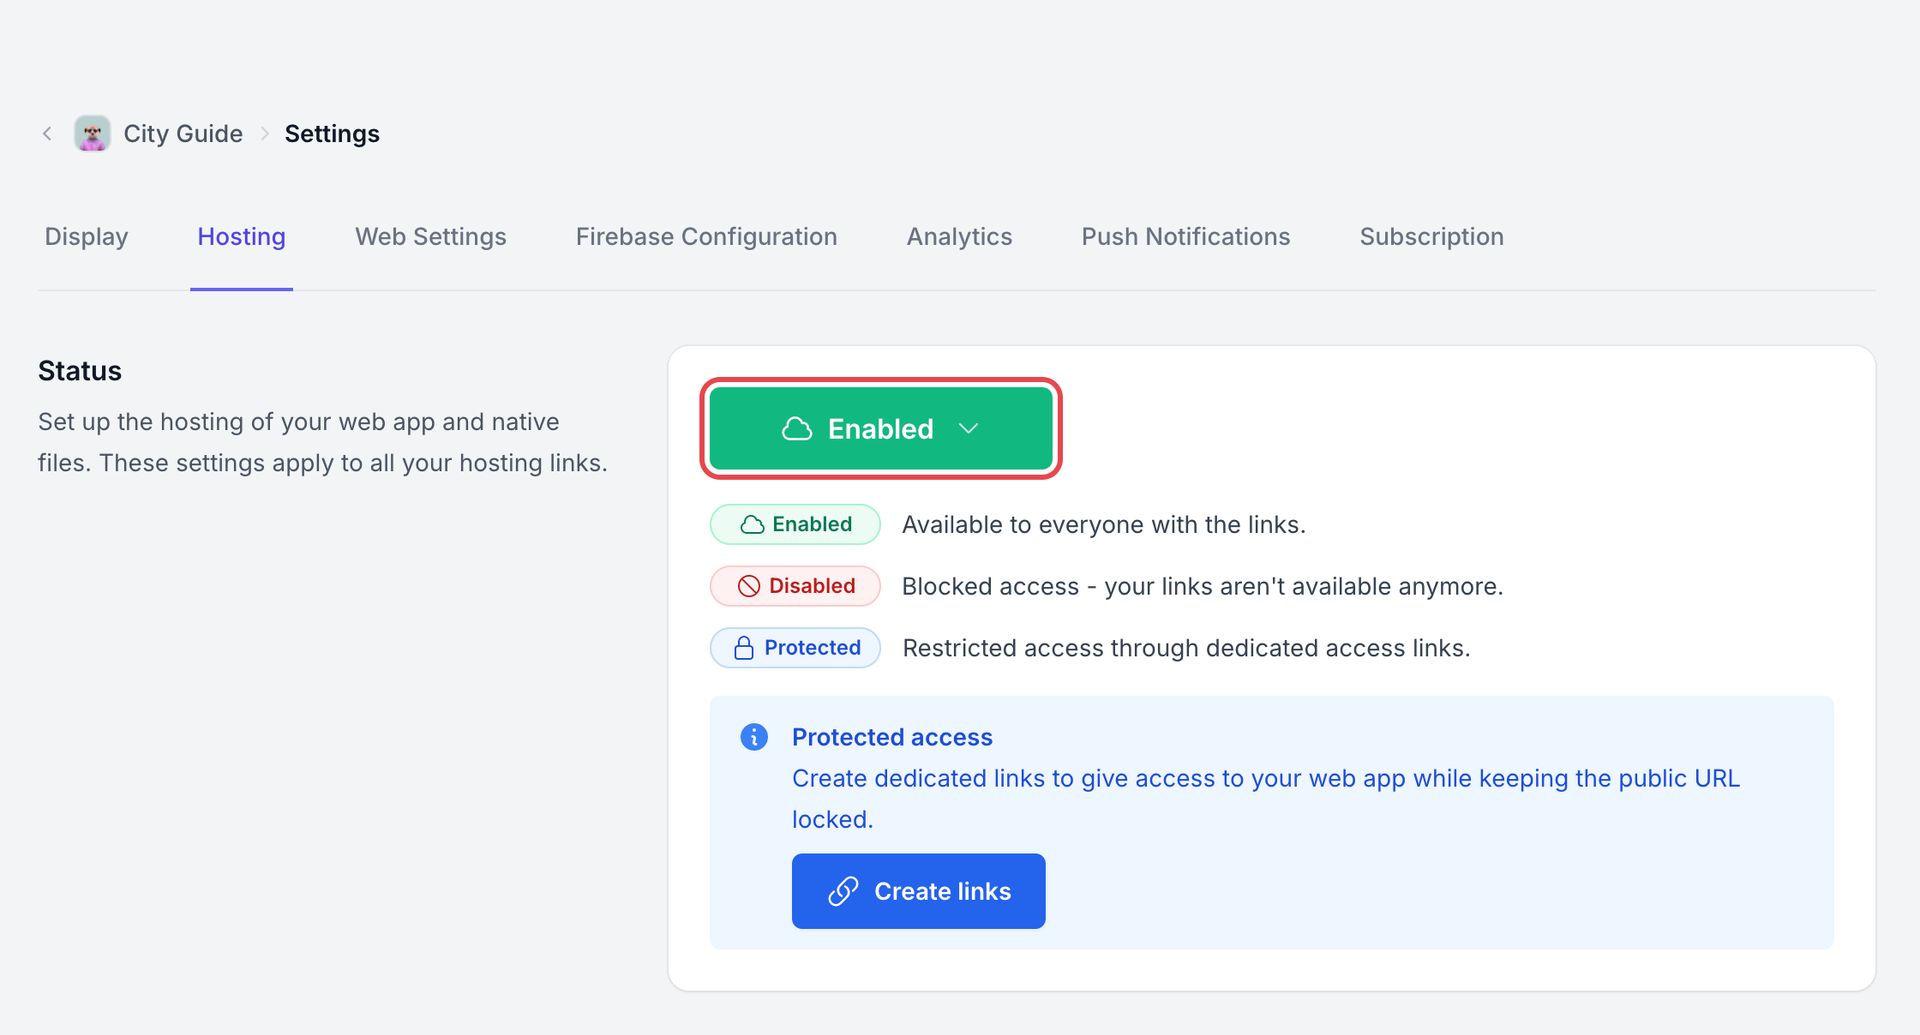
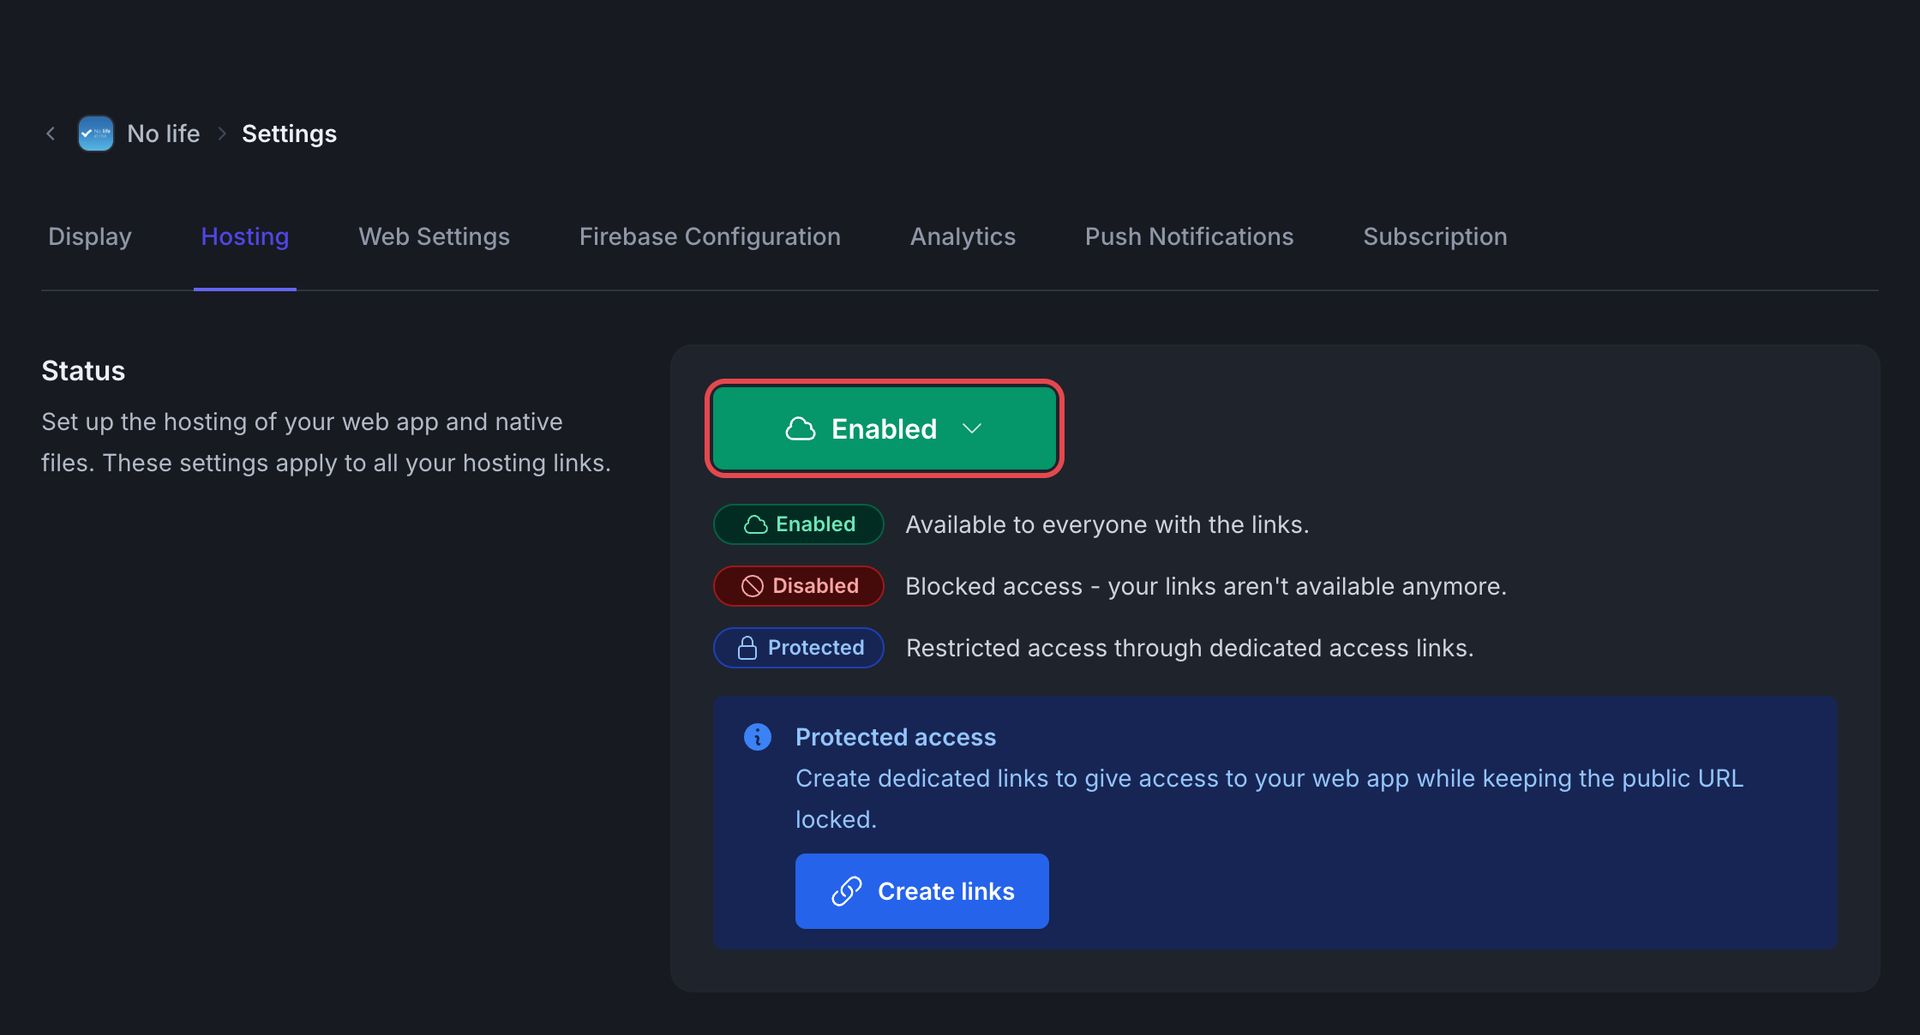
The status applies to all your hosting links: the URL of the web app and the download links of your native files.
Pin the web viewer version
The web viewer is the engine that runs your web app, and PandaSuite updates it regularly. To keep your app on a given version, for example while you test an update:
- On your app page, in Services, click Security.
- In Pin Web Viewer Version, turn on the switch.
- In Version, choose the version.
- Click Save Changes.
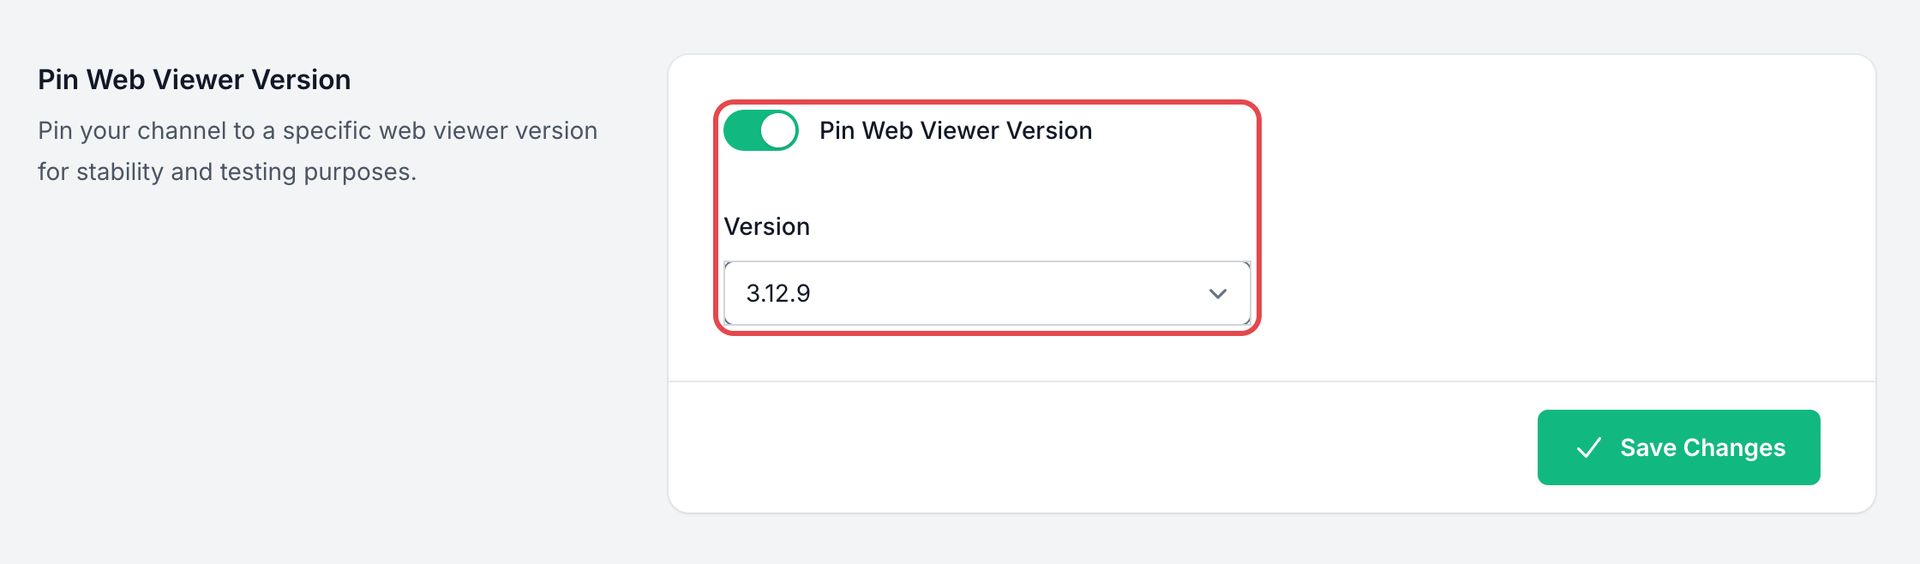
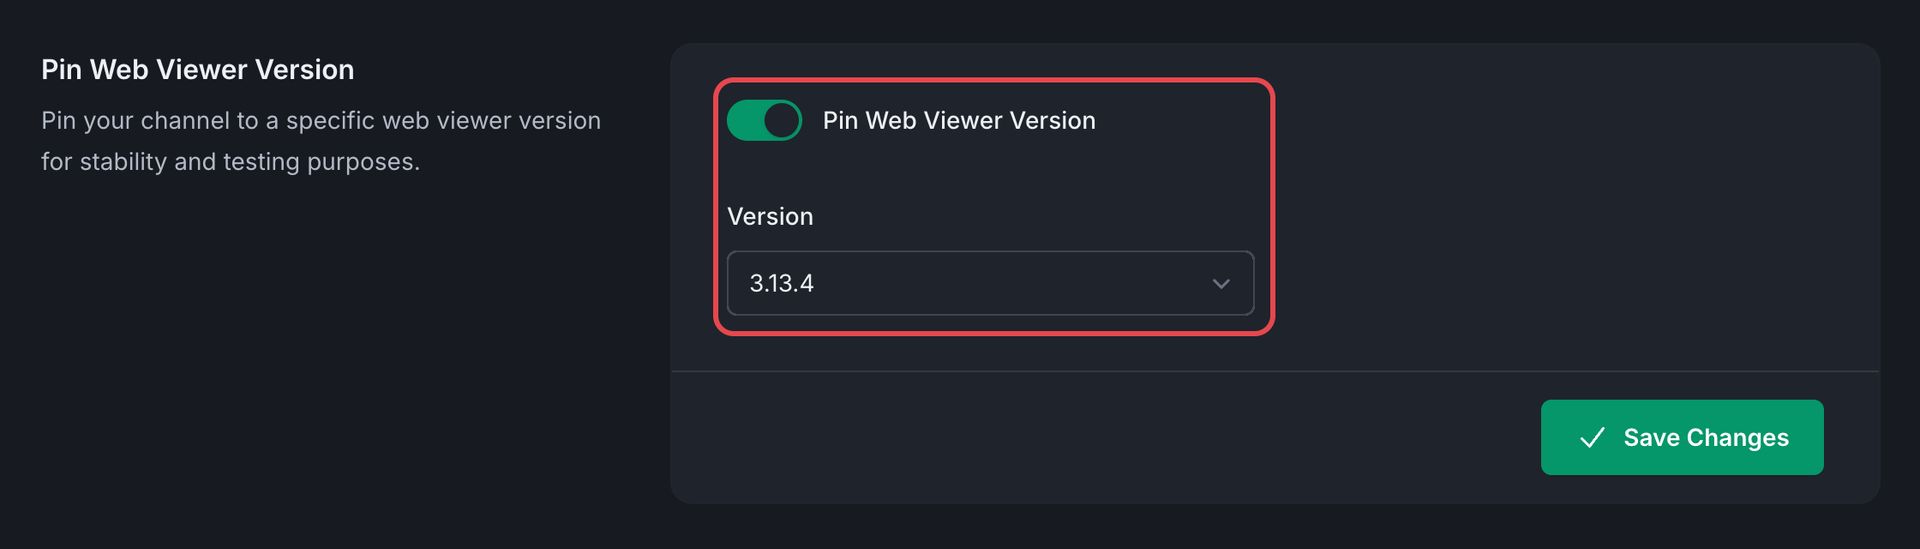
To follow the updates again, turn the switch off and click Save Changes.
Alternative: Export a web package
If you prefer to host the application yourself or integrate it into a specific environment:
- In Platforms, on the Web card, click Export ZIP. If a package was already exported, open its options (⋮) and click Generate new…
- Choose the Project, the Type, and the Package format.
- An email will notify you when the archive is ready for download.
Choose Standard ZIP for self-hosting, SCORM package for SCORM-compatible LMS distribution, or CMI5 package for CMI5-compatible LMS distribution. Detailed guide: Export a web package