Images
Learn how to optimize your images in PandaSuite, add new ones, and explore the different properties and possible interactions.
💡 Accepted image formats: .JPG, .JPEG, .PNG, .TIFF, .TIF, and .GIF. Additionally, PandaSuite also supports inserting vector images (SVG).
Preparing your images
To ensure optimal rendering across all devices, it is recommended to prepare your images in @2x mode. This means your image resolution should be twice the size it will be displayed at in your project.
For example, if the image in your project is intended to be displayed at 120x300, the ideal source file should be 240x600 pixels. This avoids quality issues that may occur when the image resolution and the display size differ too much.
This approach is especially important for HD and Retina displays, where a @2x image guarantees better sharpness and detail. Thanks to cloud technology, PandaSuite automatically optimizes your images by downloading only the most suitable version for each device, helping reduce the overall app size.
Add an image
- Click on the Image or Files icon in the top menu bar.
- A window will open for you to browse and select the image of your choice from your computer.
- Once uploaded, drag and drop the image onto your workspace.
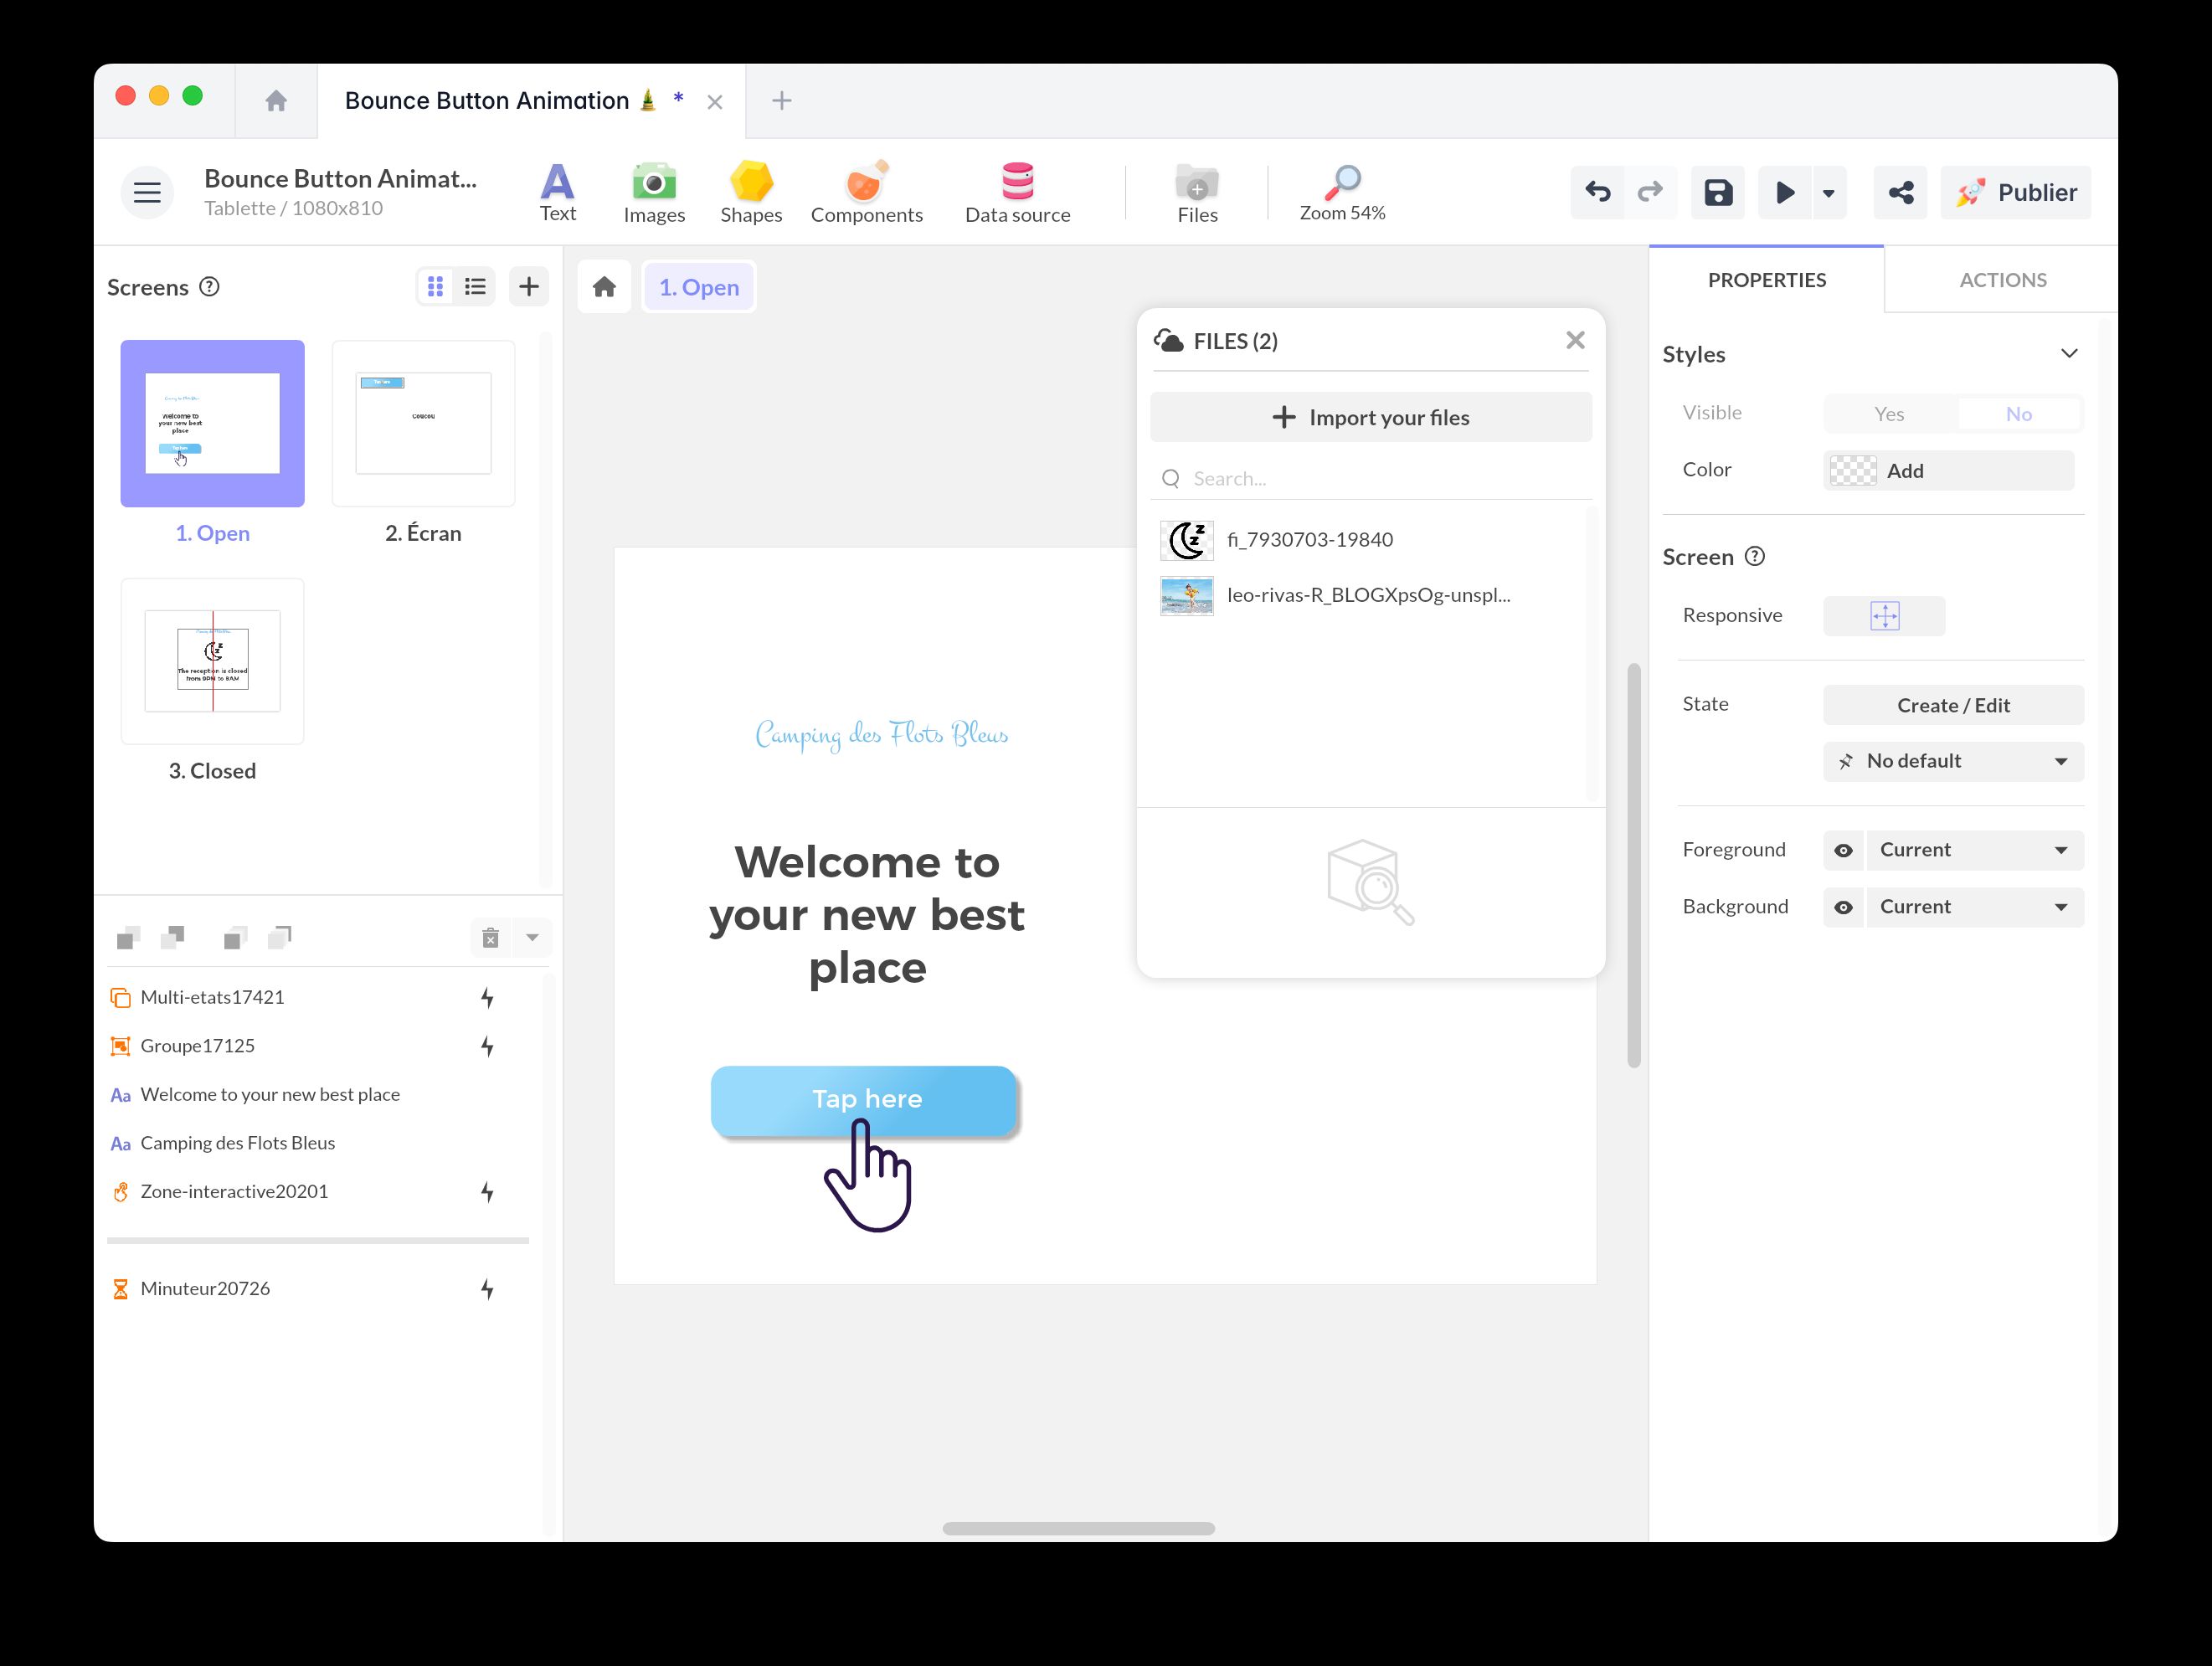
Image Properties
Select your image to access its properties:
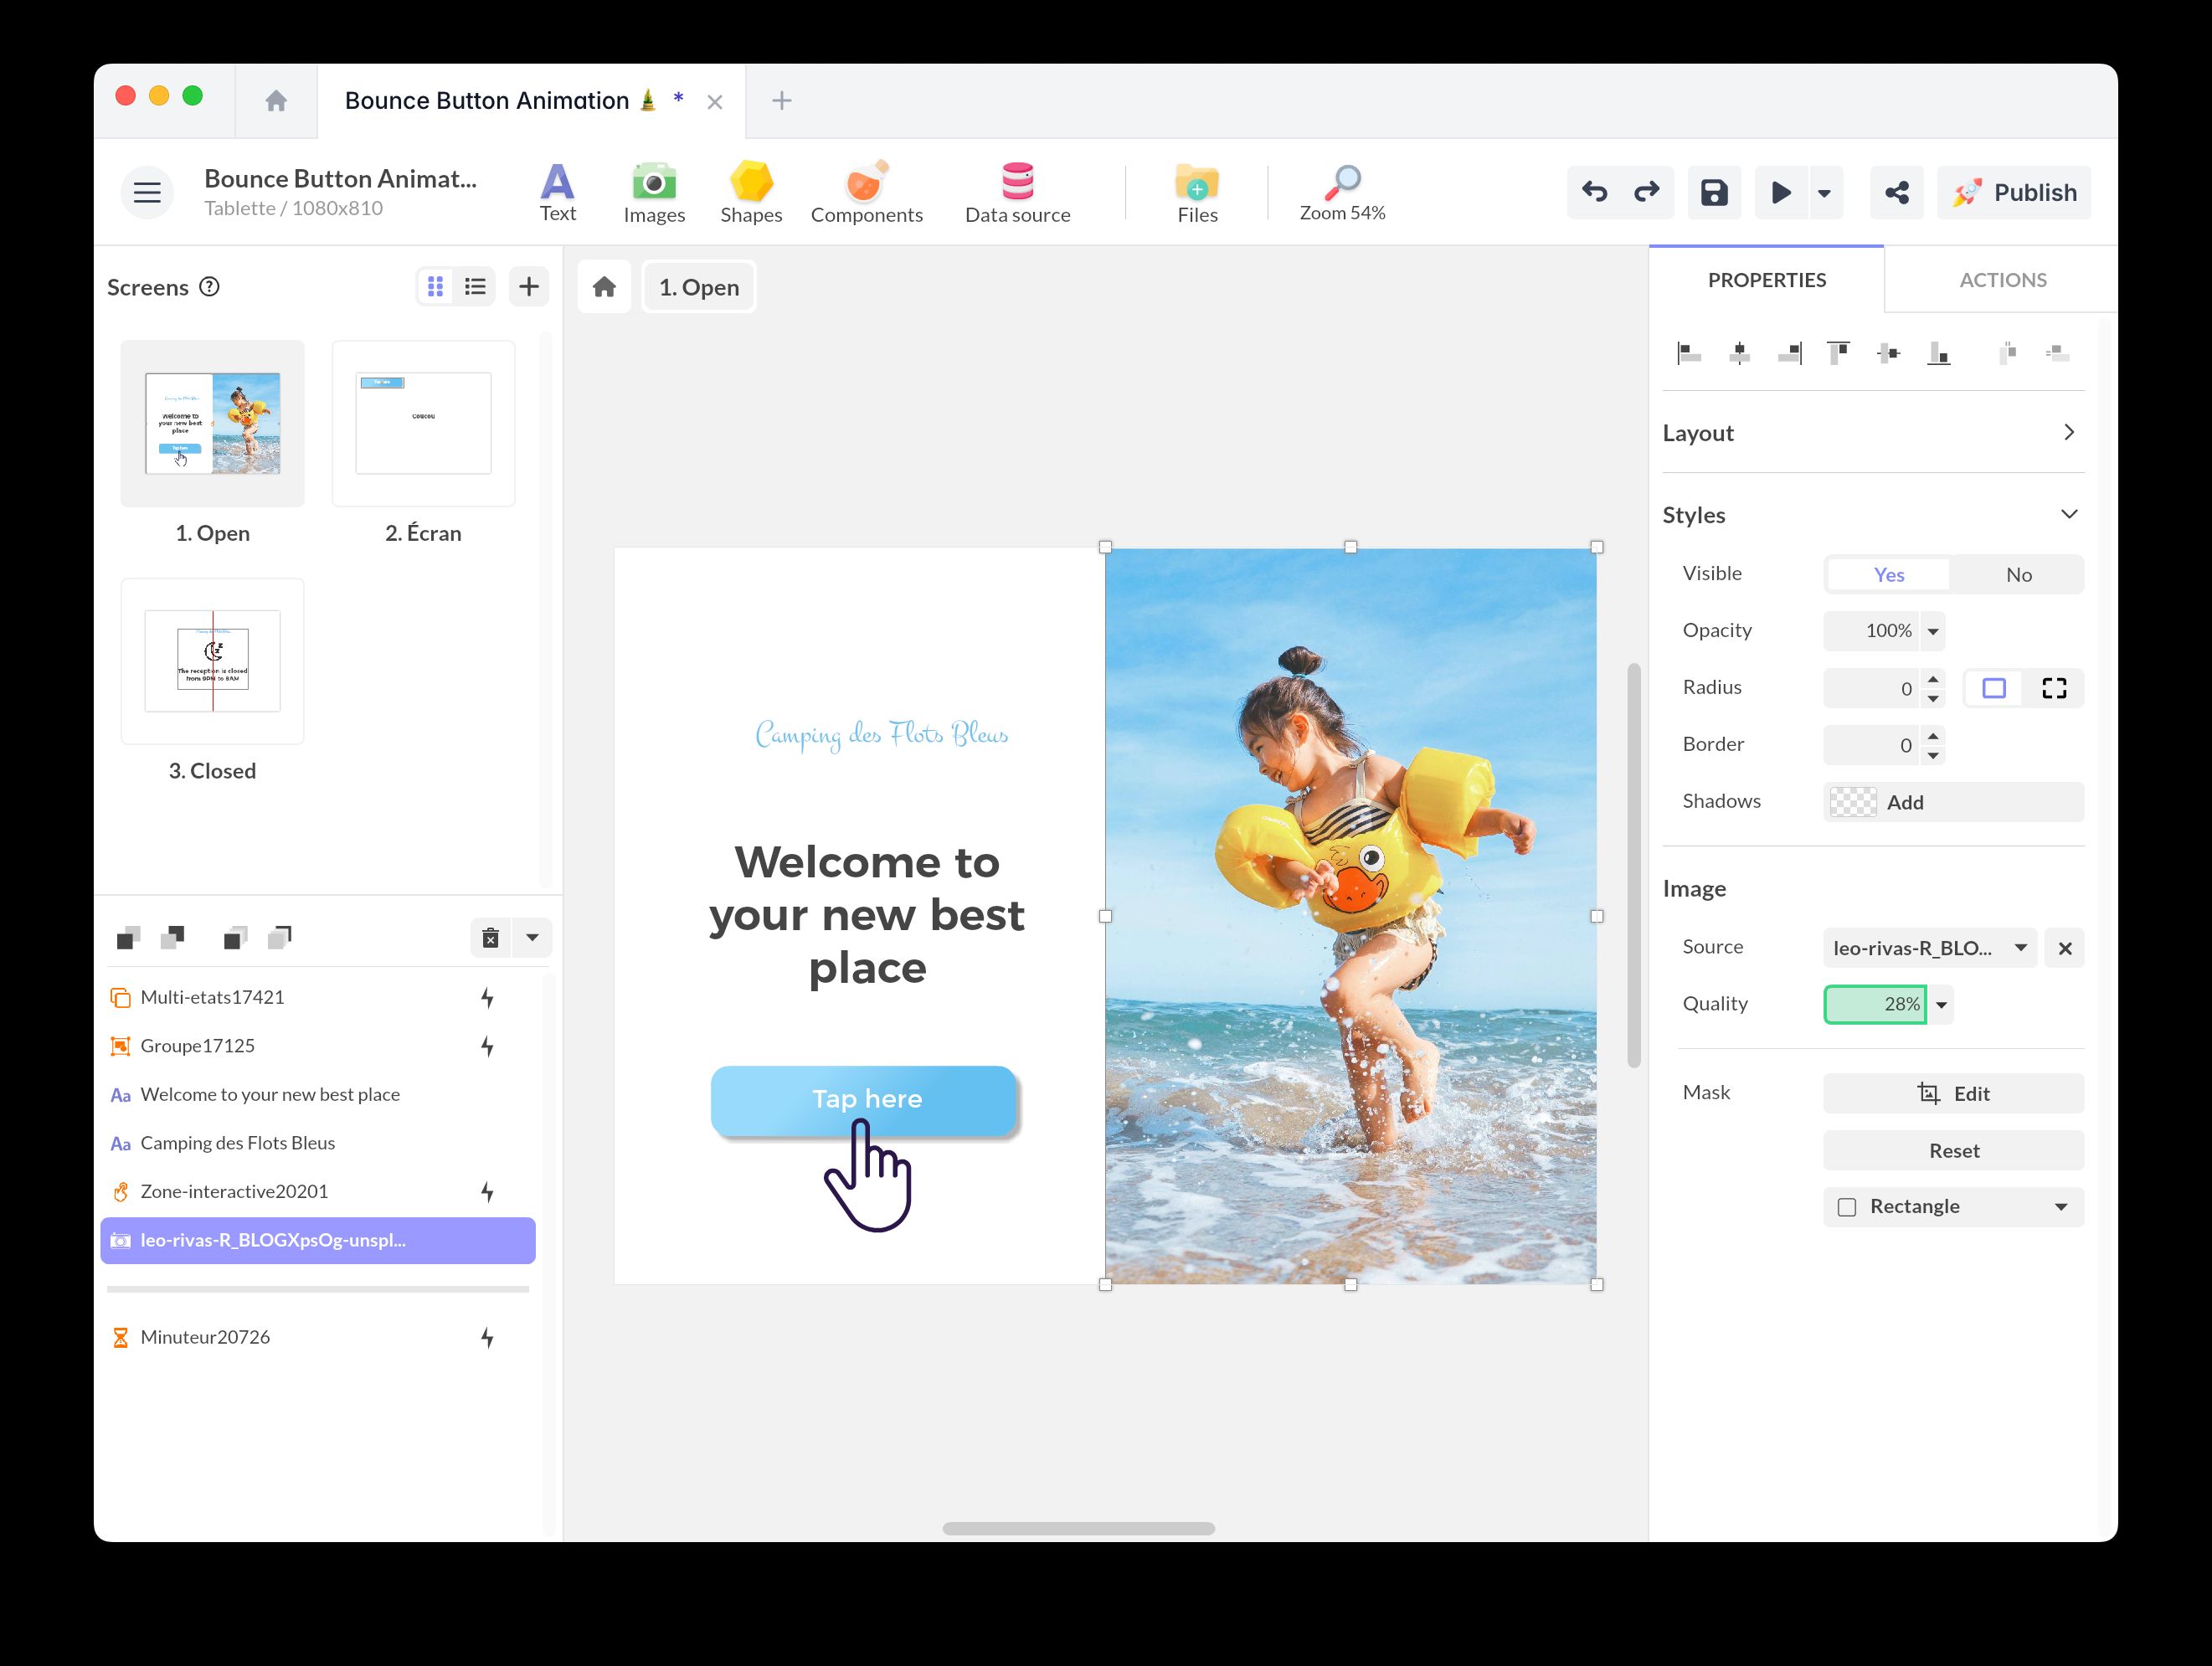
By clicking on an image, you have access to its properties. Here are the main options available:
- Source: Replace your image while retaining the previously defined properties in your project. This is especially useful when duplicating layouts.
- Quality: This indicator alerts you about the image quality based on its resolution. If it exceeds 50%, image quality may be degraded.
- Mask: You can add a mask to define the visible area and shape of your image (square, circle, bubble, triangle, star, etc.).
If you want to replace the source of an image while keeping the mask formatting, you must use an image with the same aspect ratio. Otherwise, it may be distorted.
You can also set its Opacity, Radius, and add a Border or a Shadow.
Triggering an action from an image
You can trigger an action from your image:
- Select your image and in the ACTIONS panel, click the + button.
- Choose a trigger event: Tap/Click, Mouse Over, etc.
- Add the desired action.
Project-Level Responsive Image
There is a responsive image option at the project level, available in the Project Properties.. Available for web and desktop projects, it allows the image resolution to adapt based on the actual display size, rather than the original project design size.
This helps save bandwidth, reduce loading time, and display sharper images tailored to each usage context.
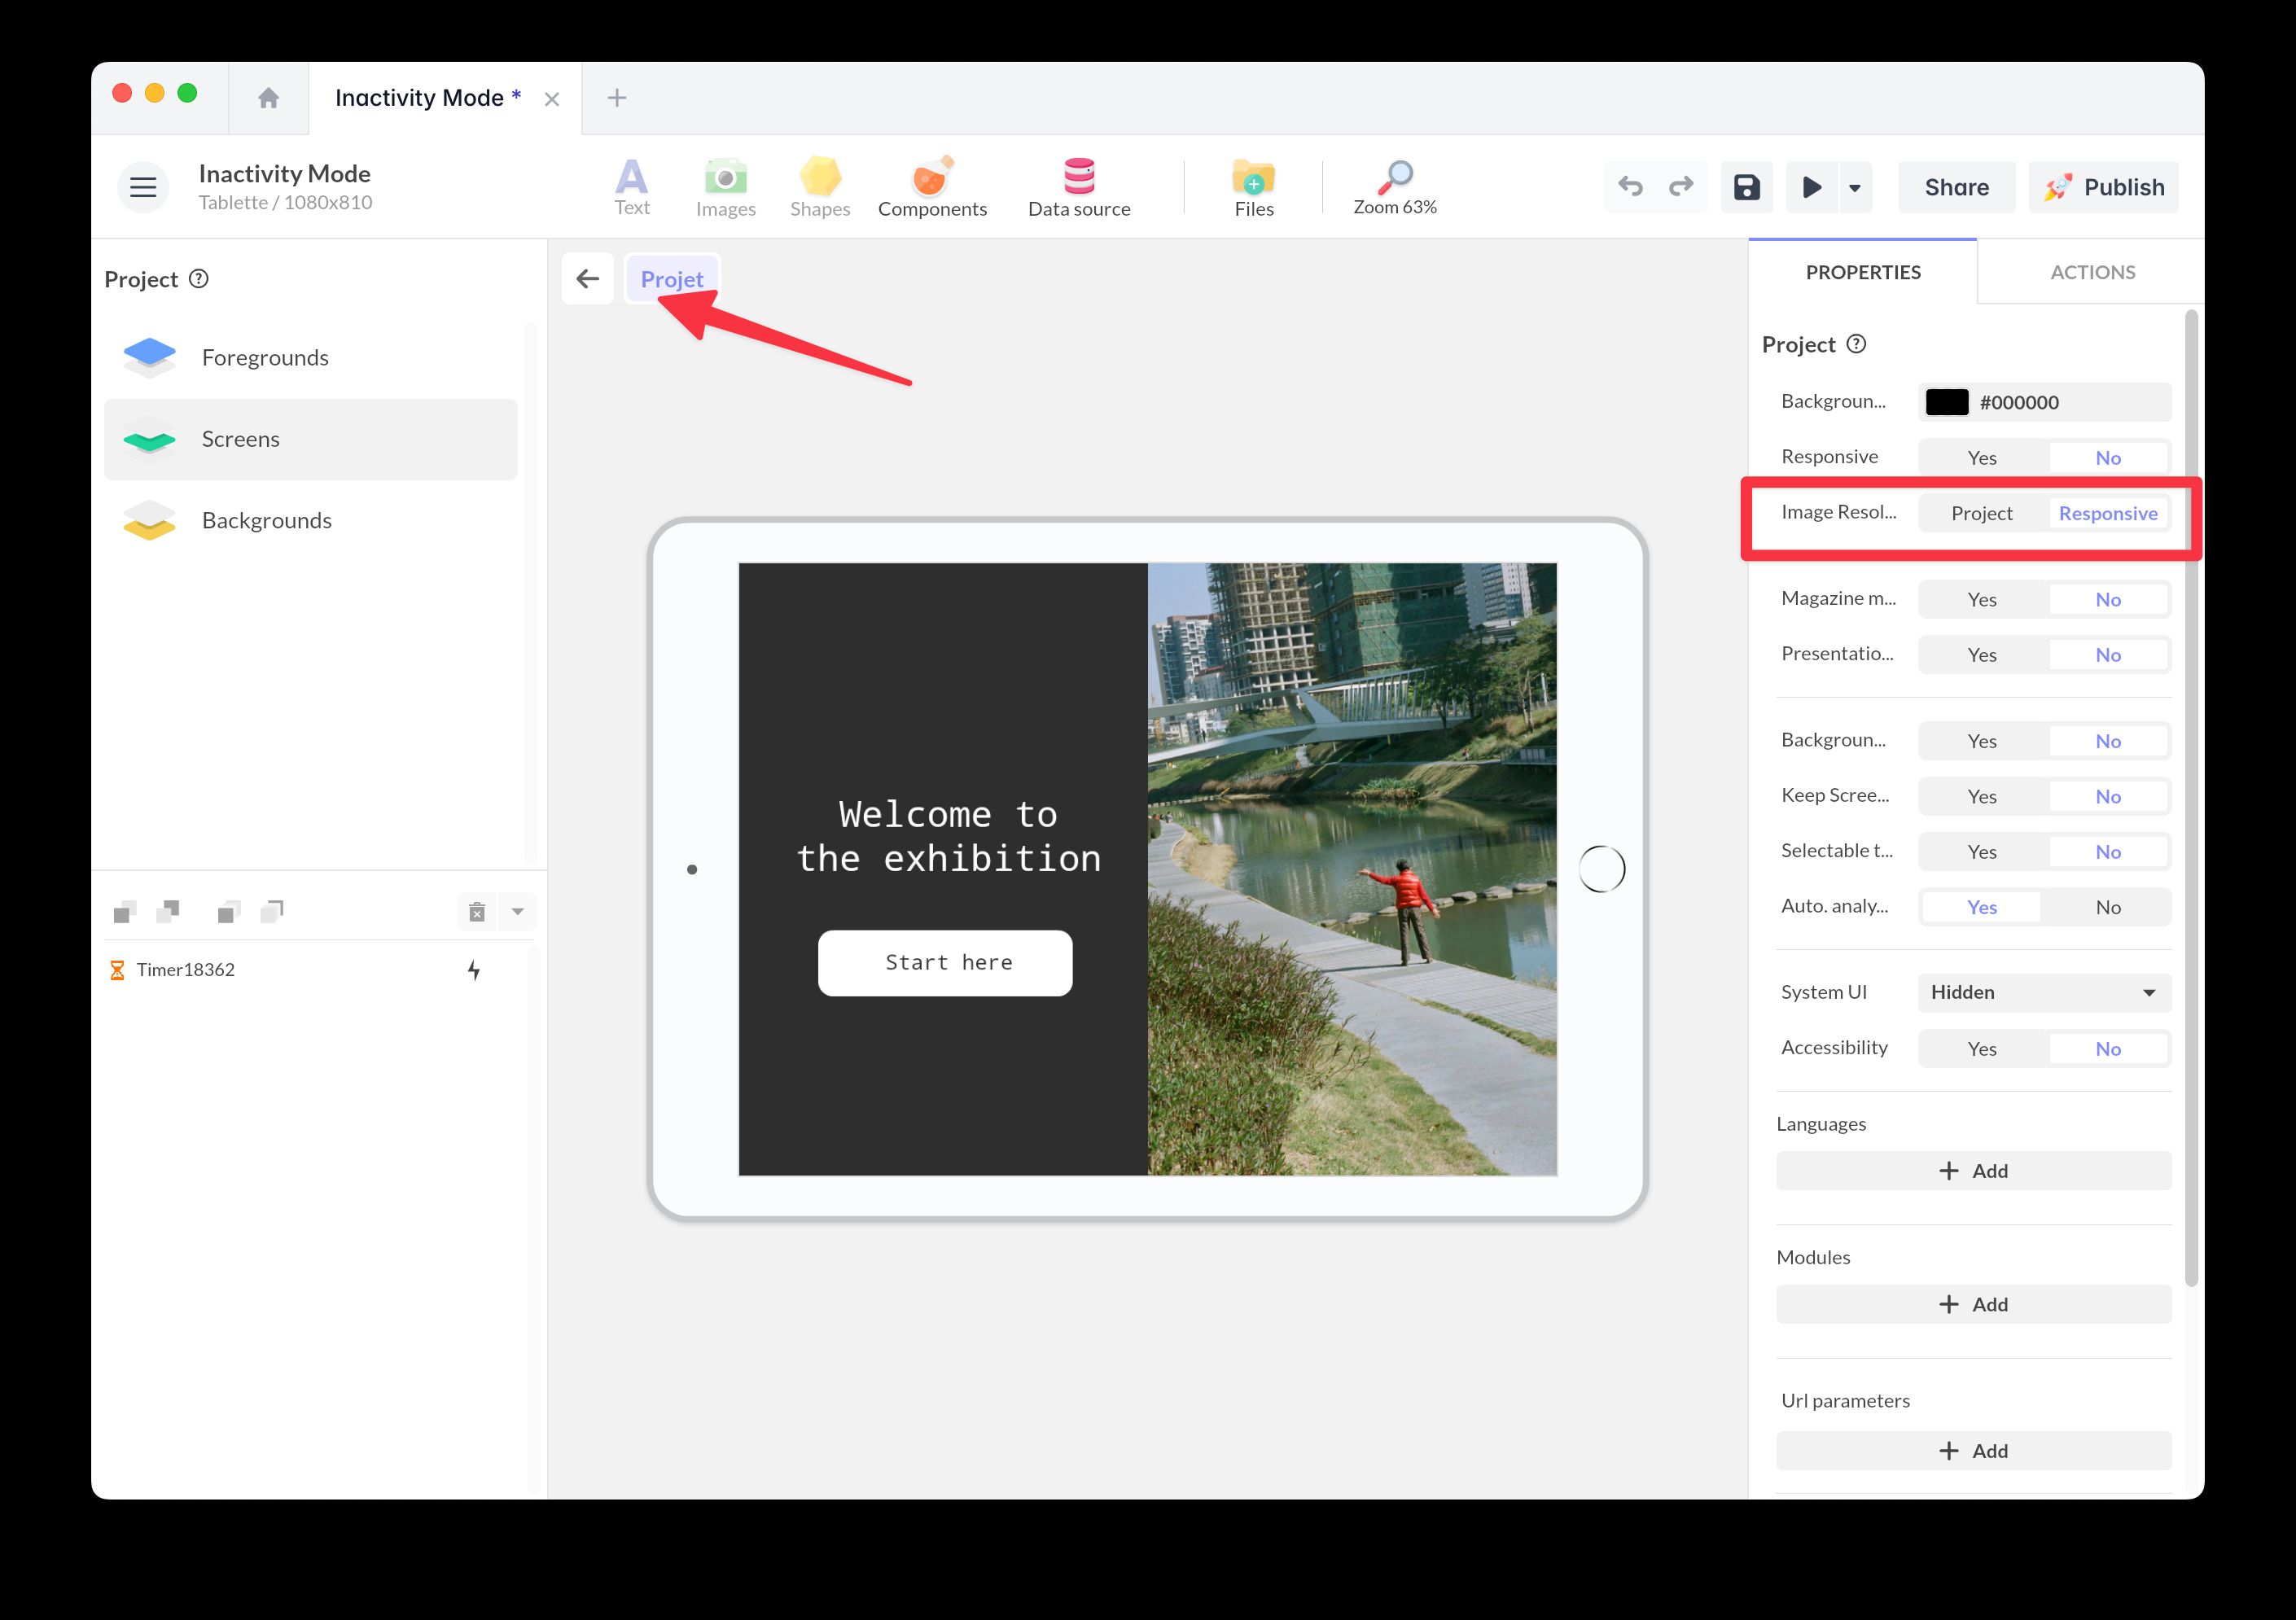
Enable this option by clicking Responsive.
⚠️ Warning: Enabling this option may impact your project size.