Web
The Web component allows you to integrate web content directly into your application, either via an online URL or by embedding custom HTML/CSS/JavaScript code.
This flexibility lets you enrich your application with web features without requiring users to leave the app environment.
Beyond simple display, it is also possible to trigger events and create actions based on user interactions with the web content (e.g., clicking a button).
Use cases for the Web component
The Web component is ideal for integrating interactive and dynamic web content into your application. Here are some use cases:
-
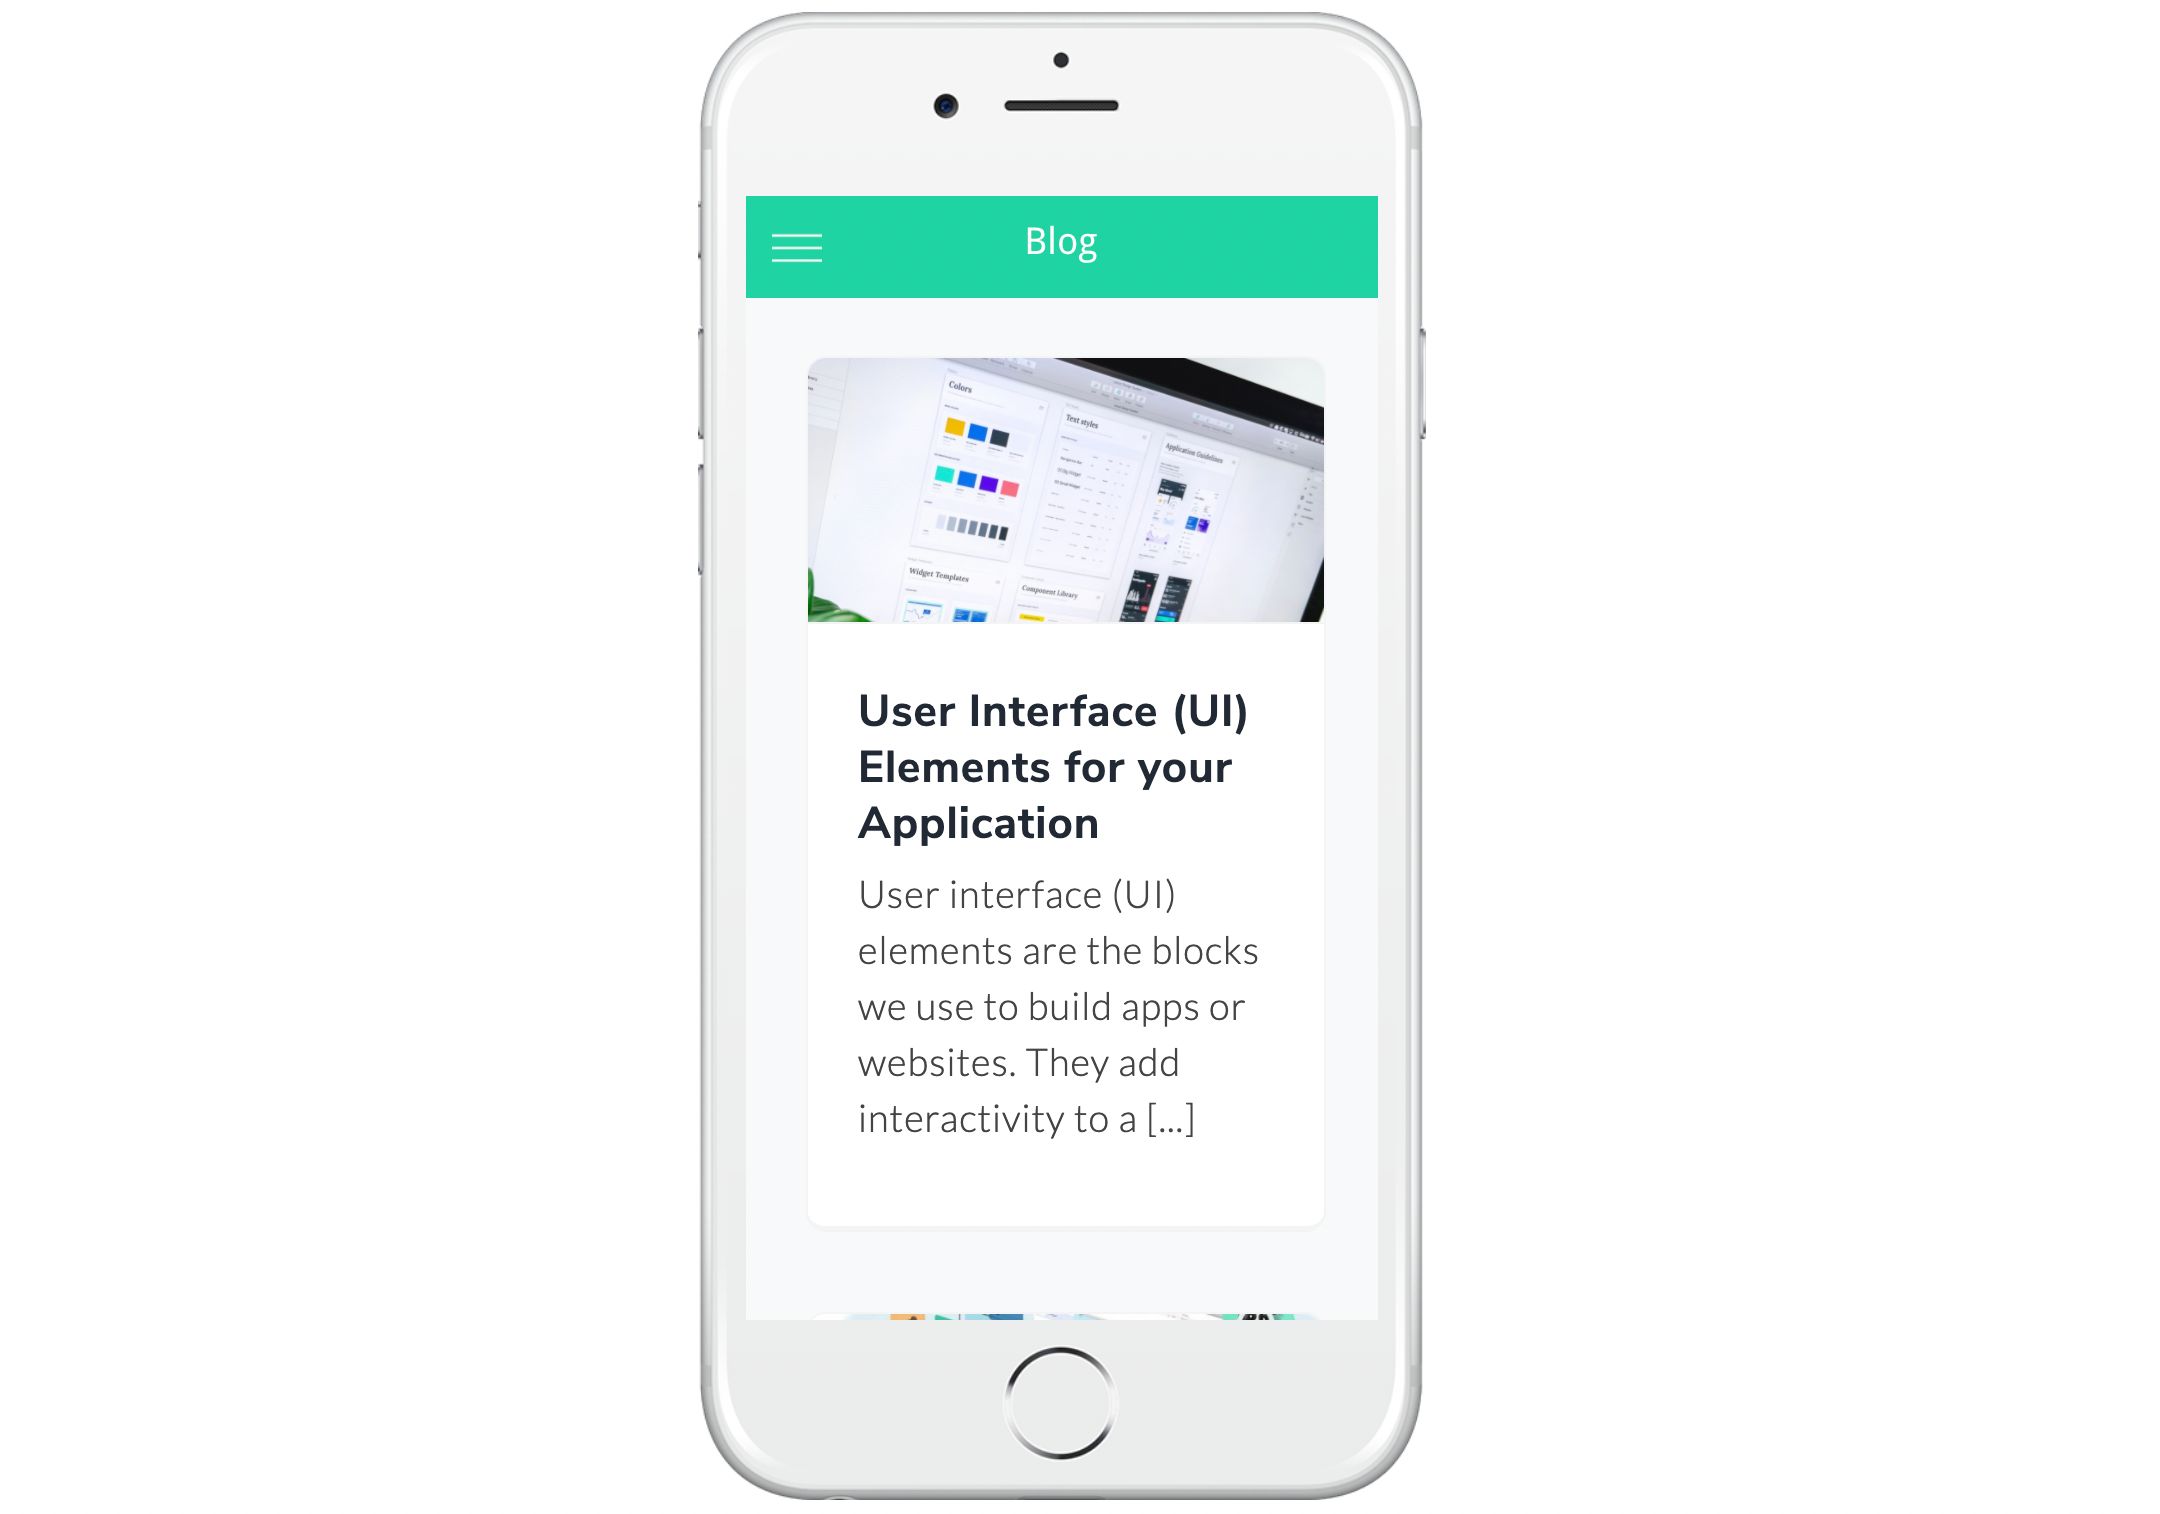
Convert a website into a mobile and desktop app: If you already have a website, you can integrate it directly into an app using the Web component. This approach is detailed in our article: Convert a website into an app.
-
Displaying dynamic dashboards: Integrating dashboards from Google Data Studio, Power BI, or other online reporting solutions.
-
Embedding HTML5 games: If you develop HTML5 games, they can be directly integrated and played within your application.
-
Embedding an authentication form: From your website.
Methods to integrate Web content
You can embed web content using several methods:
-
Using an online web page (URL): Display a webpage by simply specifying its URL. Ensure the site is secure (HTTPS) and allows iframe embedding.
-
Embedding HTML/CSS/JavaScript code: Import a ZIP file containing your web content. This method is ideal for custom animations or specific functionalities.
💡 With the Open URL action, you can also link to a URL, but the user must open an external browser window to access the content.
Technical considerations based on platform
Depending on your project format (web, mobile…), the component uses an appropriate integration mode:
-
For a web app: The content is displayed using an iframe, allowing you to embed an external webpage directly into your application.
-
On iOS and Android: The content is rendered via a native webview, ensuring smooth and optimized integration for mobile devices.
Setting up the Web component
Adding the Web Component
In PandaSuite Studio, open your project.
In the Components tab, search for Web and drag the component into your interface.
Configuring the content
Displaying an online Web page (URL)
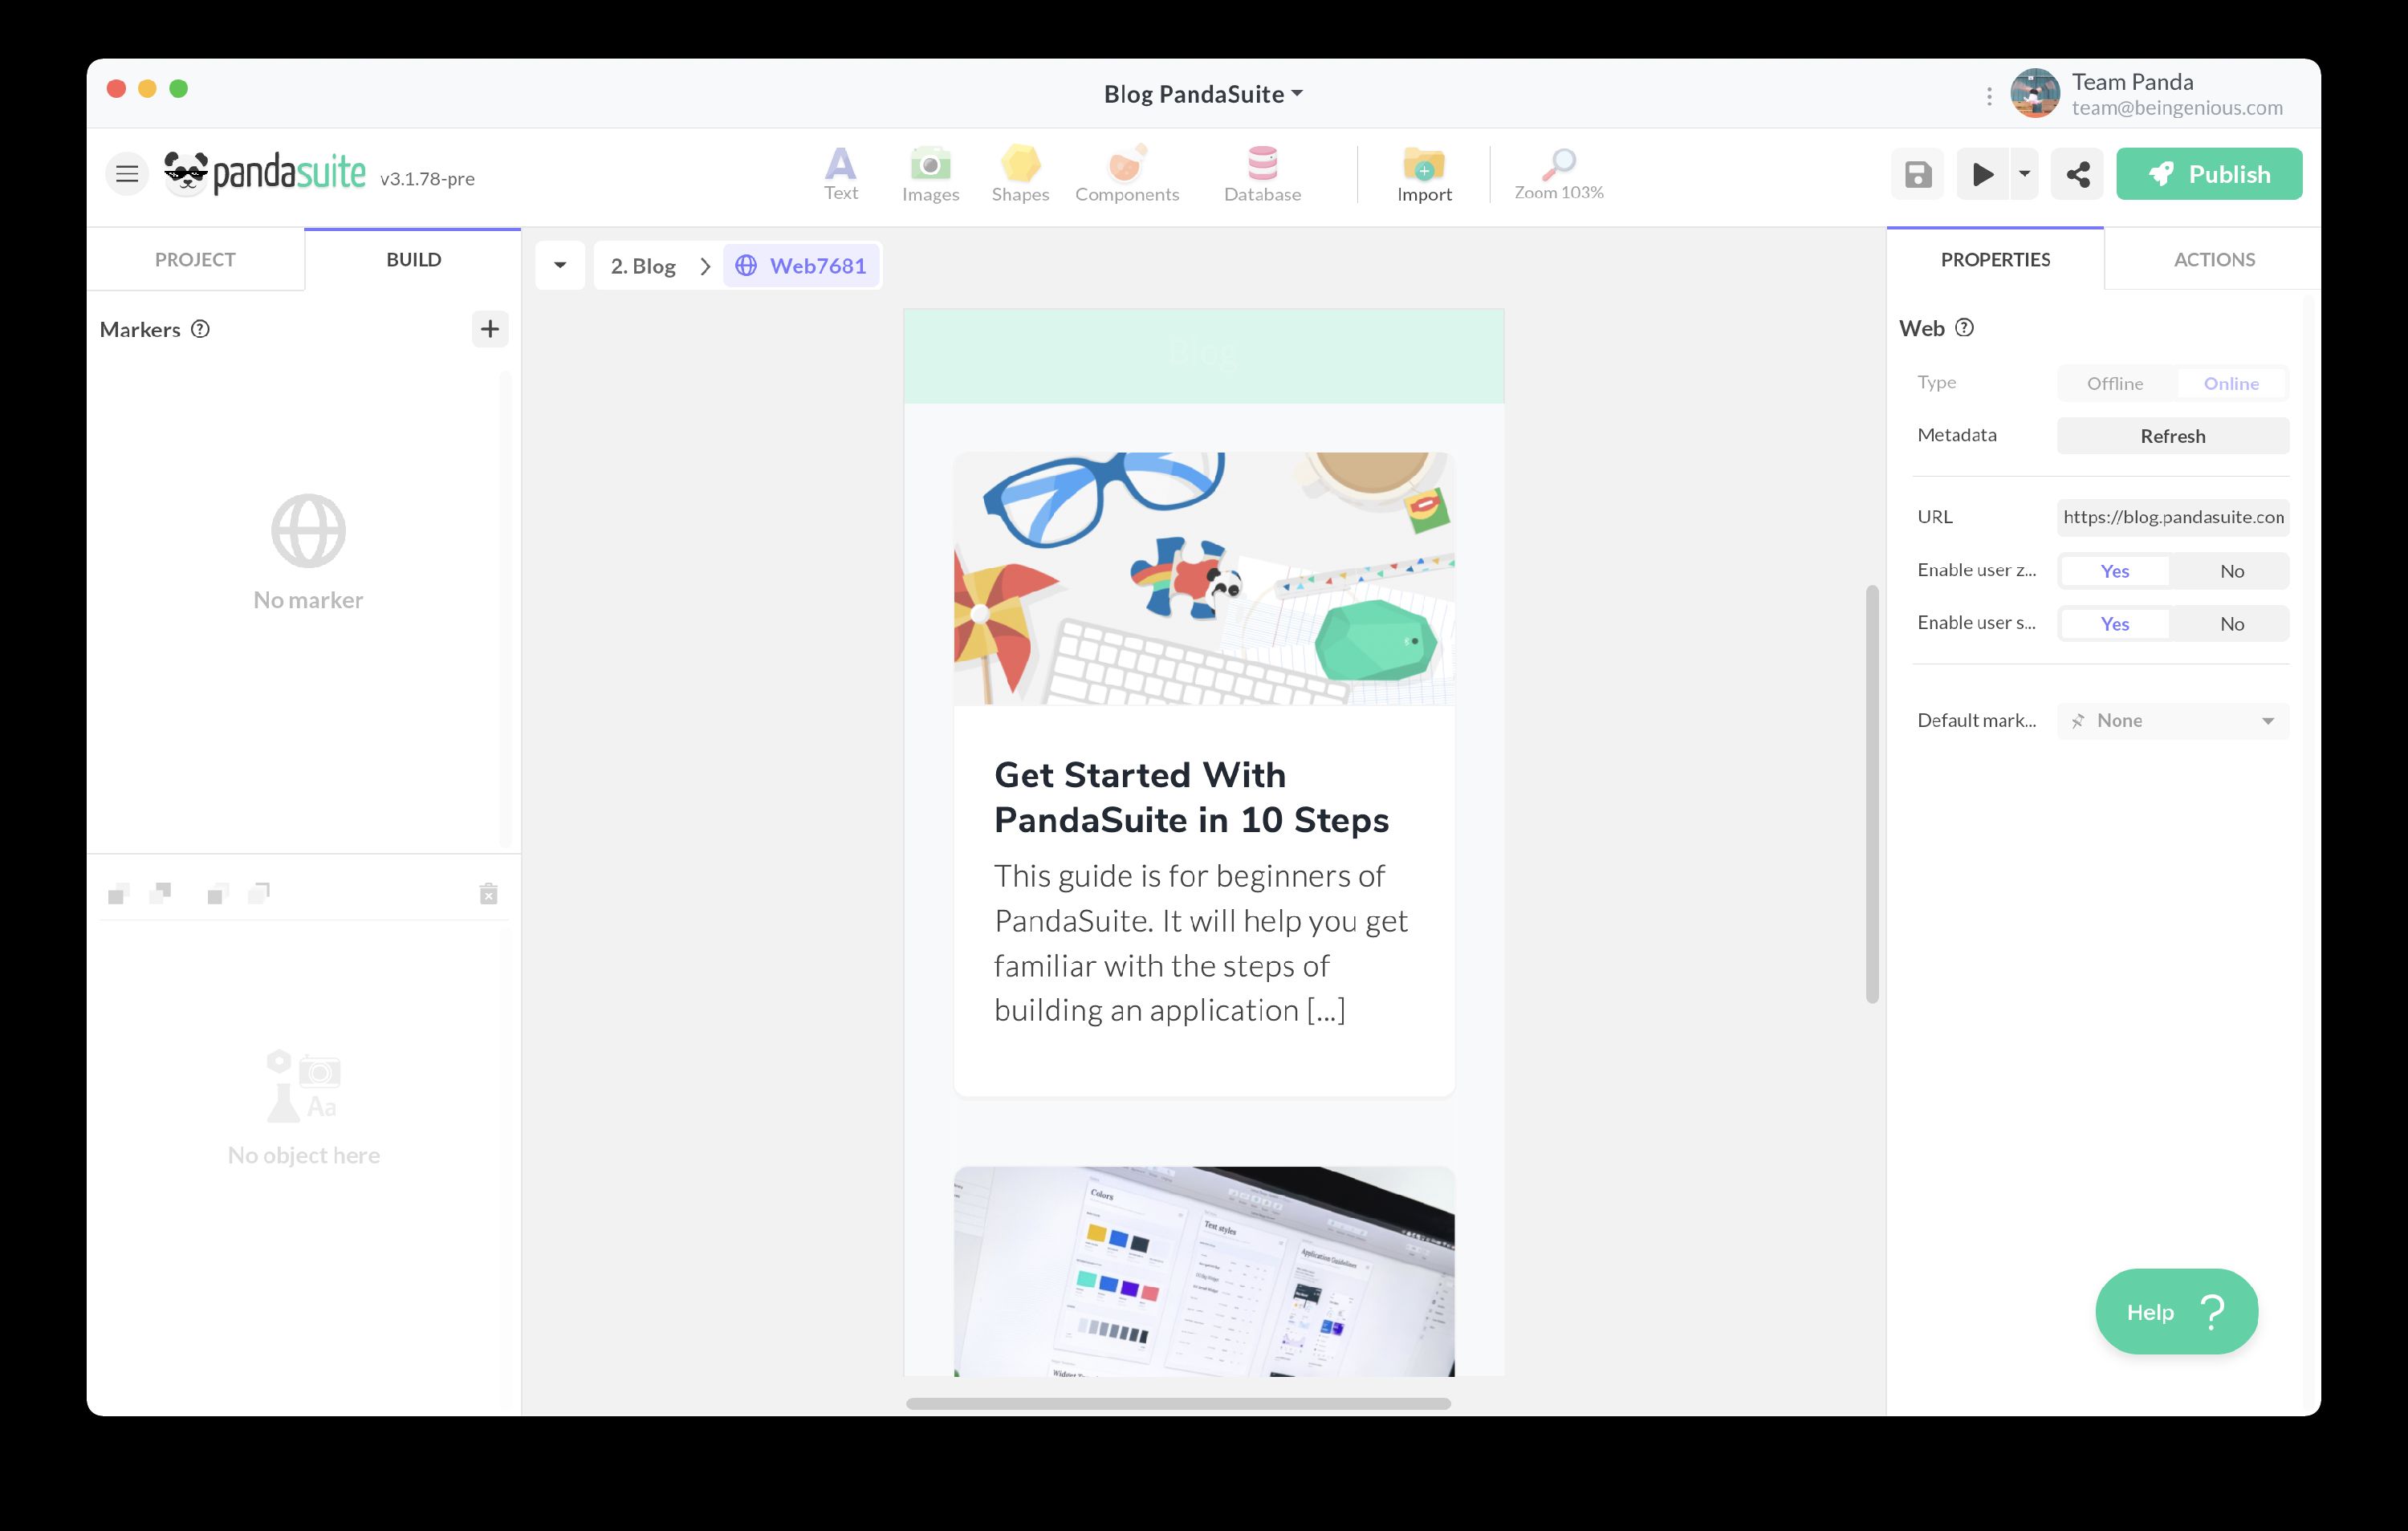
In the Web component properties, select Type: Online.
Enter the URL of the page you want to display.
Ensure the URL starts with https://.
Double-click the component to test the display and preview your project.
💡 If nothing appears, check that the domain is HTTPS. Only secure sites are allowed! However, not all HTTPS sites allow iframe usage. In this case, you may need to use the Open URL action.
💡 To embed a YouTube, Facebook video, or any audio from an online platform, use the URL Media Player component.
Embedding local HTML/CSS/JavaScript files
In the Web component properties, select Type: Offline.
Click Import a ZIP file.
Upload your ZIP file containing all HTML, CSS, and JavaScript files.
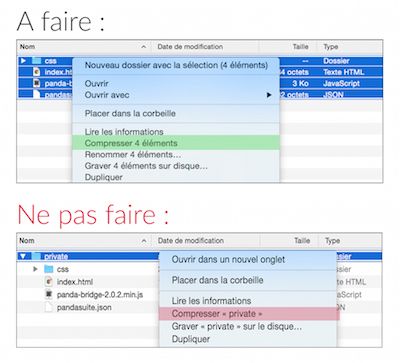
Ensure the index.html file is placed at the root of the ZIP folder.
⚠️ To be readable, your files must be at the root of your ZIP file to be directly accessible upon extraction. Do not group your files into a folder before compressing them into .ZIP.
Interactive actions
Triggering an action based on connection status
If your content is online, your user must be connected to the internet to view it.
Using the Offline (Disconnected) triggers, you can display a notification to offline users.

Interacting with web content
The Web component allows advanced interactions between the application and web content using the PandaBridge library. For example, you can send messages between your app and embedded HTML code.
If you’re embedding a login form from a website, it is useful to know when a user logs in so you can automatically redirect them to another screen within your app.
To send or receive events between web content and your application, create markers.
Creating a marker
A marker triggers an event or serves as an action target to customize the user experience. You can create multiple markers.
Select your Web component and click Edit. In the Edit window on the left, click + Add Marker. An ID is automatically generated; save this ID to use it on your website for proper connection.
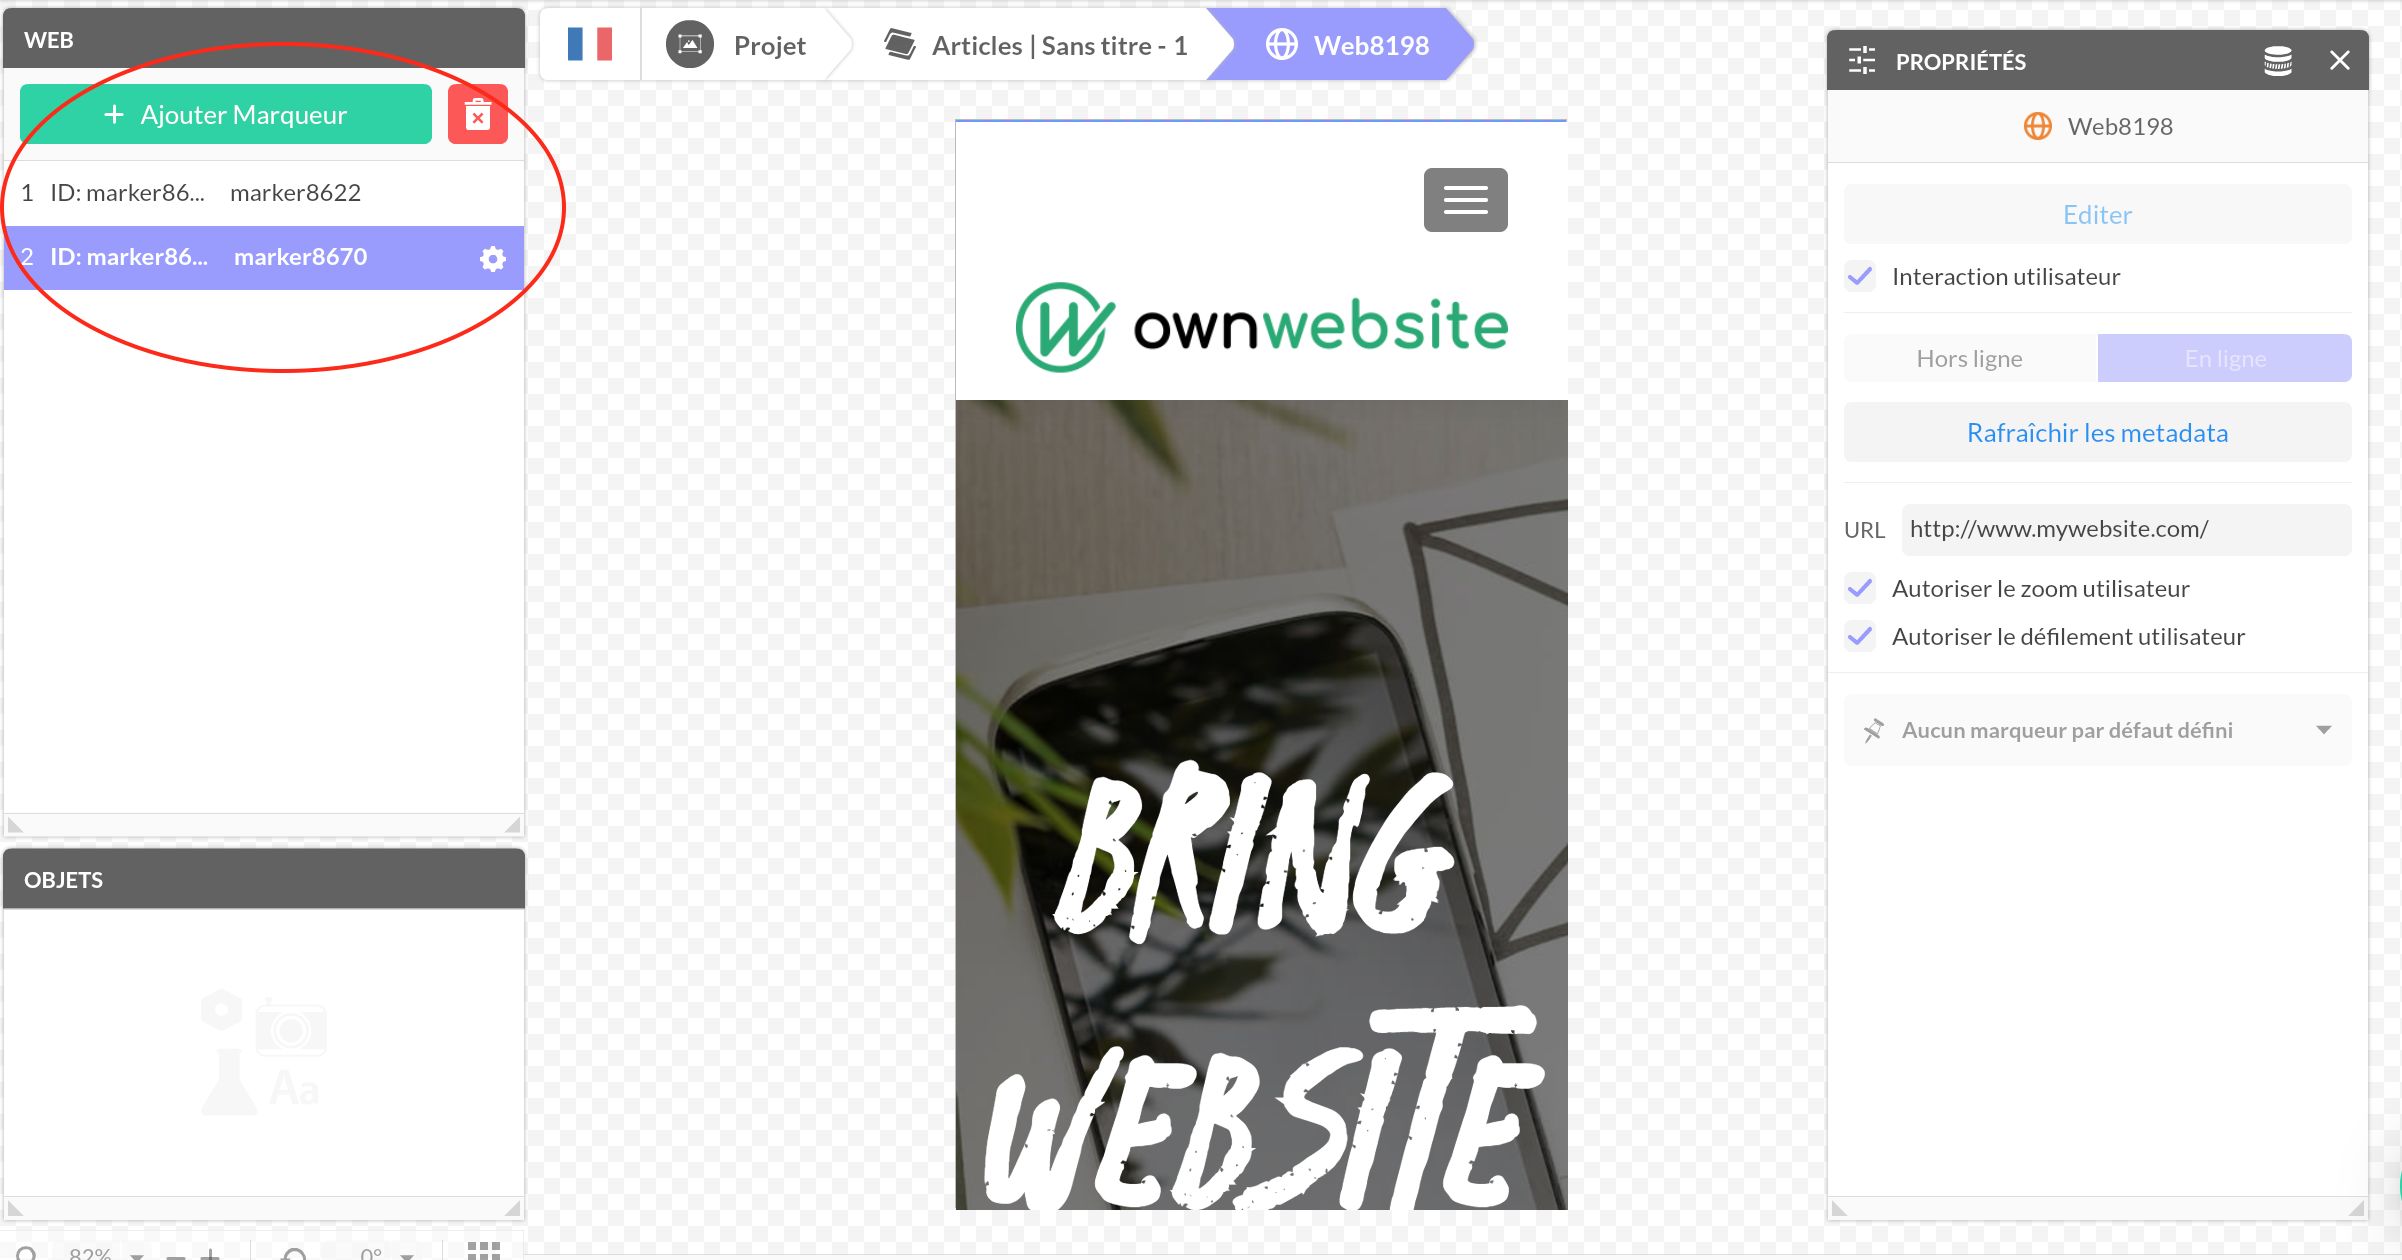
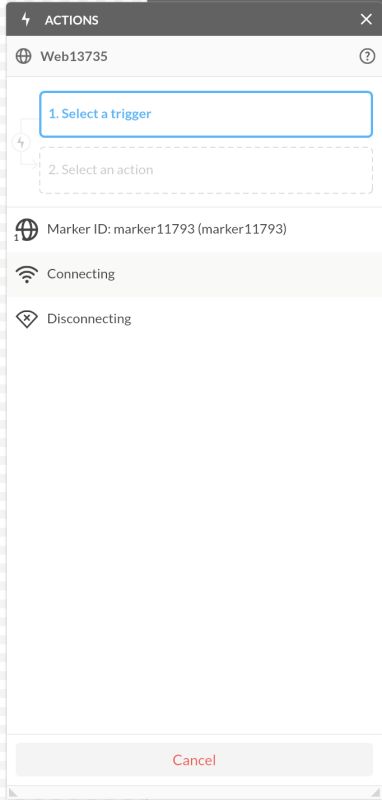
In PandaSuite Studio, this marker appears as a trigger in the Actions window of the Web component. You can also act on this marker using the Act on a Component action:
Triggering this marker from a Web page
On your webpage administration (CMS like WordPress, Shopify…) or in the code, you can use the PandaBridge library to trigger the marker:
<script src="https://cdn.jsdelivr.net/npm/pandasuite-bridge/lib/pandasuite-bridge.min.js"></script>Use the following syntax to send the marker:
PandaBridge.send("marker8622");Or send parameters:
PandaBridge.send("marker8622", [{ url: "https://pandasuite.com" }]);Marker parameters are available in the action flow triggered by that marker. They do not create persistent fields in the data binding picker under From a component.
Using pandasuite.json metadata (advanced)
Markers are a quick way to send simple events between your Web content and PandaSuite. For more structured integrations (custom properties, events, and actions that appear in Studio), you can also expose a pandasuite.json manifest next to your web content.
This is the same manifest system used by Custom components: Studio reads the file and generates the right-side properties panel and entries in the Actions window.
Add pandasuite.json next to your web content
- Online: make sure
pandasuite.jsonis reachable from the same base URL as your page (for example:https://example.com/widget/pandasuite.json). - Offline (ZIP): place
pandasuite.jsonat the root of the ZIP, alongsideindex.html.
Refresh metadata in Studio
Select your Web component, set Type to Online, enter your URL, then under Metadata tap/click Refresh.
If you are using Offline content, update the ZIP and re-import it to reload pandasuite.json.
Use the generated properties, exposed data, events, and actions
Once metadata is loaded, Studio can:
- Display manifest-defined properties in the right-side panel (including data binding when a property is bindable)
- Make the root
queryablefields available in the data binding window under From a component - Expose your manifest-defined events and actions in the Actions window
Expose bindable fields from your web content
Use the root queryable object when you want your page to expose live values such as a user ID, a display name, or a session status to the rest of your PandaSuite project.
- Declare these fields in the root
queryableobject ofpandasuite.json. - Refresh the metadata in Studio, or re-import the ZIP if you are using offline content.
- Update the values from your page when they change:
PandaBridge.send(PandaBridge.UPDATED, { queryable: { userId: 'user-123', displayName: 'Panda Fan', sessionStatus: 'connected' }});Studio reads the field names from pandasuite.json, and PandaBridge.UPDATED keeps their values current at runtime. Use this pattern for persistent bindable fields. Keep PandaBridge.send("markerId", payload) for marker-driven events and contextual payloads.
To build the manifest and implement the bridge in your web code, follow the Custom components guide.