Stripe
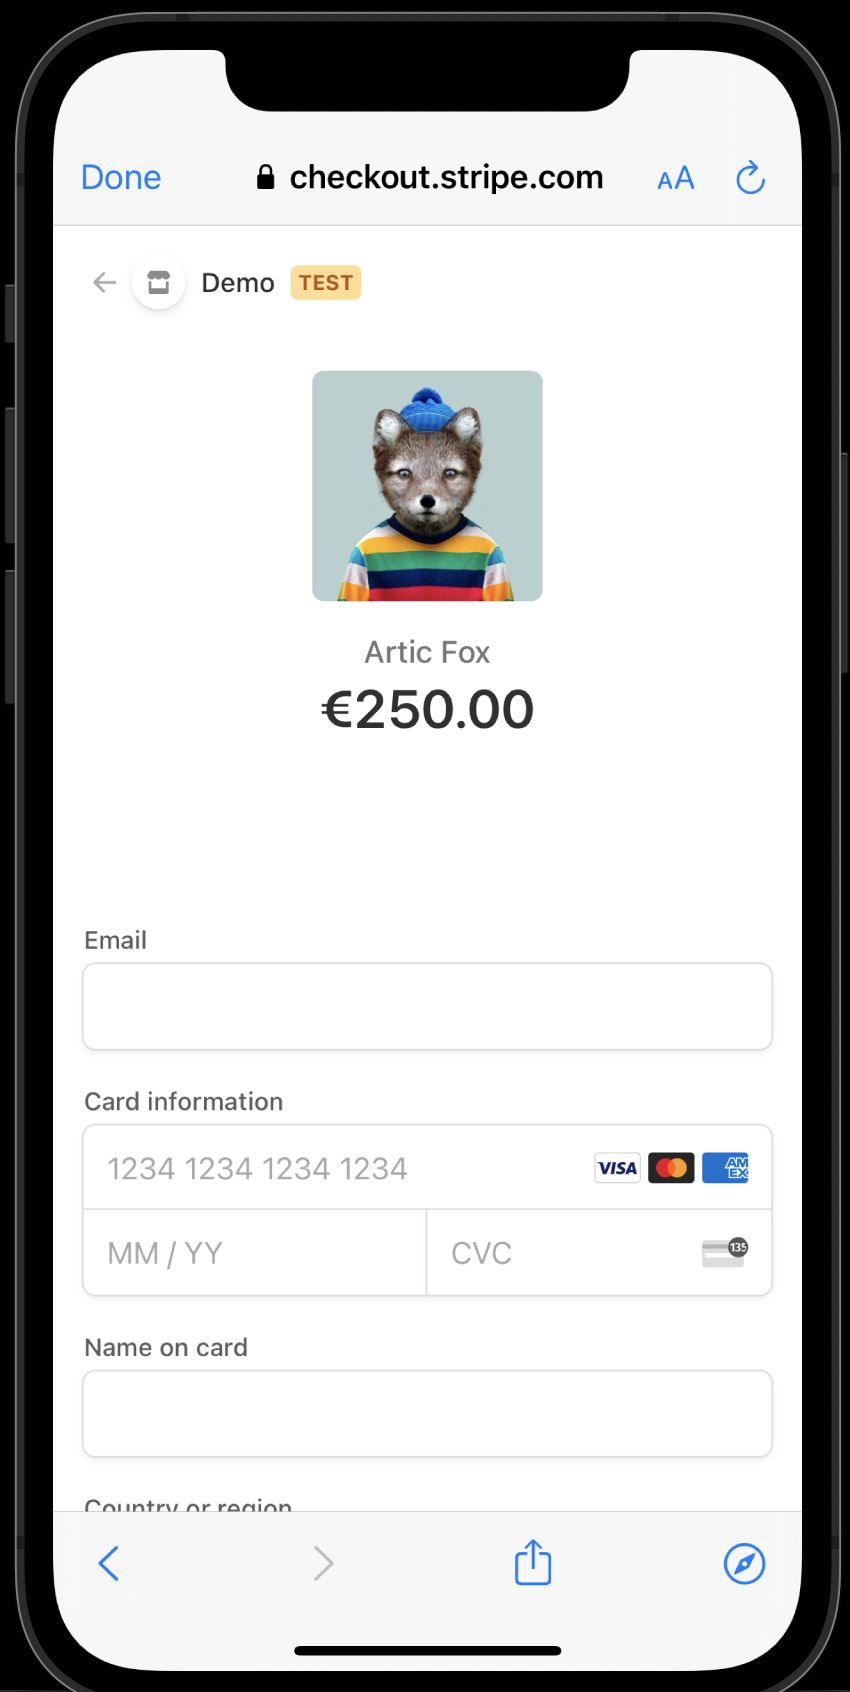
The Stripe component lets you run web payments in PandaSuite with Stripe Checkout.
The Stripe component requires a Stripe account - you can create an account for free.
Insert and configure Stripe
Click Components and add the Stripe component.
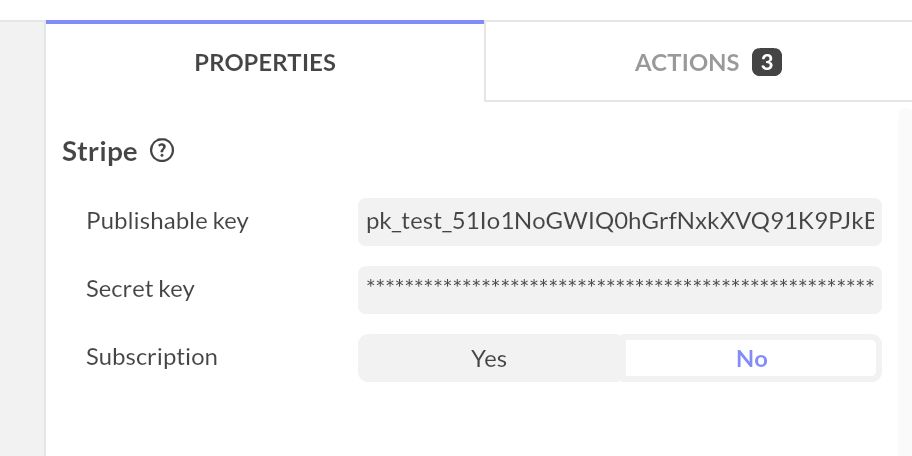
In the Properties panel, enter:
- Publishable key
- Secret key
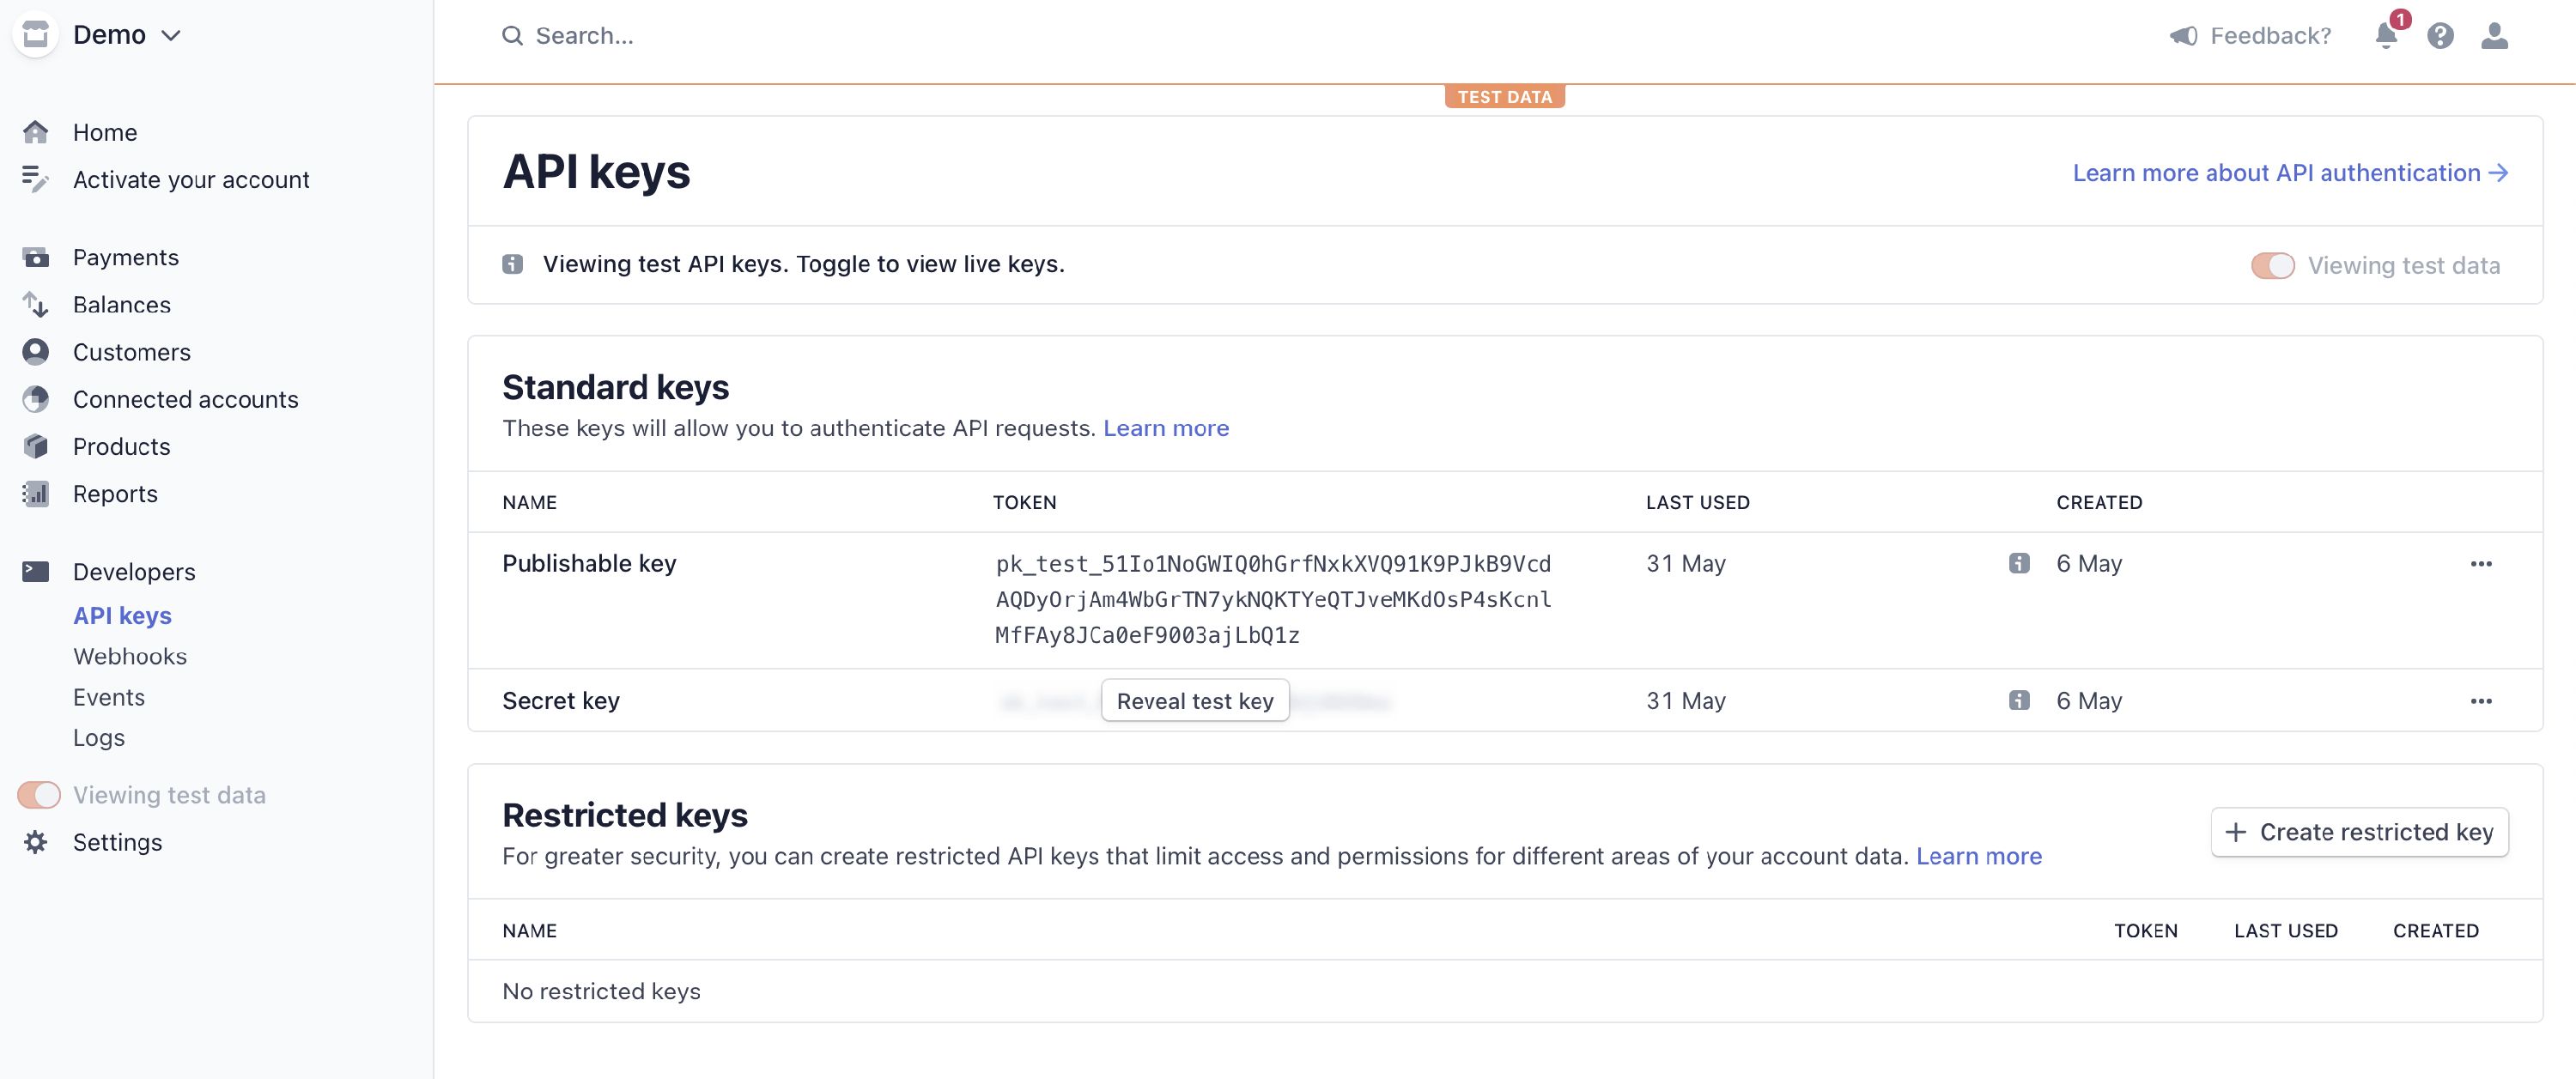
You can find both keys in your Stripe dashboard.
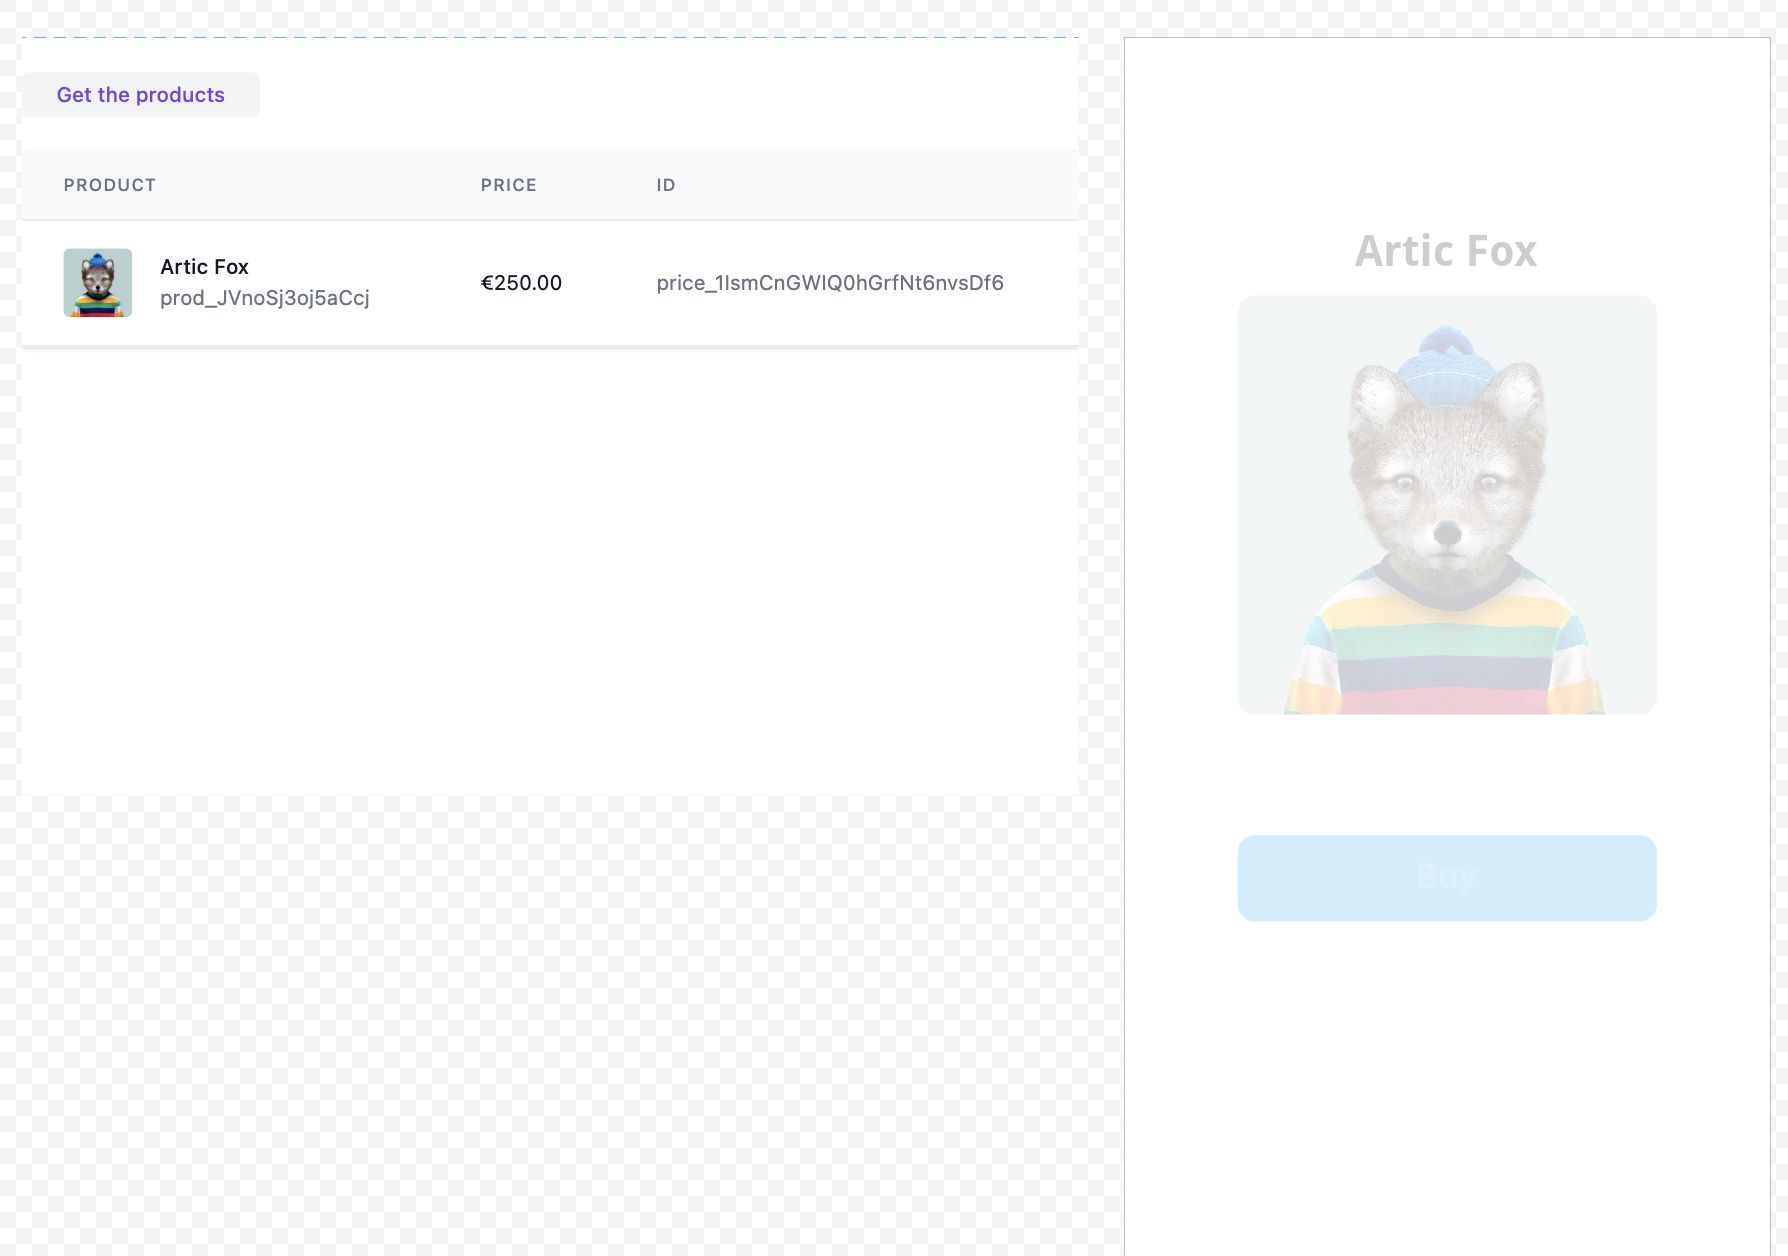
Then click Get the products to import your Stripe prices into the component.
Your products and prices must be created in Stripe first (in the Stripe Dashboard) before you can import them here.
For security reasons, save your project at least once before retrieving products, and save again each time you update API keys.
Component characteristics
Actions
Use Interact with a component on Stripe to access:
- Purchase: Opens Stripe Checkout with the current cart
- Set product: Sets quantity for one price ID
- Increment product: Adds quantity to one price ID
- Decrement product: Removes quantity from one price ID
- Remove all products: Clears all quantities in the cart
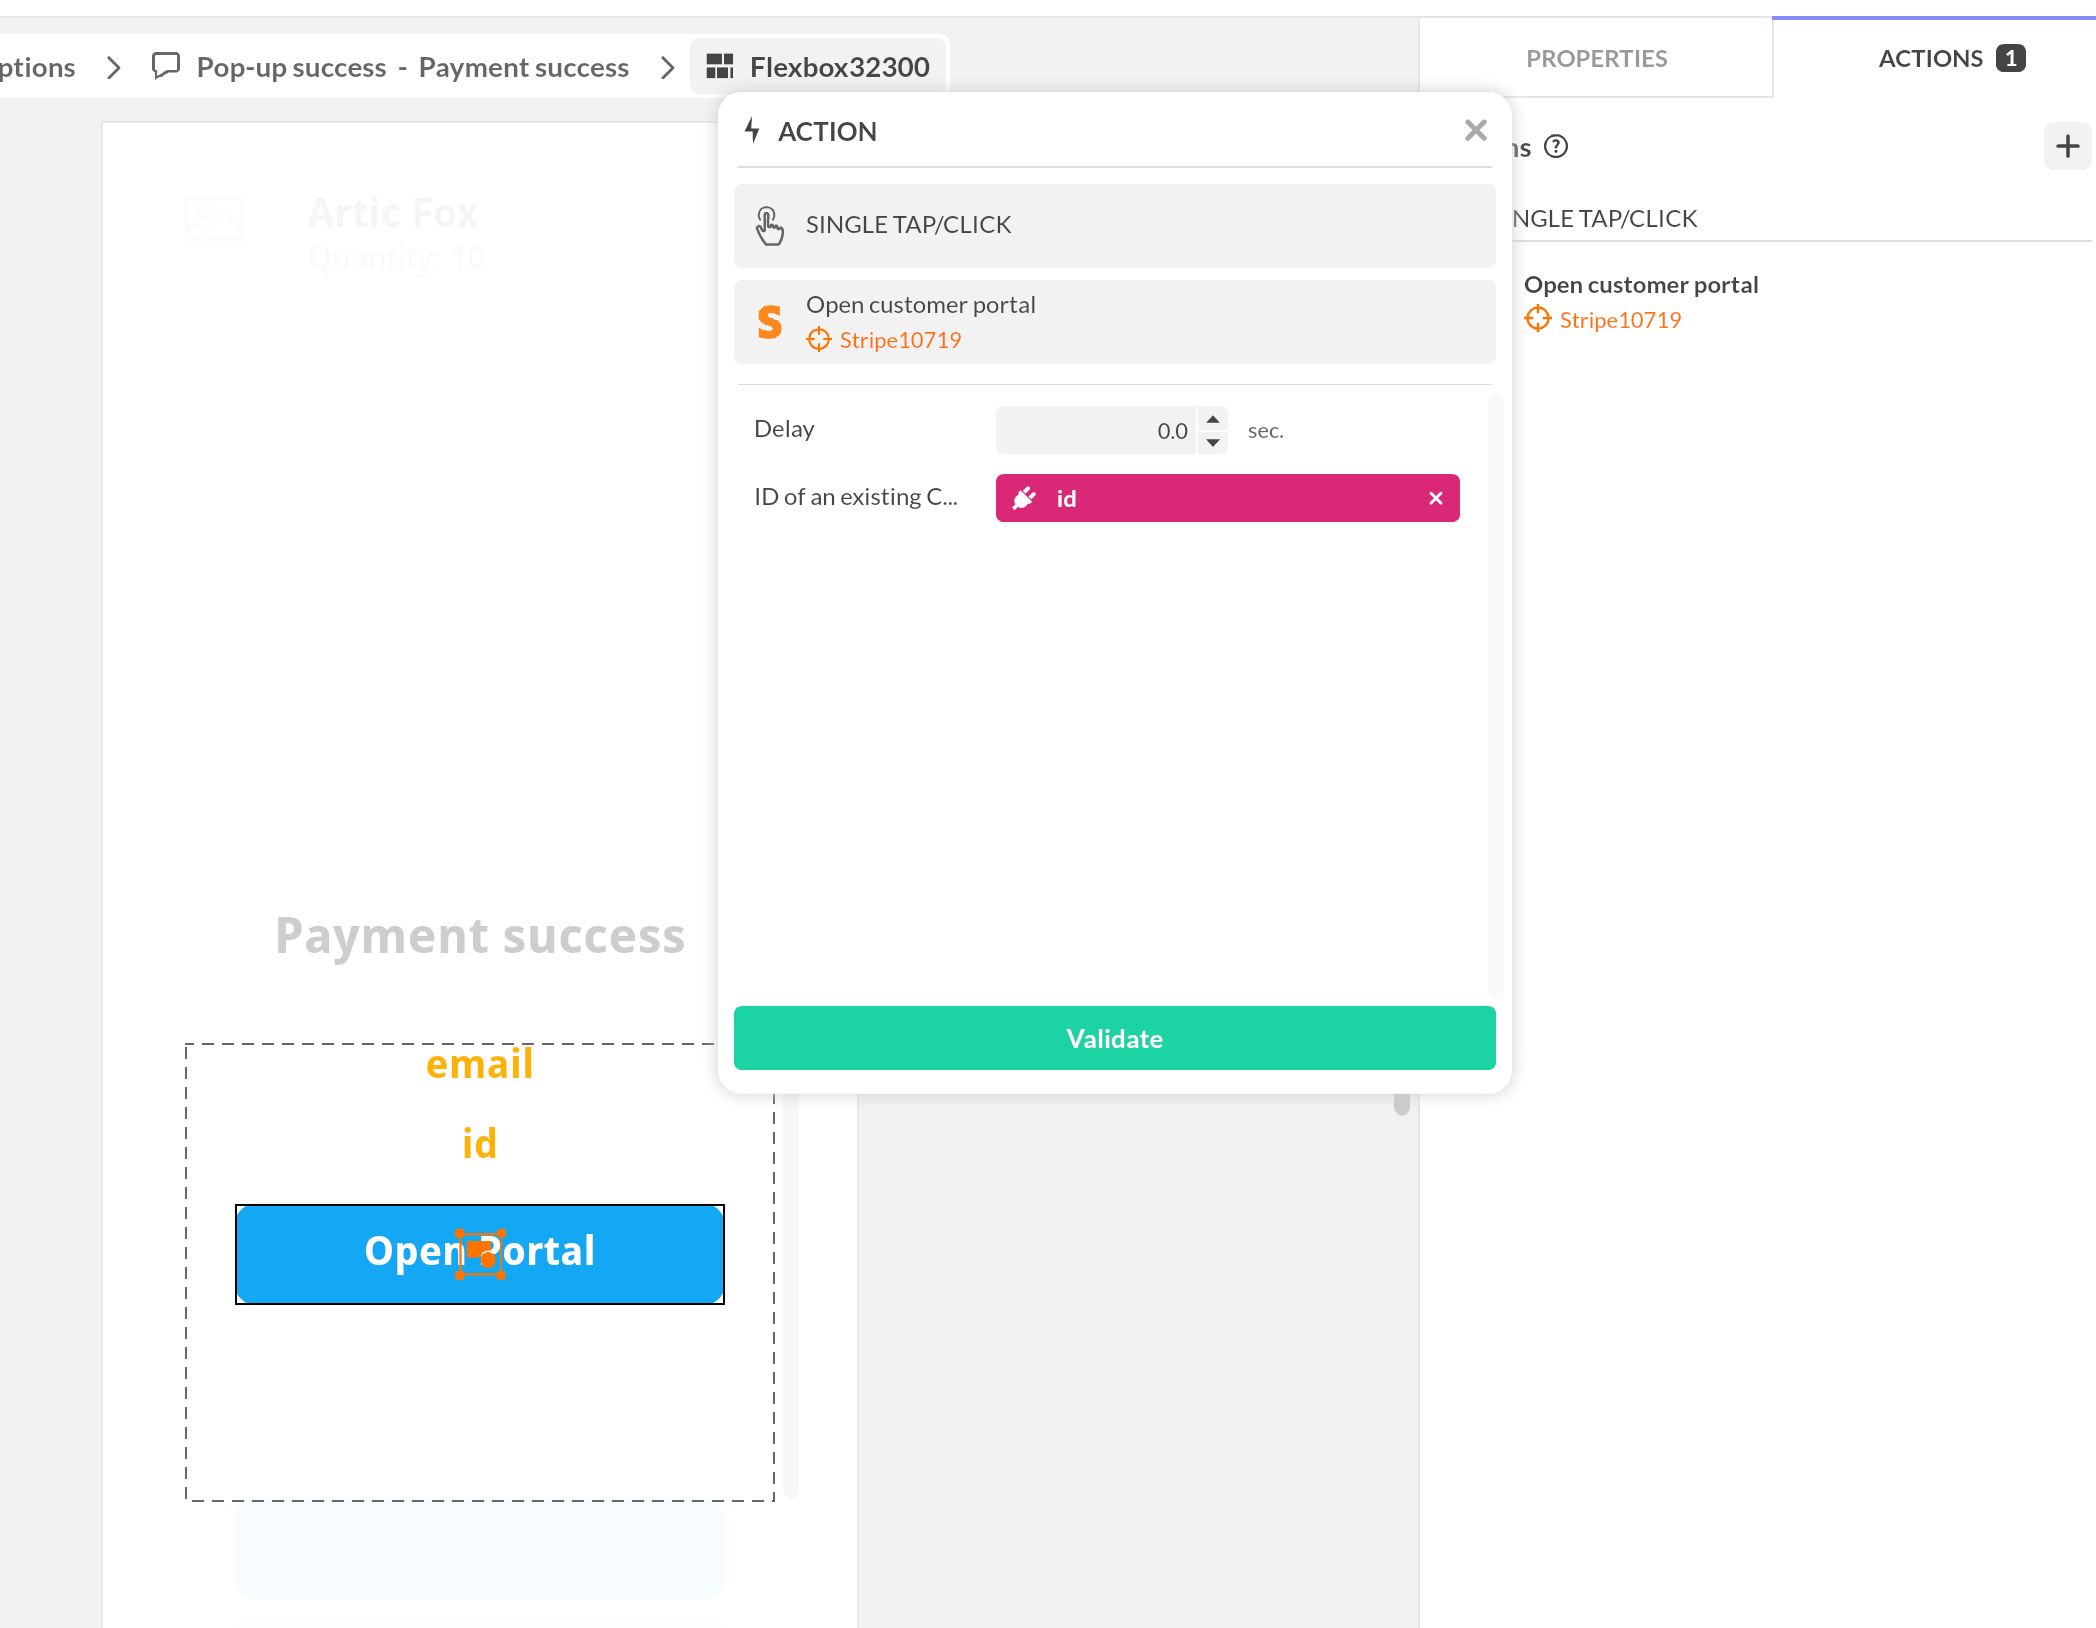
- Open customer portal: Opens Stripe Customer Portal for an existing customer ID
Triggers
Select Stripe and open the Interactivity panel to use:
- Payment complete
- Payment canceled
- Payment failed
Use these triggers to show confirmation states, error messages, and post-payment navigation.
Exposed properties
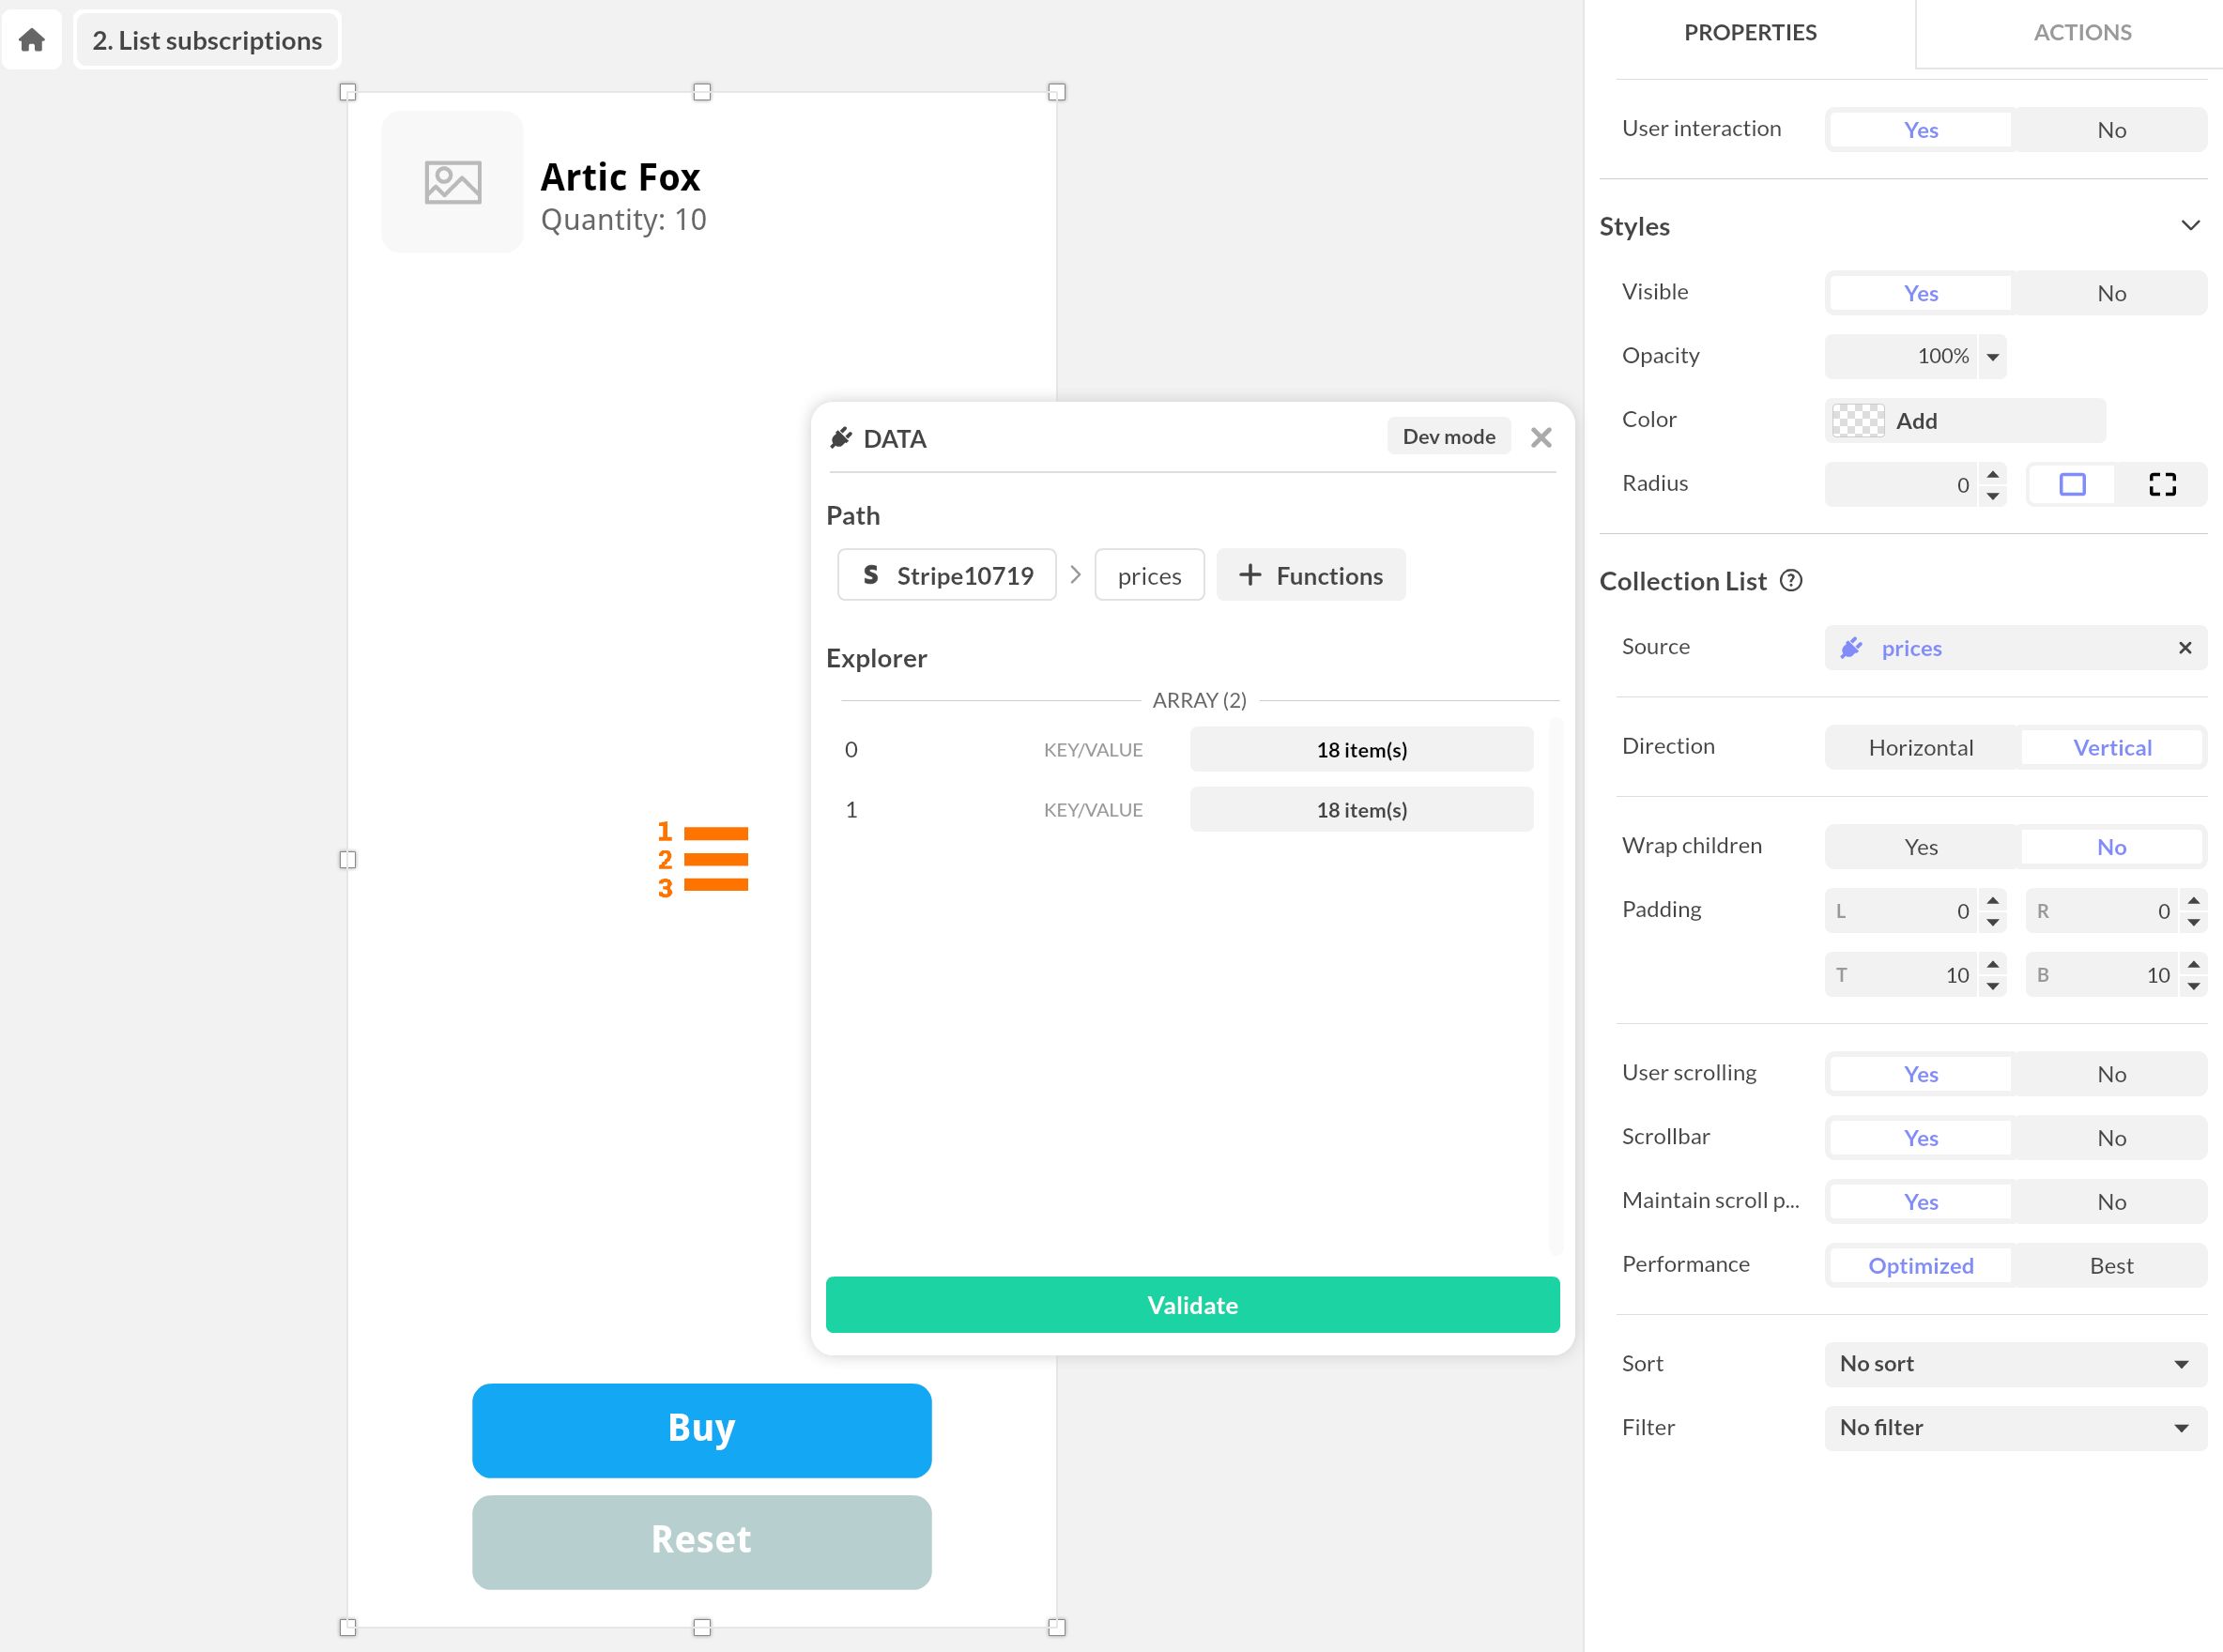
After loading products and running payments, the component exposes:
prices(products/prices with selected quantities)customer(available after a successful payment)
Build the cart before Purchase
Purchase requires a non-empty cart. In the component flow, checkout is
built from products where quantity is greater than 0. If no product is set,
checkout cannot be created.
To build a valid cart:
- Use Set product (or Increment product) with a Stripe Price ID
- Keep quantity above
0 - Trigger Purchase
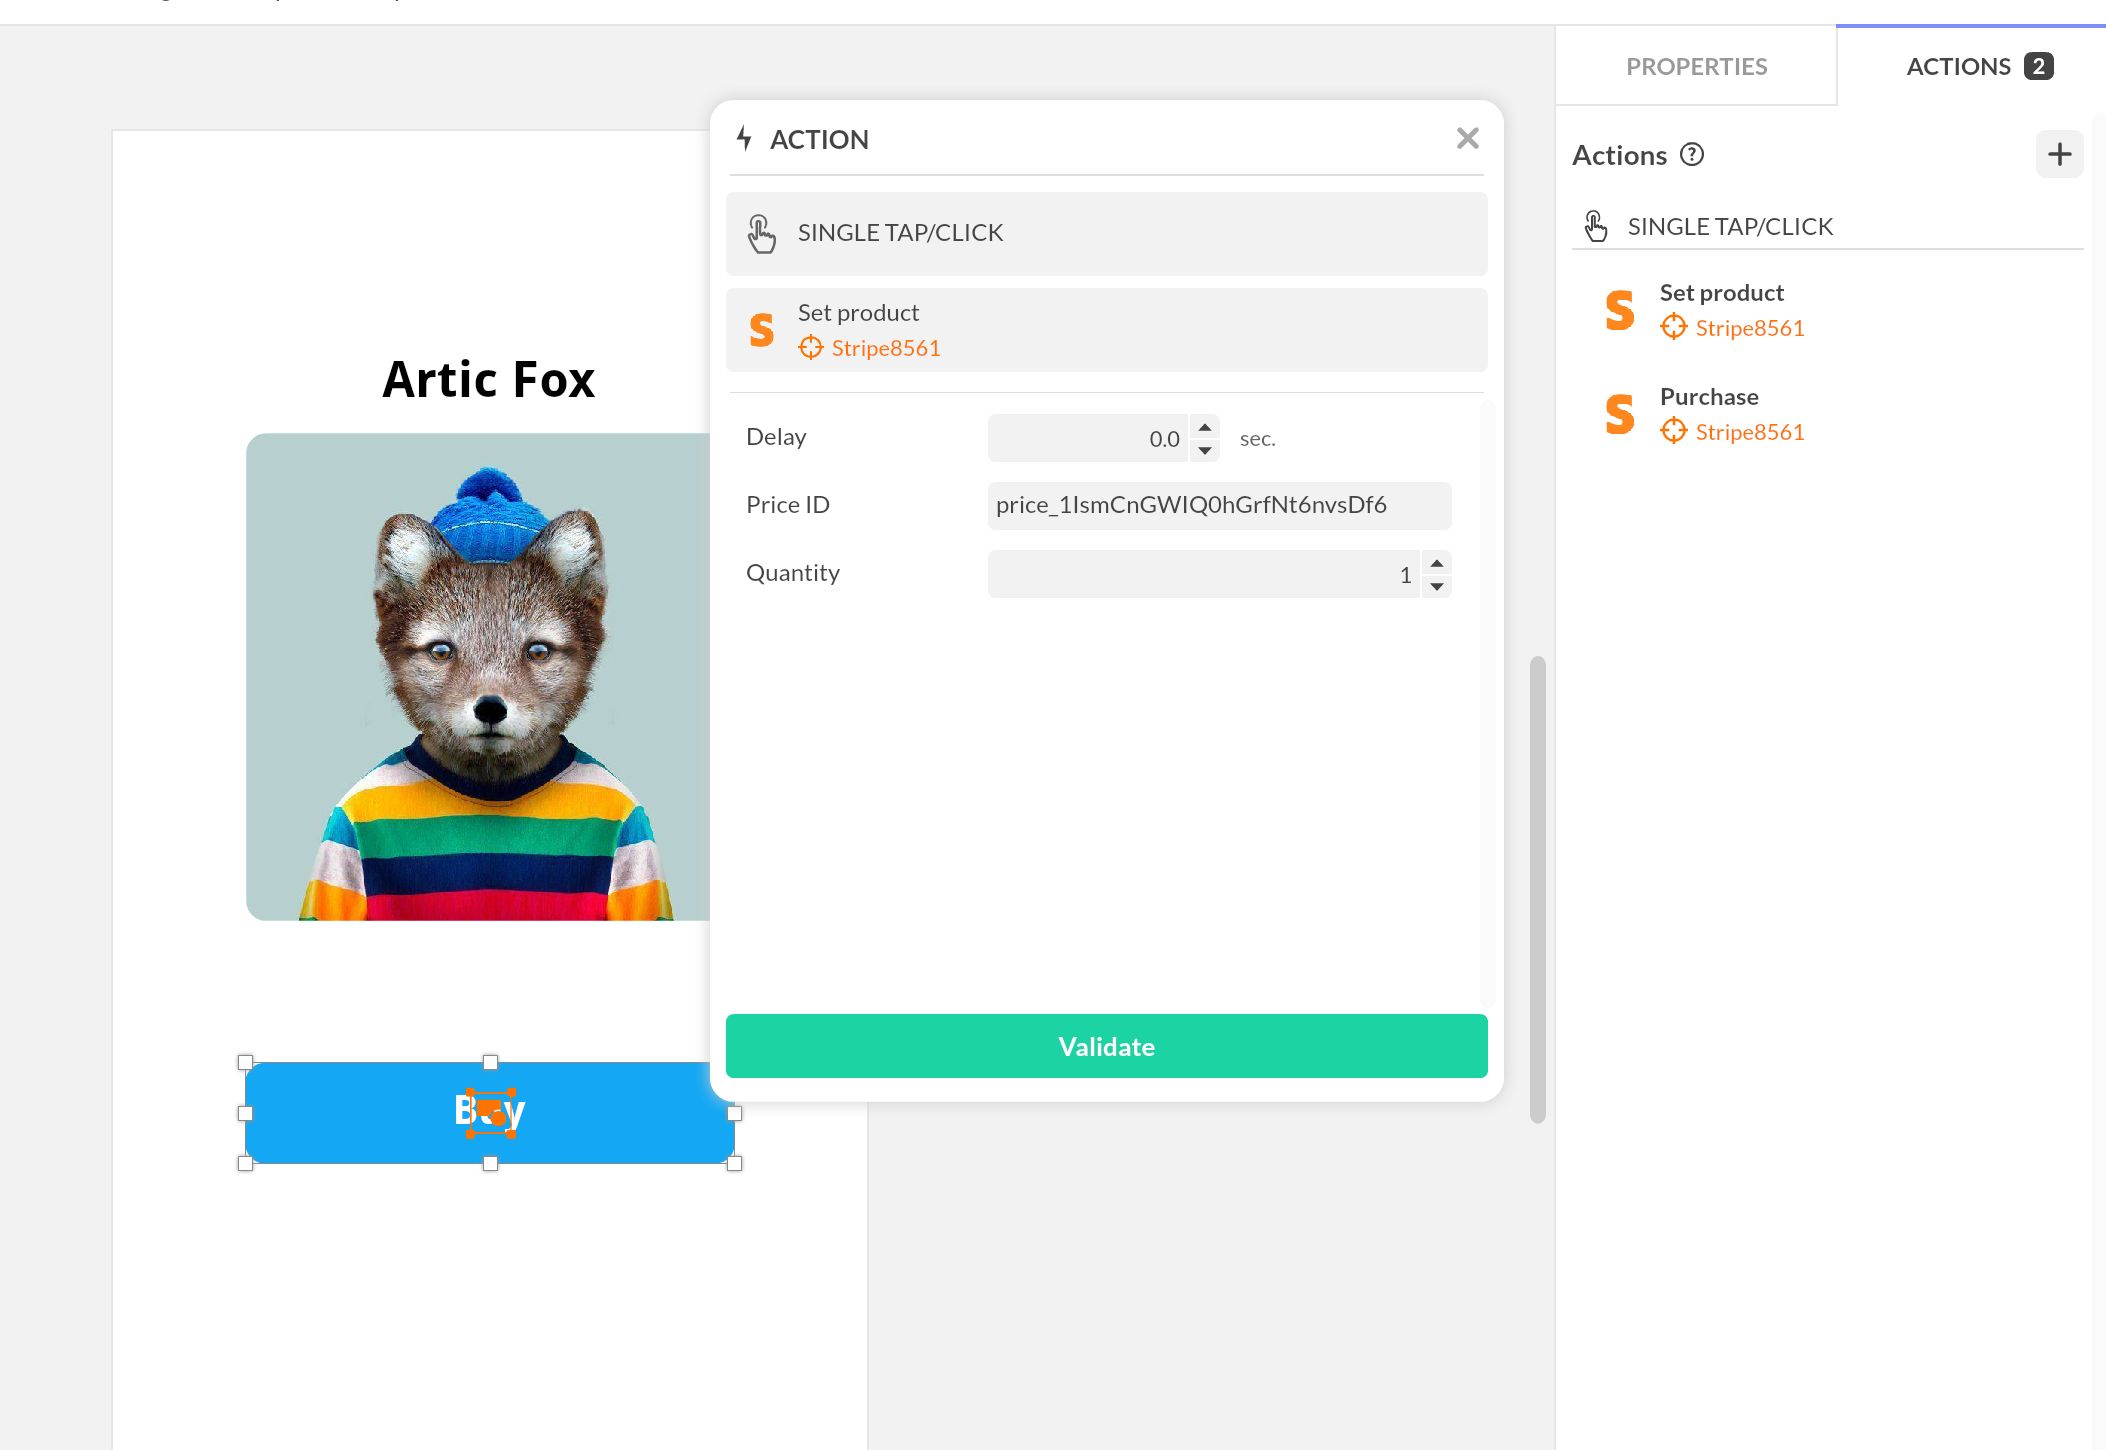
This action opens Stripe Checkout so users can enter payment information securely.
Handle transaction outcomes
Use Stripe triggers to manage UX:
- Payment complete: unlock content, show success message, store customer ID
- Payment canceled: return to cart or show retry CTA
- Payment failed: display an error and keep the cart editable
For advanced business logic (stock update, CRM/email, external automation), use Stripe webhooks.
Use the customer portal
After Payment complete, reuse customer.id with Open customer portal to let users manage subscriptions directly in Stripe.
Display Stripe data in your interface
You can display products and customer data dynamically in PandaSuite using data binding and collections.

Setup example:
Need a refresher on bindings? See Data binding.